TechSmith Relay will be discontinued at Carleton as of December 2019. In 2020, you will no longer be able to access your TechSmith online video archive. Your videos will be backed up to a server, but it is recommended that you download a copy of your TechSmith videos and transfer them to the Kaltura Media Space. The Media Space allows you to store, publish, and share your media within a cloud-based video management platform.
Can I prepare for this transition ahead of January 2020?
Yes, you can move your recordings over to Kaltura before 2020 following the instructions below. There is no need to wait until January to make this shift. In fact, we recommend that you transition as soon as possible.
Where Can I find the links to my recordings?
The TechSmith Relay server has an archive of all of your recordings that you can access before December 31, 2019. Once you log into this achieve using your MyCarletonOne credentials you can search your collection and access the videos you wish to migrate. You can also check your email for links to your TechSmith recordings. The TechSmith Relay server has sent you a link to your video in the “Camtasia Relay Automated Email” for every recording you have completed (see example below). All existing links to your TechSmith videos, including cuLearn course or emailed links, will continue to be accessible in 2020.
To download your TechSmith recordings
- Go to your TechSmith online video archive.
- Login with your MyCarletonOne username and password.
- In the top menu, click Presentations > Presentation List.
- In the drop-down menu next to Presentations, select Completed.

- Select the recording you wish to transfer from the list under Presentations.
- NOTE: Only videos recorded within the last semester will be accessible from this list.
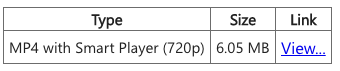
- The details for your selected recording will be displayed on the right of the page under Test.
- In the second last row, to the right of where it says “Downloadable Backup – Available for 1 Semester – VFS”, right-click on the View… link.

- Select Save Link As or Save Target As.
- Enter a name for the link and select the location for the link to be saved on your computer.
To upload your TechSmith recordings to Kaltura MediaSpace
- Navigate to mediaspace.carleton.ca
- In the top-right corner, click
- .
- Choose from one of the following login options:
- Carleton Login (Choose this option if you have a MyCarletonOne account)
- Non-Carleton Users (Choose this option if you do not have a MyCarletonOne account)
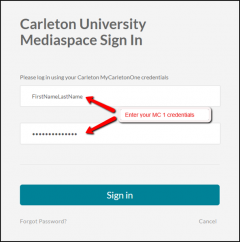
- If prompted, enter your MyCarletonOne credentials.
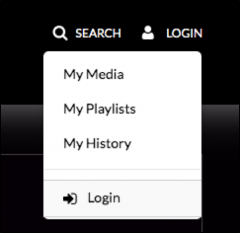
- The first time you log in, a personal media collection called “My Media” will be created for you. To access your media collection, click your name on the top-right side of the page, and then select .
- To add media to your MediaSpace account, start by clicking on + Add New on the top right-hand menu.
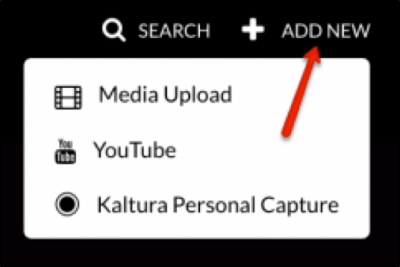
- Click on Media Upload.
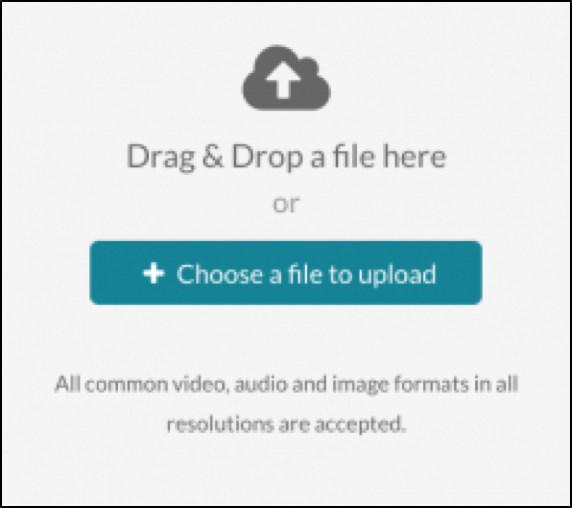
- An upload area will appear. Drag and drop your file into this area or click + Choose a file to upload to select your file from your computer.
- You will now see a progress bar for your upload. While your file is uploading, you have the option to name your media, enter a description, add tags, and choose a sharing setting.
NOTE: Sharing options are private (only the owner of the media can access and view it) and unlisted (media is accessible to anyone who has the direct link to it). - When your upload is complete and you have entered your information, click Save.