Hey! Us again – just checking in with another post from our “Tips and Tricks” blog series (cue applause, please).
When you’re adding photos to your website, you’ve probably noticed that if you want to add a banner image or a thumbnail image, that there are certain dimension requirements.
Since WordPress only has a scaling option for photos in the media library, this blog post will show you a way to resize your images another way.
How to Resize Images using a PC
The easiest way to resize photos on a PC is by using the Photos app that comes with Windows 10. This app comes with a resize option and is very easy and quick to use.
To resize an image on a PC:
1. Save an image to your computer that you want to resize.
2. Go to your files and locate your image.
3. Right-click on the image and select Edit with Photos from the list of options
.
4. Now the Photos app will open on your computer.
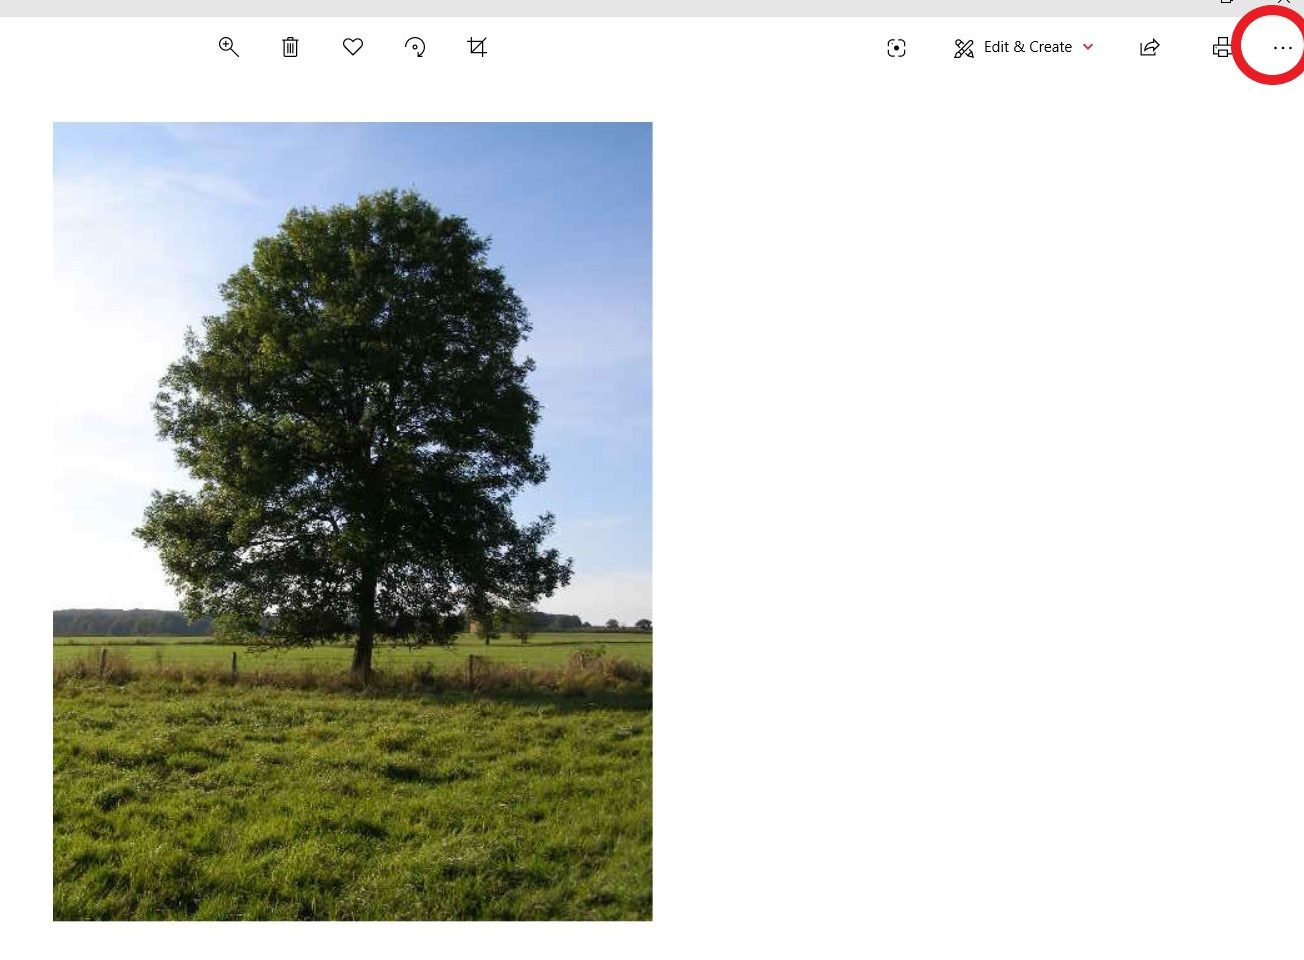
5. Select the three-dotted button in the right-hand corner.

6. Select Resize.

7. Select Define Custom Dimensions, this will allow you to entire specific measurements.
8. If you need an image to be a specific size such as the dimensions for a banner (1600×700), you need to deselect maintain aspect ratio.

9. Select Save Resized Copy.
And that is all it takes to resize images using a PC!
This is a great tool that comes on every PC and will be very helpful when making photos into banner and thumbnail images.
If you missed the first post in this new series, don’t worry! You can check it out here!