A glossary displays the definitions of key terms. Using the Glossary tool, you can define key terms and then display them on a page. See this sample glossary for an example.
Step-by-Step
Creating a new Glossary
- Add a new Glossary using the side or top menu.
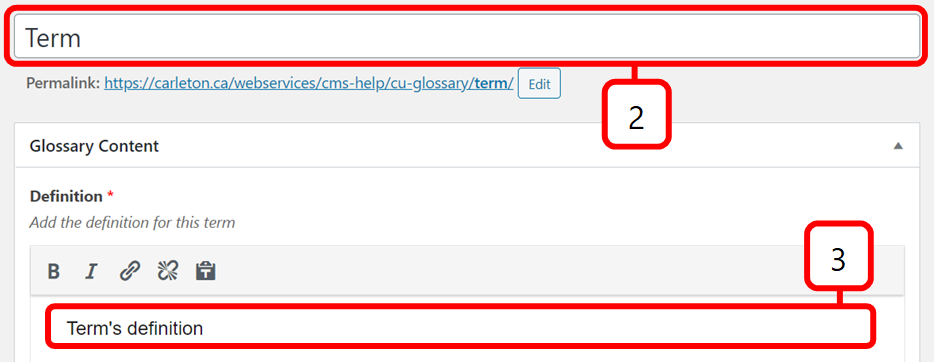
- Type your term into the Add Title field.
- Type the definition into the Response field under Glossary Content.
- You may also categorize your Glossary using the Glossary Categories menu.
- Save, schedule, or publish your Glossary.
Pulling Glossary Terms onto a Page
- Add or edit the page on which you would like to list your terms and definitions.
- Click Add Post Element located above the Content Editor.
- Click the List Glossary icon.
- If you have categorized your Glossaries, select which categories you would like to have placed on this particular page. If no categories are selected, all Glossaries will be listed.
- Click Insert Element.
- Publish or Update the page.
Video Tutorial
Transcript
Try It Out!
Test out your Glossary skills by adding a new glossary and pulling it onto a page.
- Create a new glossary.
- Add a term and definition. You can pick something specialized in your field, or just define any common household object or food item.
- Add your glossary to a category.
- Publish your glossary.
- Add your glossary to your test page, ordering your terms by publishing date in reverse chronological order.
- Save your page as a draft