Bulleted lists are used to list related items non-hierarchically.
- This is an example of an item in a bulleted list
Numbered lists are used to highlight a sequence or a hierarchy of related items.
- This is an example of an item in a numbered list
Step-by-Step
Adding a list
You can quickly add bullets or numbers to existing lines of text, or you can create lists as you type.
To add bullets or numbers to existing lines of text:
- Highlight the text that you want to convert into a list.
- Click Bulleted List or Numbered List.
To create a new list:
- Start a new line and click Bulleted List or Numbered List.
- Type in your list item content.
- To start a new bullet point, press Enter.
- If you have finished your list and want to return to paragraph text, press Enter twice.
Changing bullet point style
To change the bullet point style, click the triangle next to the list icon and select a new style from the drop-down list.
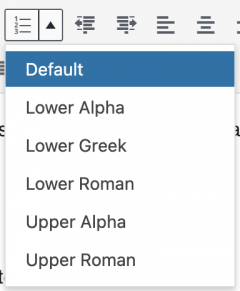
Style options for Numbered Lists
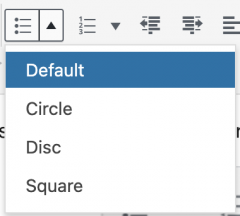
Style options for Bulleted Lists
Creating multilevel lists
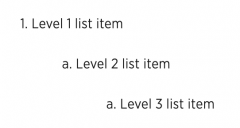
Example of a multilevel list
You can change a list item’s level by changing its indentation:
- Highlight the desired list item.
- Click Increase Indent or press Tab from your keyboard to move the item up a level.
- Click Decrease Indent to move the item down a level.
Video Tutorial
Transcript
Try It Out!
Now that you have learned about lists, time to try it out!
- Create a new numbered list. Change the bullet point style to lower alpha.
- Convert a few existing lines of paragraph text into a bulleted list. Change the bullet point style to square.