The Files tool is a good way to organize files (like pdfs) on your website. Files can easily be replaced and the URL will not change or break. Below is an example of how a file will appear on a page.
Step-by-Step
Adding a new file
- Add a new File using the side or top menu.
- Name your file using the Add Title field
- In the File Content area, fill out your file details and upload the file
- Choose the option under Document Type that corresponds to your file’s format.
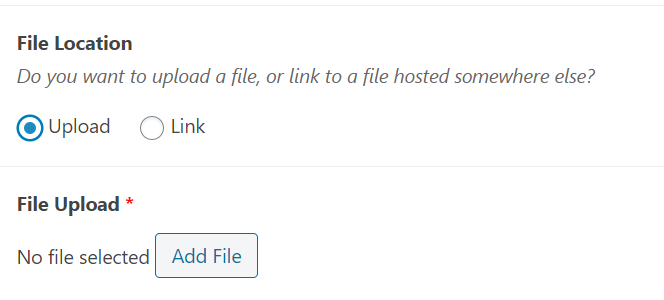
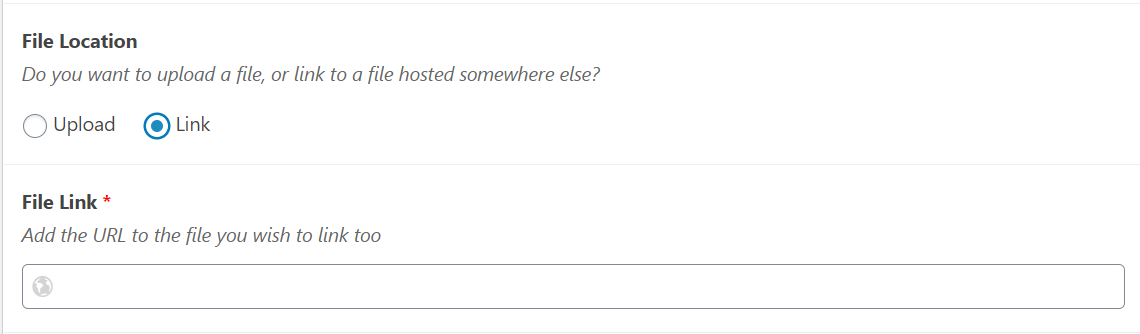
- Choose whether you are uploading a file or linking to a pre-existing file.
- If you are uploading a file, click Add File under File Upload and choose the file from the Media Library, or upload it from your device by clicking Upload Files and then Select Files.
- If you are linking to a file, copy-paste the URL into the field under File Link.
- You can also add a short description of your file in the Description box.
- You may also categorize your file using the File Categories menu.
- Save, schedule, or publish your file.
Pulling files onto a page
- Add or edit the page on which you would like to list your terms and definitions.
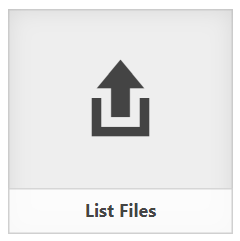
- Click Add Post Element located above the Content Editor.
- Click the List Files icon.
- If you have categorized your files, select which categories you would like to have placed on this particular page. If no categories are selected, all files will be listed.
- Click Insert Element.
- Publish or Update the page.
Video Tutorial
Transcript
Try It Out!
Now that you know how to upload files and pull them onto pages, let’s try it out!
- Add a new file and give it a name.
- Upload a file to your website. You can use the Sample File at the top of this page. Make sure to pick the matching Document Type.
- Add this file to a file category.
- Pull your file onto your test page using the List Files tool.
- Order your files alphabetically, from Z-A, using the Order Files By and Select Order tools.
- Click Insert Element.
- Save your test page as a draft