The footer remains throughout your website and contains your department’s address and contact information.
Step-by-Step
Adding Department info
- From the back end of your site, hover over Site Options on the side menu, and select Site Options.
- In the Department Info tab, fill out the fields with your contact information.
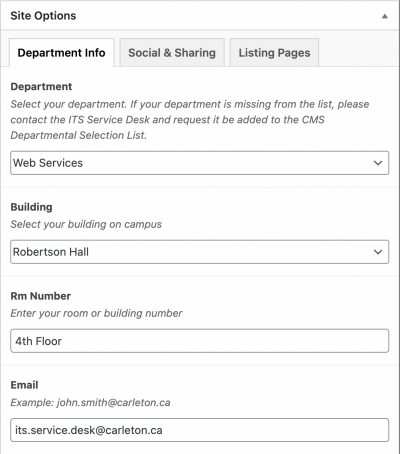
- Click Update to save your changes.
Adding social media account(s)
- From the Site Options page, select the Social & Sharing tab.
- Insert links to the social media accounts you want to display in the corresponding fields.
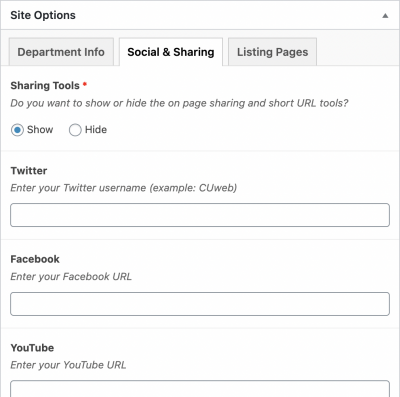
- Click Update. You will see the social media icon(s) in the footer.
Video Tutorial
Transcript
Try It Out!
Now that you have learned how to customize your footer, time to try it out!
- On your site, update your Department’s contact information.
- Add your Department’s social media profiles (if any).