Pages display static information, meaning that they do not change frequently. Pages make up your site navigation. You are currently on a page, and if you were to click on any of the items in the menu, you will be taken to a new page.
Step by Steps
Creating a new page
- Add a new page using the side or top menu.
- Give your page a title by typing into the Add Title
- By default, the title of the page will also be the end of the page’s URL, with hyphens replacing spaces. To change the page’s URL, click edit and type in the new slug.
- Add content to the text editor box.
- Save, schedule, or publish your page.
Editing page banner
You may not have permissions enabled to change the page banner. If you want to gain access to this option, please contact Web Services. If you just want to test out these options, you should have permission to do so on the CCMS Playground
- Scroll to the Page Options menu
- Under Banner Image Type, select Hosted or Upload

- To use a hosted banner, insert the name of the hosted image in the Banner Hosted Image field. Learn about hosted banners in Advanced Training Module 2: Hosted Images.
- To upload a banner, click the Add Image button under Banner Uploaded Image.
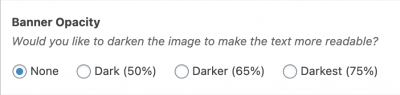
- Select your desired Banner Opacity.
Parent page
You can make one page appear as the “child” of another page by giving it a “Parent” in the “Page Attributes” menu. This will change the child page’s URL to the following: https://carleton.ca/yoursite/parent-page/child-page.

A parent page is a way to group pages. For example, a parent page could be “Fruit” and its child pages could be “Banana”, “Orange”, and “Pear”. Parent pages are not required but do change the URL and help you stay organized.
To give a page a parent: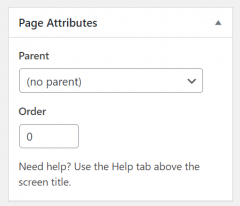
- Navigate to the Page Attributes menu
- Select a page from the drop-down list under Parent
- Under Order, insert an order number. If the parent page has many child pages, child pages will be arranged by order number.
Table of contents
A table of contents is displayed at the top of a page. It allows users to easily navigate your page and quickly jump to the content they are looking for. An example of a table of contents can be found at the top of this page.
To enable table of contents:
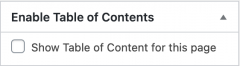 From the content editor screen, navigate to the Enable Table of Contents menu.
- Check the box next to Show Table of Contents for this page.
- The table of contents is automatically generated based on your current headings.
Video Tutorial
Transcript
Try It Out!
Now that you have learned about pages, time to try it out!
- Create a new page.
- Give the page a title. Change the page URL.
- Add a banner image to your page.
- Give the page a parent page.
- Add some headings to the page, and generate a table of contents.