Notifications are sent in response to users filling out your form. You will need to edit or delete the default notification which automatically notifies the {admin_email} (in Carleton’s case, this is the address web@carleton.ca) and change it instead the an email address that is monitored by whoever needs to be aware of form responses. You can also use notifications to send an automatic email upon submission to the user who fills out your form.
Step-by-Step
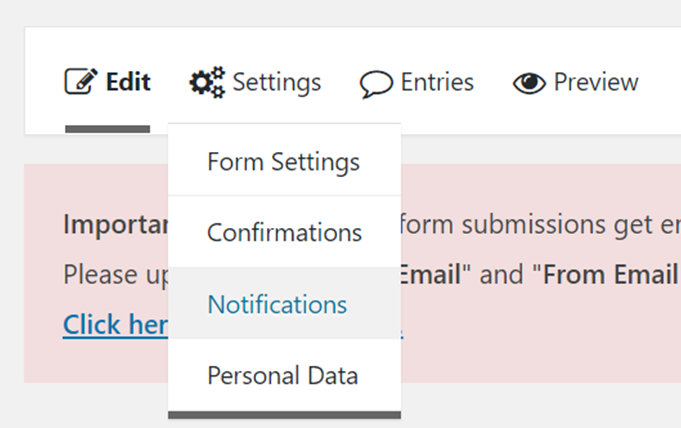
- From the form’s Edit screen, hover over Settings in the form’s menu and click on Notifications.
- From here, you can either edit the Admin Notification by clicking on it or click Add New to create a new notification.
- There are several fields you can edit on this screen. The most important fields are explained here, but you can view more information on each field by hovering over the question mark icon next to each field name:
- Under Send To, you can input the email where the notification will be sent in the Send to Email field.

- This email address should usually be a departmental or individual email that will be monitored for form responses. However, if you are creating a notification that will email users when they have filled out the form, you can also choose the Select a Field option, and choose the email field in your form.
- If you are editing the default Admin Notification, be sure to remove {admin_email} from the Send to Email field.
- In the From Email field, input the email you would like the notification to be sent from.

- If you are editing the default Admin Notification, be sure to remove {admin_email} from the From Email field.
- You can also edit the Subject and Message of the email notification.
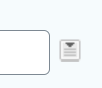
Merge tags button
- Under Send To, you can input the email where the notification will be sent in the Send to Email field.
- Next to most fields, there is a Merge Tags button which allows you to input the values entered into a field in the form. These values will appear as the name and id of the selected field in curly brackets, which will be replaced by the actual input value when the message is sent.
- For example, if you want to send a notification email to the user and address them by name, you could use the Merge Tags tool to select the name field and input it in the Message. (Ex. Hello {Name (First):2.3} )
- Once you’re finished editing the notification, click Update Notification.
- From the main notifications screen (see step 1 to navigate back here), ensure that only the notifications you want to be sent are toggled on with the Active/Inactive slider. If you did not choose to edit the Admin Notification, please either toggle it to inactive, or delete it.
Video Tutorial
Transcript
Try It Out!
This series of trainings will follow a single form from creation to downloading responses. This practice activity requires you to have already created a form. If you do not know how to do that, you can return to a previous training exercise.
- Open your test form and navigate to notifications.
- Edit the default notification and create a notification that will send you an email when the form is filled out. Make sure to replace any mentions of {admin_email} with an appropriate email.
- Save your notification.
- Create a new notification and create a notification that will send an email to the person who has filled out the form, notifying them that they have filled out the form. Hint: you will need to have an email field in your form!
- Save this notification
- Toggle both notifications to active.