The navigation menu is an essential element of your site. It allows all users to navigate across your website and easily find important information.
Some things to remember:
- An easy-to-follow menu is key for helping visitors find the information they need.
- You don’t need to add every page to the menu. Having too many menu items can be overwhelming.
- Creating an outline or plan for your menu structure is a good approach. Think of how many levels you need, and what will fall under each section.
- For more tips on menu structure, see our article on building effective website navigation.
You can see an example of the site navigation to the left.
Step-by-Step
Adding page(s) to the navigation menu
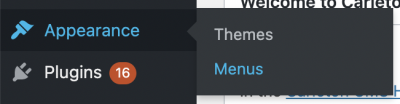
- From the back end of your site, select Appearance > Menus on the side menu.
- On the left-hand side of your screen, you will see a list of pages on your site.
- Check off the page(s) you would like to add to the menu. You can find your pages using Most Recent, View All or Search.
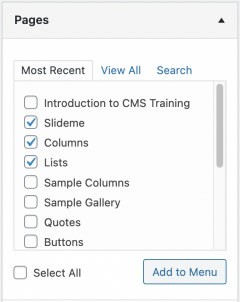
- Click Add to Menu. The added page(s) will appear at the bottom of the list.
Arranging menu items
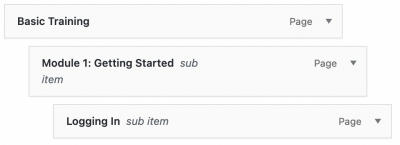
- Drag and drop a menu item to move it up or down the navigation
- To make a page a sub item (“child”) of the page above it, indent the child page by dragging it to the right. Up to 3 levels of menu items will display in the navigation.
- Click Save Menu to save your changes.
Removing a page from the navigation menu
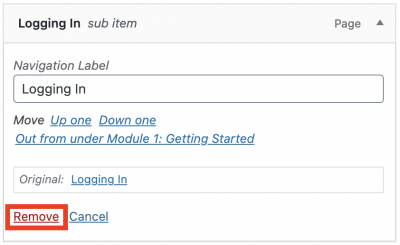
- Scroll down to the menu item you wish to remove and click the arrow beside it to open the menu item settings.

- Click Remove.
- Click Save Menu to save your changes.
Video Tutorial
Transcript
Try It Out!
Now that you have learned how to set up your site navigation, time to try it out!
- Create a navigation menu for your site.
- Change the order of your items.
- Change the hierarchy of your menu so that it has at least 1 main menu item, 1 second level item and 1 third level item.
- Delete an item from your menu.