Installing VMware View Client for Mac – Instructions
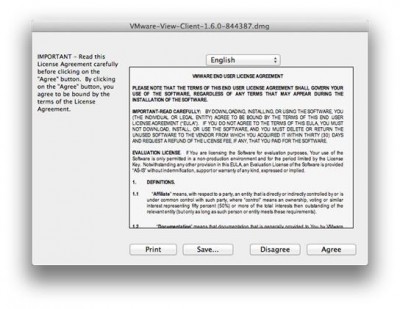
To begin the installation, run the downloaded dmg file and click Agree.
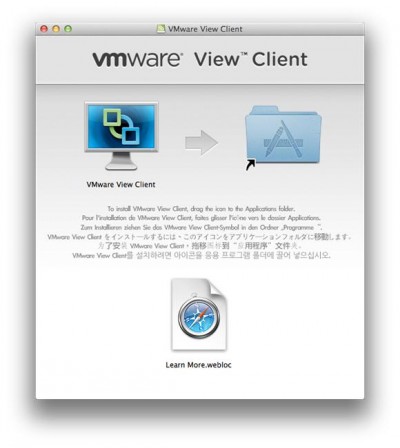
Click and drag the left picture to the file folder picture. This will install the VMware software and locate it in the Applications folder.
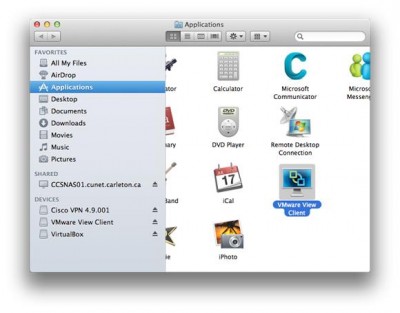
Double click on the VMware View Client icon in the Applications folder to launch the viewer.
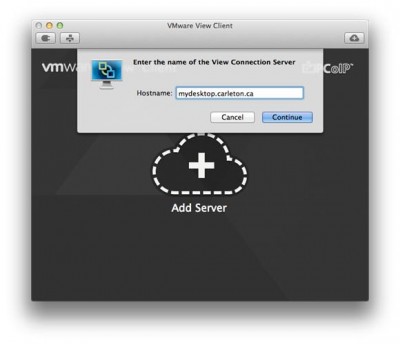
Click Add Server and enter cudesktop.carleton.ca for the hostname.
Click Continue.
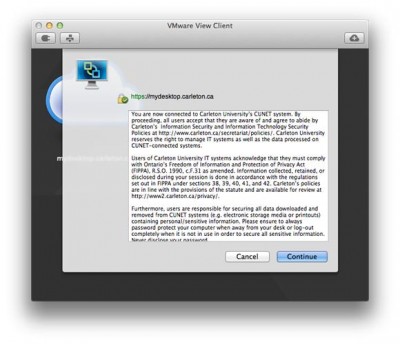
The client will attempt to connect and if it can connect you should see the FIPPA login message. If you agree to the terms, click Continue.
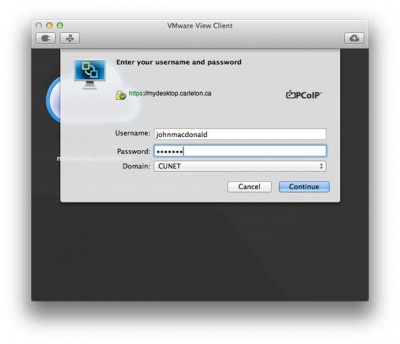
The Client will then prompt for your CUNET credentials. Enter your MyCarletonOne account username and password and click Login.
Note: This is the same username and password that you would use to login to a ITS lab computer on campus.
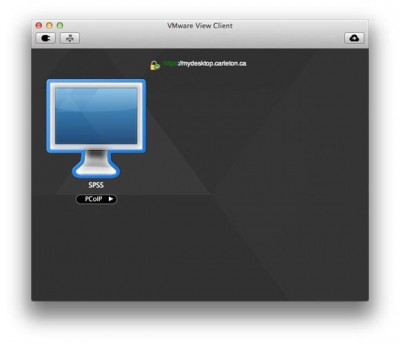
The software will validate your username and password and then will show you the virtual environments that you have access to. Each Virtual Environment includes specific software. Select the Virtual Environment or ‘Pool’ you wish to use.
VMware Client
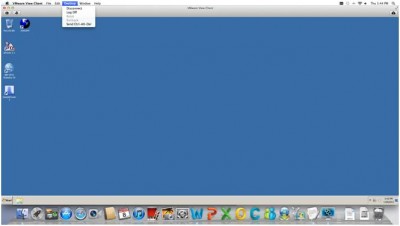
After connecting to a Virtual Desktop, you will be able to send a Ctrl + Alt + Del command via the Desktop menu along with the disconnect.
