You must connect to Carleton’s Virtual Private Network (VPN) to access cuDesktop
The cuDesktop service, also known as Virtual Desktop Infrastructure (VDI), provides an alternative to physical computer labs, for courses which require students have access to course-specific software during course lectures. It allows students access to applications without needing them to be installed on their own laptop or tablet.
All Students Staff & Faculty have access the general VDI environment, currently we are providing the following applications with this service: SPSS, Sample Power, SAS, MatLab, StataSE and Office365.
If you encounter any issues downloading and installing the cuDesktop Software, please consult the documentation in the menu on the left, or email its.service.desk@carleton.ca for support.
Connect to the cuDesktop Environment
You must connect to Carleton’s Virtual Private Network (VPN) to access cuDesktop
- VMware Web Version
If you do not wish/can’t install the VMHorizon software you can access the cuDesktop environment via the web. Simply go to the website: https://cudesktop.carleton.ca and choose the “VMware Horizon HTML Access” option
- When using cuDesktop...
- Virtual Private Network (VPN) – Users will need to log in with Carleton’s Virtual Private Network (VPN) to access the VDI service. Instructions on how to access Carleton’s VPN can be found here
- Connection Server
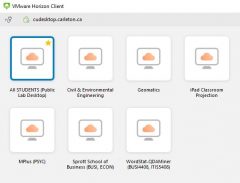
The name of the connection server to use with the client application is cudesktop.carleton.ca
- WiFi
If you are using a mobile device that uses a cellular network technology, you may be charged for data access under your plan if your device uses that to connect. We recommend using WiFi whenever possible.
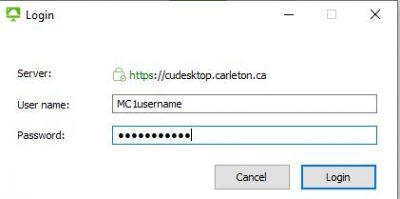
- MyCarletonOne
A MyCarletonOne account is required to connect to cuDesktop. Activate your MyCarletonOne account here.
- Logging Out
Please ensure that you log out of your virtual environment when you are finished. To do this, click on the start menu, and click on the log off button. Clicking on the x to close the VMware View client will not log you out for 5 minutes and can lead to problems.
- Saving files
When saving your files, please be sure to save to your Network Drive (P: ) or to a USB drive connected to the VMware View Client. Files saved to My Documents or the Desktop in the Virtual Environment will be removed once you log out of the current session.
Download and Install the cuDesktop Software
Client Documentation can be found Horizon View Client Documentation
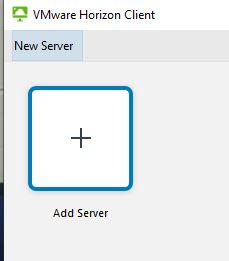 Enter the connection server: cudesktop.carleton.ca and click connect, accept the FIPPA agreement.
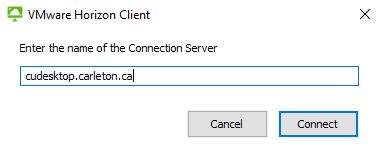

 Windows Client
 Mac Client