cuDesktop Windows Support
- Do I need the 32 bit client or the 64 bit client?
- Using the VMware View Client for Windows
- VMware Client Menu Bar
Do I need the 32bit client or the 64bit client?
Please note that the VMware View Client is currently not supported on Windows 8 RT.
For Windows XP, Vista or Windows 7, please refer to the following Microsoft article to determine if you are running a 32bit or 64bit version of Windows.
For Windows 8, open the Control Panel and open System. To open the control panel, go to the start menu and select “All Apps”. The control panel should be listed under Windows System.
If you don’t see system in the control panel, change the View By from Category.
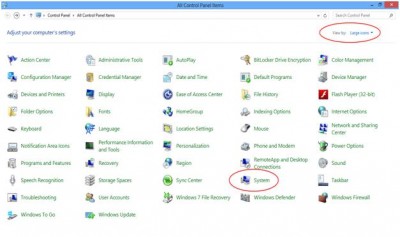
Open the System Properties and look for the System Type. It should say either 32bit Operating System or 64bit Operating System
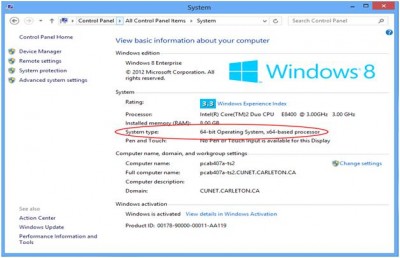
Download and install the VMware View client that matches the System Type.
Installing VMware View Client for Windows – Instructions
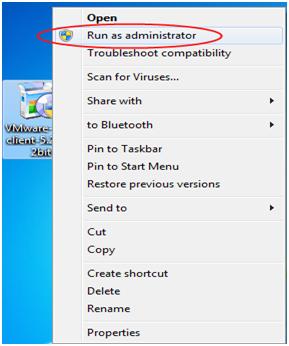
When installing software on Windows Vista, Windows 7 or Windows 8, it is best to run the installation File using the ‘Run As Administrator’ option. Right click on the file that you downloaded and choose the ‘Run as Administrator’.
Windows XP does not require this step.
You may receive a prompt asking “Do you want to allow the following program to make changes to this computer?” Click Yes if you see this prompt.
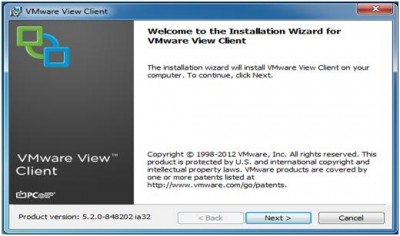
The welcome screen will open.
Click Next.
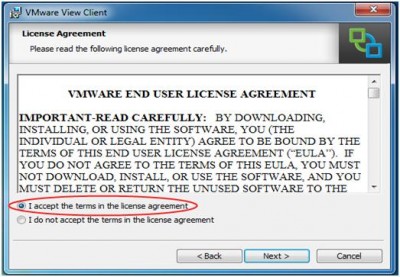
Enable ‘I accept the terms of the license agreement’ and click Next.
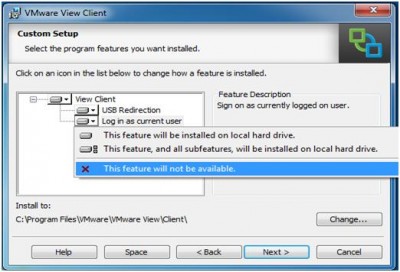
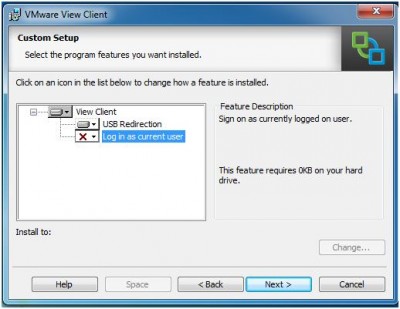
If you wish to use USB drives, ensure that the USB redirection option is selected.
Remove the option for Log in as current user.
If you need to change the location where the client installs, click Change. If possible leave this at the default location.
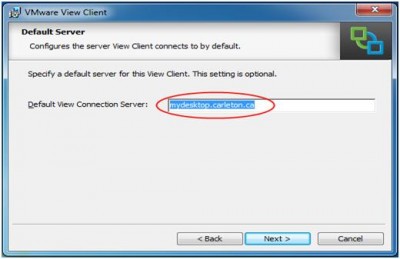
Enter cudesktop.carleton.ca as the name of the connection server and click Next.
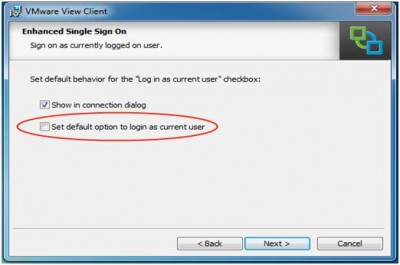
If you see the screen below, ensure that the box for “Set default option to login as current user” is Unchecked. This screen only appears if the Log in as current user feature was installed. If the log in as current user option was not installed, you will not see this screen.
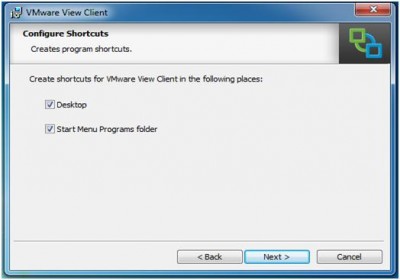
Select which options you would prefer for creating shortcuts.
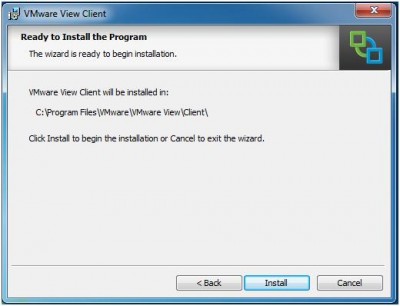
To begin the install, click Install. This step may take several minutes.
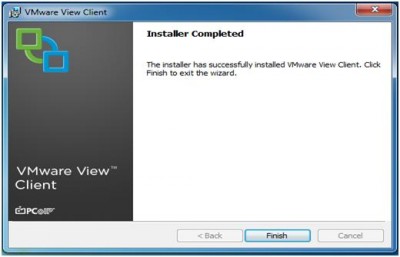
Click Finish to complete the install.
The software may prompt you to restart once it is installed. Before restarting or clicking yes, save any files or programs that you have open. You can also click no and manually restart after you have saved your files.
Using the VMware View Client for Windows
Once installed shortcuts for the VMware View Client will be located on the Start Menu or Desktop, depending on the choices that were made during the installation.
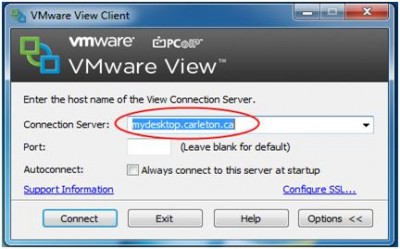
To connect to the virtual environment, open the VMware View Client, this is pictured below.
Enter the connection server of cudesktop.carleton.ca and click connect.
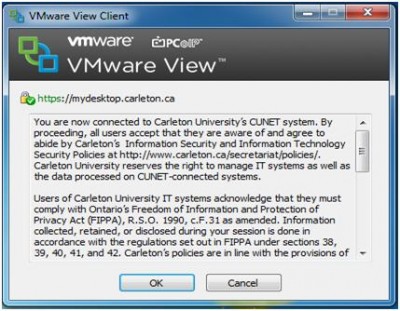
The client will attempt to connect and if it can connect you should see the FIPPA login message. If you agree to the terms, click on OK to continue.
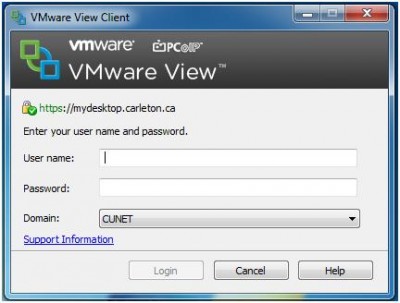
The Client will then prompt for your CUNET credentials. Please enter your MyCarletonOne account username and password and Click on Login These are the same name and password that you would use to login to one of the CCS Lab computers on campus.
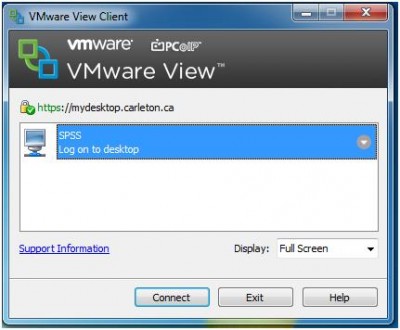
The software will validate your name and password and then will show you the virtual environments that you have access to. Each Virtual Environment includes specific software. Select the Virtual Environment or ‘Pool’ you wish to use and click connect.
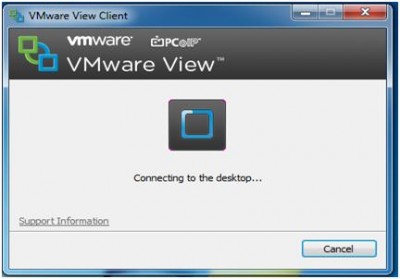
The system will connect you to a Virtual Desktop and log you in.
VMware Client Menu Bar
After connecting to a Virtual Desktop, you will see the View Client Menu Bar along the top of the screen. This provides interaction with the View Client, including connecting a USB drive or Sending the CTRL-ALT-DEL sequence to the virtual desktop as well as options to disconnect or disconnect and logoff.
Connecting USB drives:
To connect a USB drive to the virtual desktop, click on the “Connect USB Device” menu on the View Client Menu Bar. Please note that the USB access is slower in the Virtual Environment than using a USB drive directly from your computer.
