Standard Printing
Setting Up Standard Printing
To add a printer to your Windows 10 computer complete the following steps:
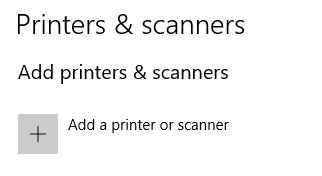
- Go to your Settings (press the Windows button and click the gear icon in the lower left corner), click on Devices, and select Printers & Scanners
- Click the “Add a printer or scanner”
- Next, find your printer on the list that appears. Generally all printers follow a standard naming convention of “ps”+”building abbreviation”+”Floor&Room Number”+(optional if there is more than one printer in the room)”a,b,c,d,etc.”.
- For example, a printer located in room 1211 in Dunton Tower would have the name “psdt1016”. The second printer in room 202 in the Architecture Building would have the name “psaa202b”.
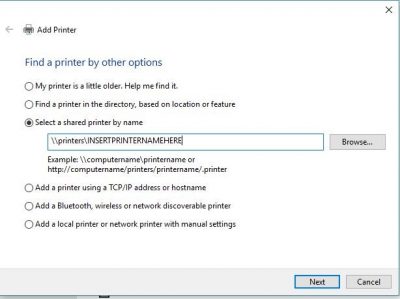
- If your printer name does not appear on the loaded list, scroll to the bottom and select “The printer that I want isn’t listed”

- Under “Find a printer by other options”, choose “Select a shared printer by name” and add your printer in the following format. If you enter “\\printers\ps”, a complete list of departmental printers should appear. Select the one you want, then select “Next”.
To add a printer to your Windows 11 computer complete the following steps:
- Go to your Settings (press the Windows button and click the settings/gear icon), click on Bluetooth & Devices, and select Printers & Scanners. Click the “Add Device” button.
- Next, find your printer on the list that appears. Generally all printers follow a standard naming convention of “ps”+”building abbreviation”+”Floor&Room Number”+(optional if there is more than one printer in the room)”a,b,c,d,etc.”. For example, a printer located in room 1211 in Dunton Tower would have the name “psdt1016”. The second printer in room 202 in the Architecture Building would have the name “psaa202b”.
If your printer name does not appear on the loaded list, scroll to the bottom and select “Add a new device manually” - Under “Find a printer by other options”, choose “Select a shared printer by name” and add your printer in the following format. If you enter “\\printers\ps”, a complete list of departmental printers should appear. Select the one you want, then select “Next”.
- Your printer should then be added!
If you are still unable to find your departmental printer, please contact the Information Technology Services Help Desk at extension 3700, or by email at ITSServiceDesk@Carleton.Ca.
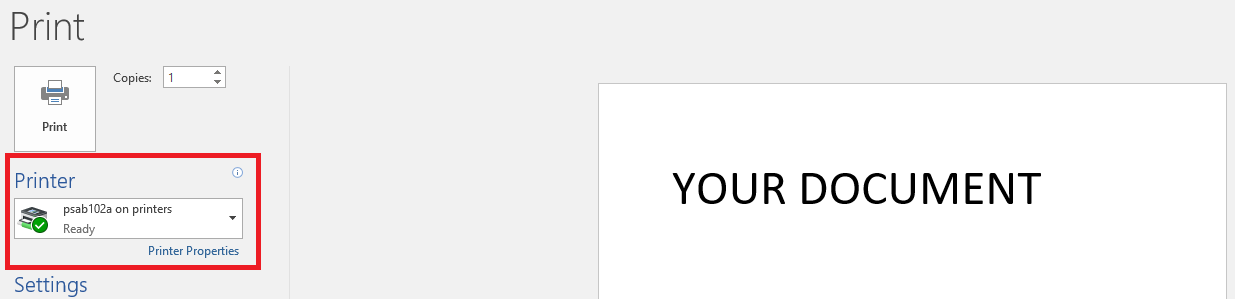
Using Standard Printing
- Simply print any document like you normally would, after selecting your departmental printer as the device to which you want to send the print job.