Confidential Printing
Setting Up Confidential Printing
Below you will find instructions on how to set up confidential printing on PC, MAC, and Linux.
If you have any problems with these instructions, please contact ITS at extension 3700, or at ITSServiceDesk@Cunet.Carleton.Ca.
Windows 10 Users
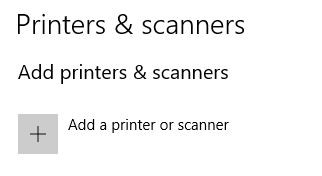
- Go to your Settings and select Printers & Scanners
- Click the “Add a printer or scanner”
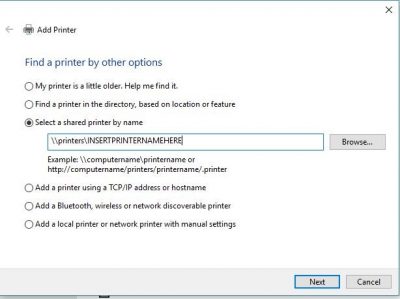
2. If your printer name does not appear on the loaded list, scroll to the bottom and select “The printer that I want isn’t listed”

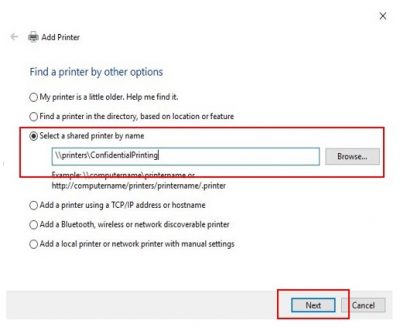
3. Under Find a printer by other options, choose “Select a shared printer by name” and type in “\\printers\confidentialprinting“. Then select “Next”.
Windows 11 Users
To add a printer to your Windows 11 computer complete the following steps:
- Go to your Settings (press the Windows button and click the settings/gear icon), click on Bluetooth & Devices, and select Printers & Scanners. Click the “Add Device” button.
- Next, find your printer on the list that appears. Generally, all printers follow a standard naming convention of “ps”+”building abbreviation”+”Floor&Room Number”+(optional if there is more than one printer in the room)”a,b,c,d,etc.”. For example, a printer located in room 1211 in Dunton Tower would have the name “psdt1016”. The second printer in room 202 in the Architecture Building would have the name “psaa202b”.
If your printer name does not appear on the loaded list, scroll to the bottom and select “Add a new device manually” - Under “Find a printer by other options”, choose “Select a shared printer by name” and add your printer in the following format. If you enter “\\printers\ps”, a complete list of departmental printers should appear. Select the one you want, then select “Next”.
- Your printer should then be added!
MAC Users
- Open System Preferences, and click on Printers & Scanners.
- Click on the +icon (underneath the list of configured printers), and the Add Printer window will open.
- Select the Advanced Icon – *NOTE* If the Advanced icon is missing, Control-click in the area near the icons and select “customize toolbar”. Drag the advanced icon next to the other icons.
- Type: Windows printer via spoolss
- URL: smb://printers.cunet.carleton.ca/printername (ex. psaa106).
- Name: confidentialprinting
- Use: Generic Postscript Printer (normally works, you can also download the mac driver for the printer from Manufacturer website)
- Click Add
- Check “Duplex Printing Unit” box
- When prompted to save your username and password, do not check “save password in the keychain” until you confirm your connection works. If you have issues in the future, you may need to delete the keychain entry and re-enter your credentials
You should now see the printer listed on the Print & Fax window, with a green dot indicating the printer is available (or red if offline), and the status of the printer.
Linux Users
- From run menu run Printers
- Click Add window will open.
- From Network Printer
- LPD/LRP Host or Printer
- Host: printers.cunet.carleton.ca
- Queue: confidentialprinting
- Forward
- Chose Driver
- Provide PPD File
- Ppd
- Forward
- Provide PPD File
- Fill out the form — Apply
- Print Test Page
Using Confidential Printing
- Select File and Print on the document to be printed
- Under the Printer drop-down menu, select ConfidentalPrinting, then print the document
- Go to your departmental device and swipe your card. You should see a list of documents in your confidential print queue
- Select the job to be printed by touching it, then press the Release button
- You can release multiple jobs you may have queued by selecting them all and choosing Print (on the right)
- If you would like to delete some jobs from the queue select and choose Delete (on the right)
