Graphical Desktop using X2Go
Overview
The X2Go software uses the same SSH protocol as remote command-line connections to servers. But unlike plain SSH connections, X2Go provides a full remote graphical desktop environment. Further, you can disconnect and later reconnect to a running X2Go session. On the Virtual Machines in our Linux RCDC compute cloud, X2Go is not normally installed. But if you have a use-case for it, please contact the RCS team and we can help you to set up X2Go.
Installing X2Go Client
The X2Go Client is available for Mac, Windows, and Linux. To download a Mac or Windows installer, visit this page:
https://wiki.x2go.org/doku.php/download:start
Connecting to X2Go Server
A member of the RCS team will give you connection information, including username/password and IP address. They are the same settings as used by SSH software such as MobaXterm.
To connect:
- Start the Carleton VPN if off-campus or on wireless
- Launch the X2Go Client software
- On the Session menu, click New Session
- The first time you run X2Go on Windows, you might be asked to allow a few X2go connections through your Windows Defender Firewall.
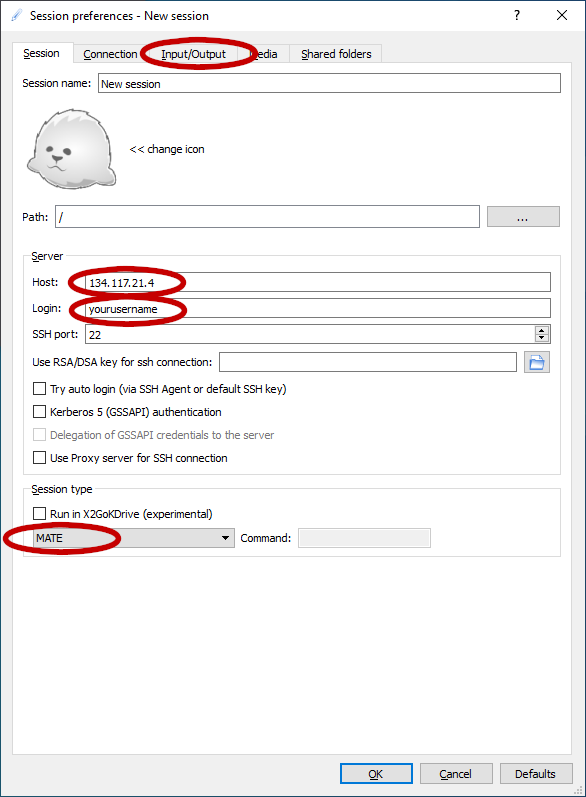
- Enter the following settings:
- Set Host to the provided IP address
- Set the Login to the provided username
- Set the Session type to MATE
- Optionally, on the Input/Output tab, select your preferred display size
- Click OK to close the session dialog
6. Click the box for your newly created session:
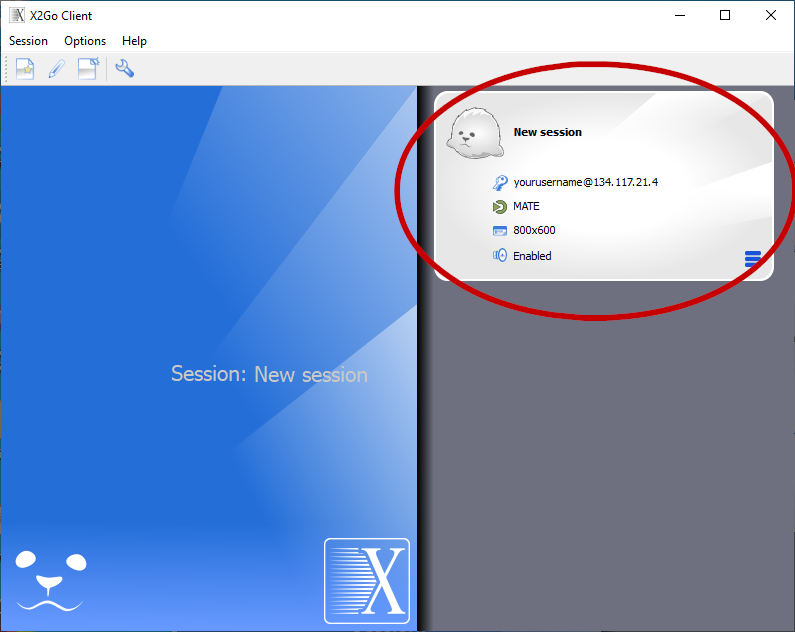
7. Enter your password
The first time you connect, you will be asked if you trust the host key, click Yes.

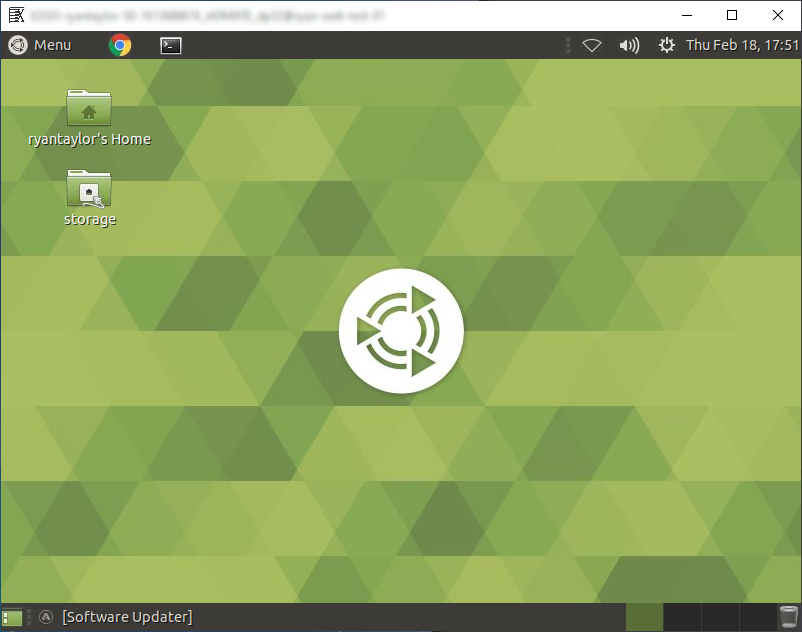
8. Finally, after successful login, you should see the remote Linux desktop: