Citrix provides software for Windows called the Sharefile Data Migration Tool. Information about the tool can be found on this page: https://support.citrix.com/article/CTX215005/sharefile-data-migration-tool
The Sharefile Data Migration Tool helps Primary users upload a large amount of data to Sharefile. These instructions explain how to use this tool in Carleton’s Sharefile environment:
- Download and install the Sharefile Data Migration Tool from here: https://dl.sharefile.com/sfmt/
- Launch the Data Migration Tool – an application icon should be on your desktop
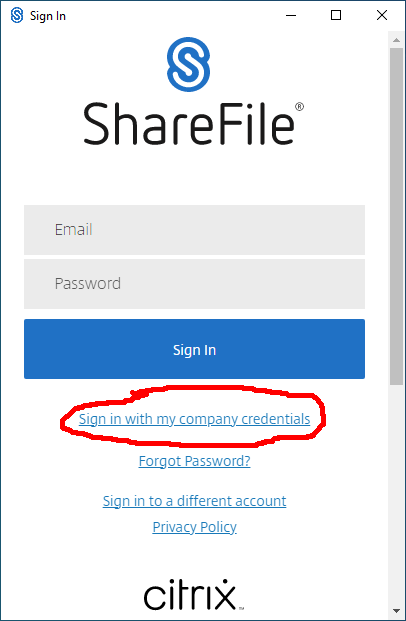
- When you first launch the application, you will need to sign in
- First, enter curesearch for the subdomain:

- Second, Click “Sign in with my company credentials” to complete the login using your MyCarletonOne account:
- First, enter curesearch for the subdomain:
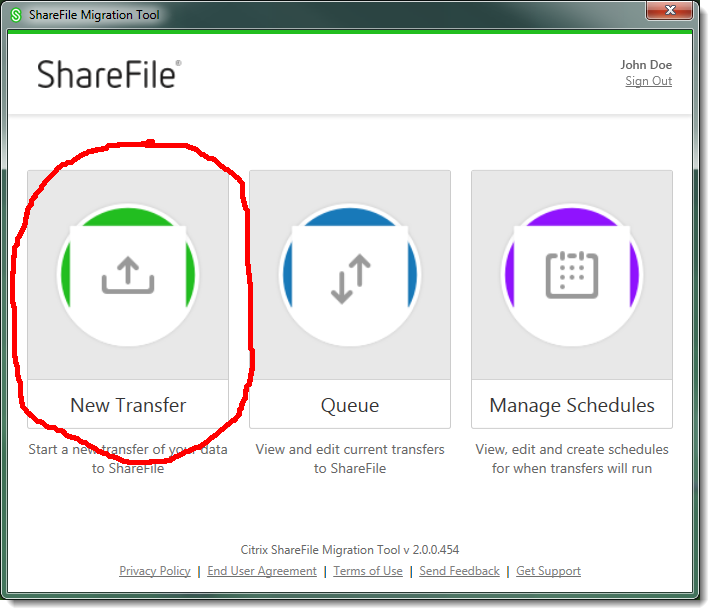
- Click on New Transfer
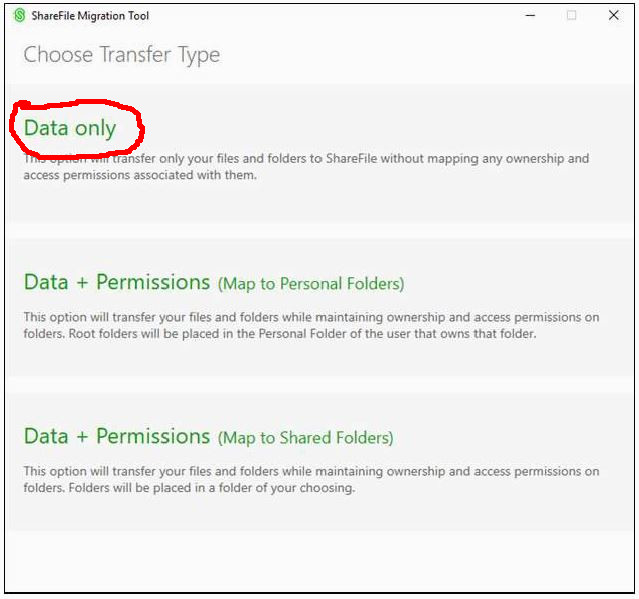
- Select Data Only
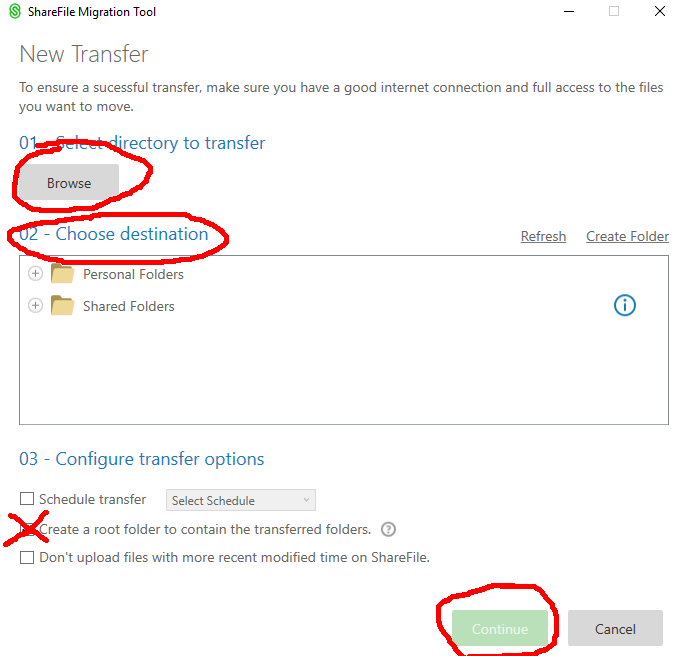
- Complete the following four tasks on the New Transfer configuration page:
- Press ‘Browse’ to select a folder on your computer that contains the files to upload
- Choose a destination folder in the Sharefile cloud where you want to put the files
- Uncheck the “Create a root folder to contain the transferred files”
- Press Continue
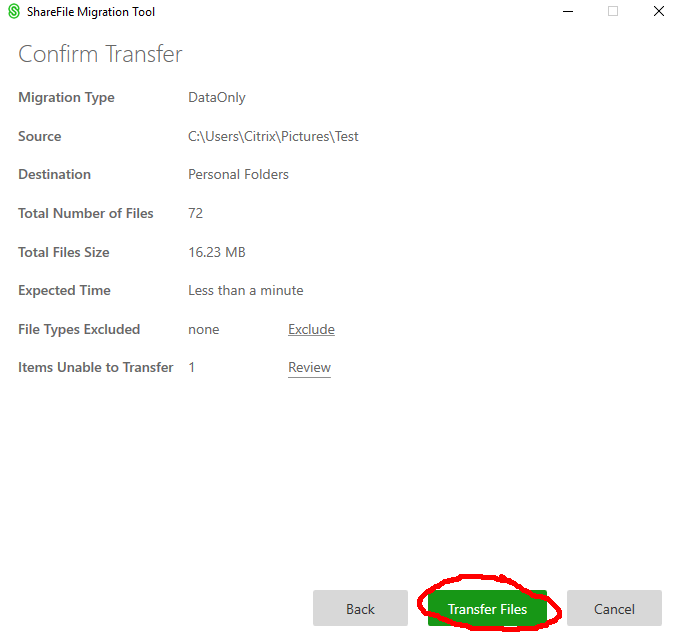
- Review your transfer and then press Transfer Files to begin the transfer
- The tool will show progress during file transfer. Any files that had problems uploaded will be listed for your review. If the transfer is interrupted, you may start a new transfer of the same folders, and it will resume uploading.