We assume here that you are already a Digital Research Alliance of Canada user and have an account. The Alliance provides a variety of storage types on their national systems. Project storage is a space shared among a professor’s research group. Nearline storage is intended for inactive data, i.e. datasets that you do not expect to access for some months. Files on Nearline storage should be between 10GB and 4TB in size; you may need to archive many small files into a larger ZIP file to achieve this file size. Information on the default allocations on the Digital Alliance’s various systems can be found HERE and information on file system quotas can be found HERE. On this last page you can see: “Project space can be increased to 40 TB per group by a RAS request. The group’s sponsoring PI should write to technical support to make the request.” as of the writing of this page. If you run into any issues transferring data to or from the Alliance please contact us.
To transfer data to/from Alliance storage from your computer:
- Create a Globus account for your Digital Alliance username by clicking here
- Install Global Connect Personal on your personal computer
- Ensure Globus Connect Personal is running and you are connected on your personal computer
- Login to Globus by choosing Digital Research Alliance of Canada as the Organization. You may need to grant permission to Globus’ CILogon to get access to your Digital Alliance account details.
- Click the two pane layout on the top right Panel buttons
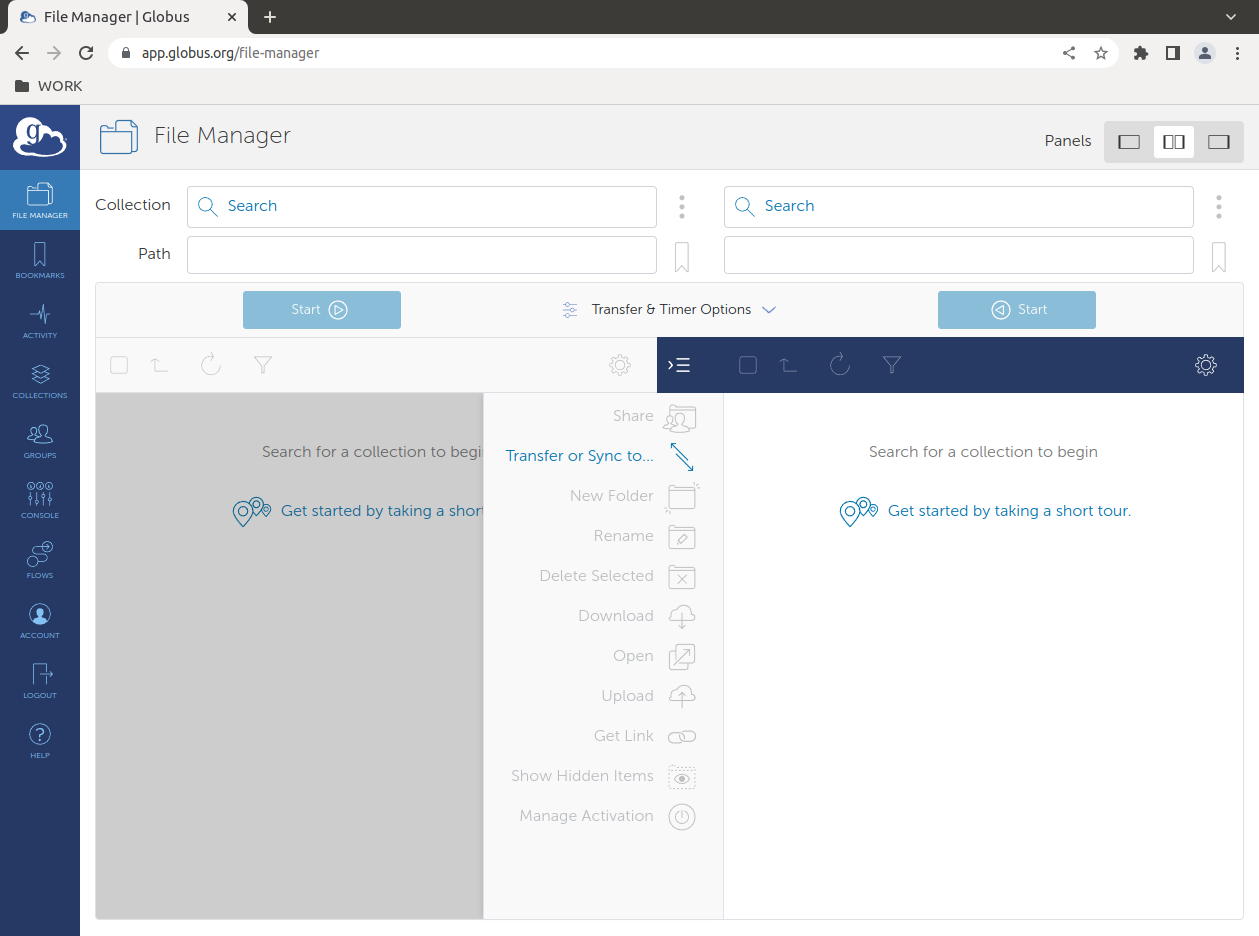
- In one pane of the Globus File Manager, connect to the Alliance cluster of choice (ie. Graham Collection computecanada@graham-globus). You may need to authenticate with your graham login.
- On the other Globus pane, connect to the collection for your endpoint. You gave this Collection a name when you installed Global Connect personal on your computer
- Connect to your two endpoints, e.g. the Graham cluster and your personal computer. Choose the nearline storage folder or a project folder on the cluster.
- Choose the files that you want to transfer, and the location you want to transfer to in the other pane. Click the ‘Start’ button above the files that you want to transfer
- You can monitor the status of your file transfer on the Activity tab. You will also receive an email when the file transfer has completed.