cuCollab is deprecated: New cuCollab sites are no longer being created Existing cuCollab sites will remain accessible as long the server remains operational, but no new memberships should be expected to be added.
Carleton committees and working groups are encouraged to consider the use of Microsoft Teams, which provides a superset of cuCollab capabilities for document sharing, collaboration, and online meetings. The Service Desk can provide consulting on the use of MS Teams, as well as assistance in migrating files from cuCollab to Teams.
[toc]
The ‘Files’ Area
The Files area is where your group will share and collaborate on files together.
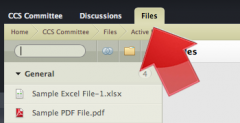
To access the Files area
- Click on the Files Tab within a Project.
Working with Text Files
Instead of uploading files from your computer, you can create Text Files directly in cuCollab. Text Files can be a simple quick note or list or they can contain images, videos and tables. One advantage of using Text Files is that everyone in your group is guaranteed to be able to view them since Text Files are a part of the cuCollab system and do not have to be downloaded.
Note: Other file types, such as Word Docs, PowerPoint files and Excel files, do need to be downloaded to be viewed. As well, they require users to have software installed, e.g. PowerPoint to view .ppt files. In this way, Text Files are easier and more accessible to use.
Creating Text Files
If you are looking to create files quickly or share secure files that don’t get downloaded on to others’ computers, Text Files are a recommended solution.
To create a Text File
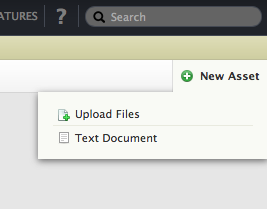
- Within the Files Area, click the ‘New Asset’ button (top-right) and select the ‘Text Document‘.
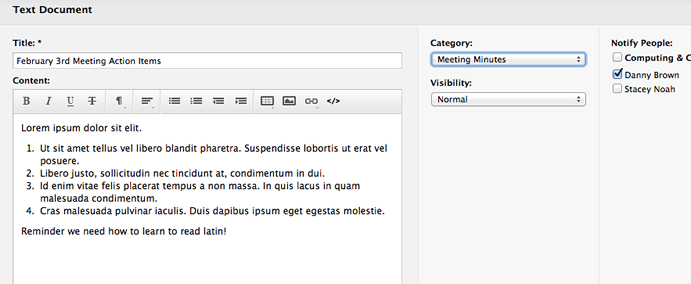
- Enter a title in the Title Field.
- Enter your content in the text editor.
Note: The toolbar at the top provides you with formatting such as Bold, indentations, lists, tables, URL bookmarks, embedded Youtube videos , code snippets and images. You can even drag and drop images in from another browser window. - Select or create a new category to put your new Text Document in to stay organized.
- If you want, you can notify People in your group about the creation of your Text Document by selecting the names of those you wish to receive an email with a link to the file.
- To save, click ‘Create Document‘.
Uploading Files
To upload a file(s)
- Click the ‘New Asset’ button (top-right) and select the ‘Upload Files’ option.
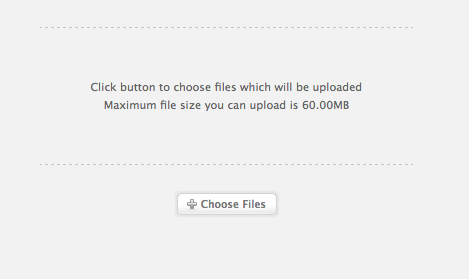
- Click the ‘Choose Files‘ button in the middle of the grey area on the left. You can see a list of supported file types here. Note: The maximum file size is 60MB.
- Locate and select the file(s) to upload. Note: to upload multiple files at once, hold the Ctrl key on PC or Command key on Mac down on your keyboard and click on all the files that you want to select.
- If you want, you can add a Description for each file that provides more info on the document.
- You can select or create a new Category for the document to stay organized.
- If you want, you can notify People in your group about the creation of your file(s) by selecting the names of those you wish to receive an email with a link to the file(s).
- Click the green “Save” button in the bottom left to complete uploading your file(s).
Note: The visibility option does not do anything at this time, and should be ignored.
Supported File types
Currently, only the following file types are supported:
- Documents: .txt, .pdf, .doc and .docx, .ppt and .pptx, .xls and xlsx, Keynote and Pages files,
- Images: .bmp, .gif, .jpg, .jpeg, .png, .eps
File Naming Conventions
Organizing and Finding Files
Files in cuCollab can be organized and systemized according to many different criteria.
The File list on the left side can be filtered or grouped by accessing the menus located above the list:
 Filter By Type
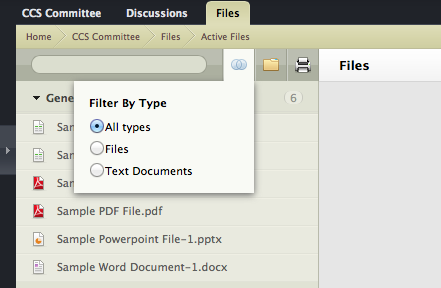
The Filter by Type icon (two overlapping circles above ) lets you choose which File types to display: All types, Files (uploaded), or Text documents created in cuCollab.
Group By filter
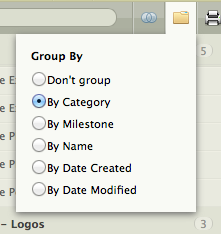
Group By lets you group your files by:
- Category;
- Milestone (Note: feature not available, please ignore);
- Name (alphabetically);
- Date Created; or
- Date Modified (last modified).
Search Filter
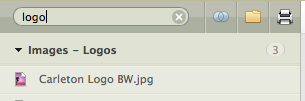
If you have a lot of files and you know the file name you’re looking for, you can find it quickly by entering the name of the file (or part of the name) in the search filter (above). Only files containing the string you type will remain visible.
IMPORTANT NOTE: If, all of a sudden, you cannot find a file or it seems that some are missing, check above the list to see if you have enabled a filter and/or if you have typed something in the search bar.
Printing a list of all files
You can print a list of all the files in your project by clicking on the printer icon beside the filter options.
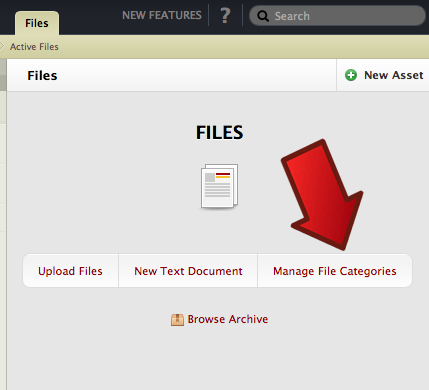
Create and manage File Categories
Note: this function is only available to Project Leaders.
To make changes to File categories:
- make sure no Files are selected by clicking the Files tab up top,
- click the Manage File Categories link. A pop-up window will allow you to create new or rename/delete existing categories.
Mass Editing Files
If you wish to change the properties for a group of Files, you can use the Mass Edit option. To change the properties of multiple Files at once, click individual Files while holding Ctrl (Windows) or Cmd (OS X). After selecting the Files, you will be able to change the Category, or be able to move the Files to Trash or the Archive.
Tracking File Versions
With built-in File version tracking, it is easy to track the various stages of a File’s development in cuCollab. Note: You should never upload complete new files for the same document. Instead, use the New Version feature outlined below.
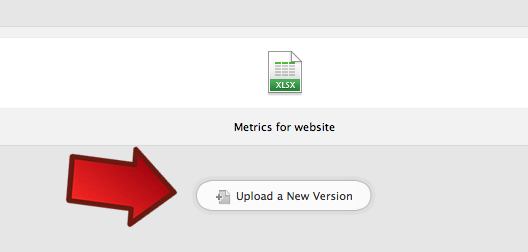
To upload a new version of a File:
- Select the File and click the Upload a New Version link on the Files page.
- Choose the desired File and click the Upload button.
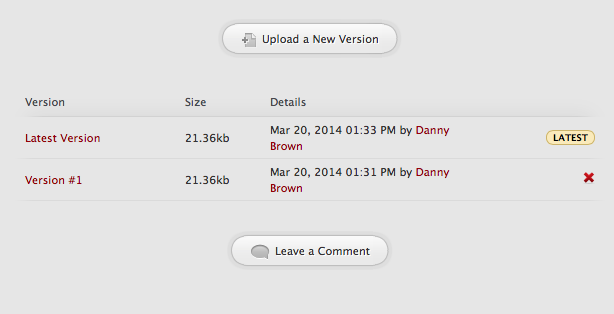
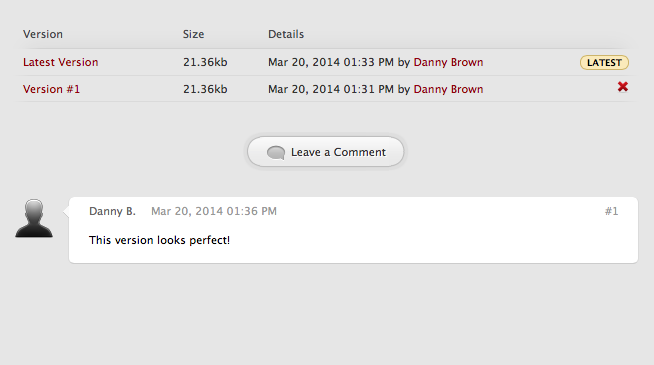
The old version of the File will not be deleted. Instead, it will be stored in cuCollab. You will be able to keep track of all File versions, listed below the latest File version. You can see the latest version; all past versions; the date and time they were uploaded and who uploaded each version. You can delete old versions by clicking the red X beside the version you want to delete.
File Options and Features
CuCollab provides a few useful options for collaborating on and working with your files, such as…
- sharing your files with people outside the cuCollab system;
- making comments on all files;
- file archiving;
- notifications and reminders about files; and
- subscribing, i.e. following a file’s activity.
Sharing Files outside of cuCollab

Sometimes you may need to send a File stored in cuCollab to a client or to show some of your work to a colleague, but there is no need for that person to have an account. A simple solution exists: public file Sharing.
All of these Options in cuCollab are found in the top right dropdown when a file is selected.
To make a File available on a public link to external users,
- Select the File that you wish to share.
- Open Options and click Sharing.
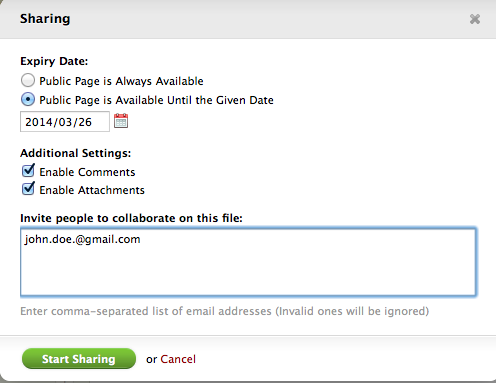
- Click the Start Sharing button.
- If applicable, choose the Expiry Date. This way you don’t need to remove the link if you only want it accessible for a limited time.
- Choose whether to enable Comments and Attachments. Enabling comments will allow those with whom you share the file to comment on the file without access to the system. Attachments will let them attach new versions or other files to the web page where the file is linked.
- Enter email addresses of the people you wish to notify of the File’s public link.
Your File is now available online and for comments and revisions (if selected). All the comments made on the public page will also be stored in cuCollab for future reference.
Comments
To further collaboration, in cuCollab, it is possible to comment on almost everything. You can comment on Files to share ideas, track progress, resolve issues, notify your team about important updates and for any other purpose that you can think of.
All the people Subscribed to a project item will receive a notification for each new comment. That note will also be visible on the Project Overview page in the Recent Activities thread, so you can ensure that your team will notice the new comment.
When making a new comment, you can attach a file or insert an image in the body text.
Locking comments: if you do not want users to be able to comment on a file, select Lock Comments from the file Options menu.
Archiving Files
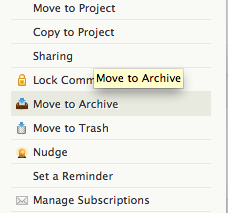
Note: this function is only available to Project Leaders. If you have a lot of older files no longer being used cluttering up your list, but don’t want to delete them altogether, consider Archiving them by selecting Move to Archive under the file options.
To view your archived files
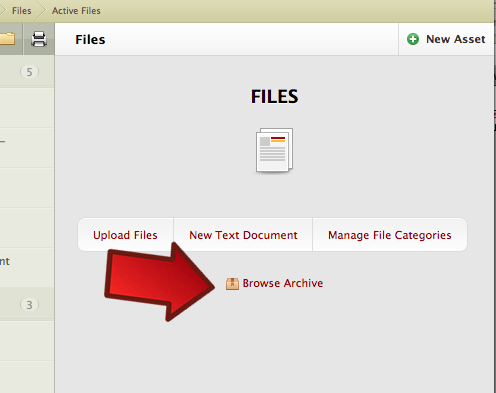
Note: You can restore a file from the Archive at any time by selecting the file and then Restore from Archive from the Files options menu within the Archives.
Deleting (Trash) Files
To permanently delete a file:
- Select the file
- Click on Move to Trash
- Confirm that you want to move the file to the Trash by hitting OK
Note: Before moving a file to the trash, be sure you want to delete the file permanently. Unlike Archiving, deleted files cannot be restored.
The cuCollab Trash gets emptied every 30 days but that cycle is not consistent. If you move something to the Trash, please be sure as it should be considered DELETED.
Notify Others (Nudge)
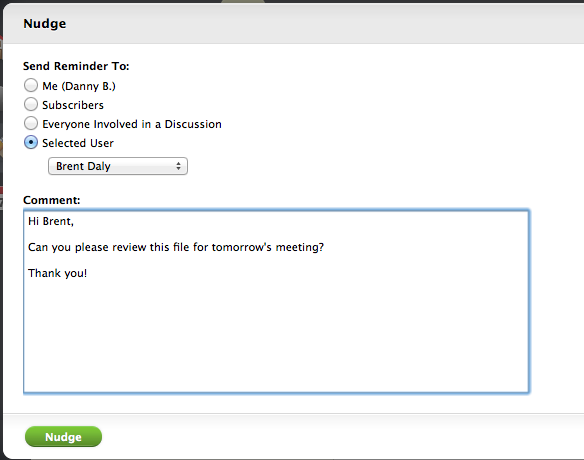
To collaborate with others on a file, or to simply remind them of a file they may need to look at:
- Click on the Nudge button from the File option dropdown.
- Check if you want to send the notification to:
- yourself,
- everyone subscribed to the group,
- everyone who has commented on the file, or
- a selected user
- You can add a comment if you wish and then click the green Nudge button.
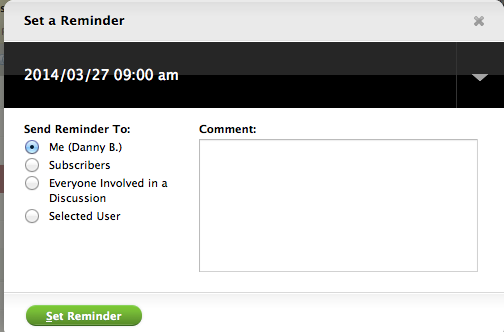
Reminders
Reminders are a good way to send a message to yourself or anyone in the group to remember to look at a file by a certain date and time.
To set a reminder for a file:
- Select the file and click ‘Set a Reminder’ from the file options
- Click the black bar to select a date and time for the reminder to be sent
- Select whether you want to send it to yourself, everyone subscribed to the group, everyone who has commented on the file, or a selected user
- Add a comment for the reminder message
- Click the green Set Reminder button
Subscribing to Files
To stay up-to-date about new events in cuCollab, you can Subscribe to items that are important to you. By doing so, cuCollab will let you know whenever something new happens by sending you Notifications.
To subscribe to a file:
- Select the file and click the small envelope icon near the top right.
- Click it again to unsubscribe
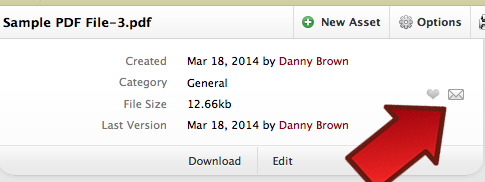
Note: Project Leaders are subscribed to all files by default.
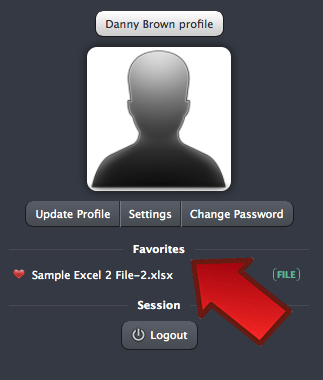
Favourite Files
For files you know you will be accessing often or want to find quickly, you can Favourite the file.
To Favourite a file:
- Select the file and then click on the small heart icon beside the subscribe envelope or select Add to Favourites from the file options dropdown
To access your favourite files:
- From any screen in cuCollab, click on your profile icon in the bottom left

- You will find your favourited files under your profile and above the logout button.