Saving and Publishing
Basic Training Module 1: Getting Started
Creating content is only part of the editing process. Before your content appears on the website, you’ll often save your work as a draft, preview it to ensure everything looks correct, and then publish it when you’re ready.
Understanding the publishing workflow will help you make changes confidently while avoiding accidental updates to your live website.
Working with Drafts
A draft is content that has been created but is not yet visible to website visitors. Drafts allow you to work on content over time and save your progress before publishing.
Auto-Save
WordPress automatically saves your work while you edit. This helps prevent content from being lost if your browser closes unexpectedly or your internet connection is interrupted.
While auto-save is helpful, it’s still a good habit to save your work regularly.
Save Draft
To manually save your work:
- Create or edit a page.
- Click Save Draft.
- WordPress will store your changes without publishing them to the live website.
You can return to your draft at any time to continue working.
Tip: Saving a draft allows you to review content carefully before making it visible to visitors.
Previewing Content
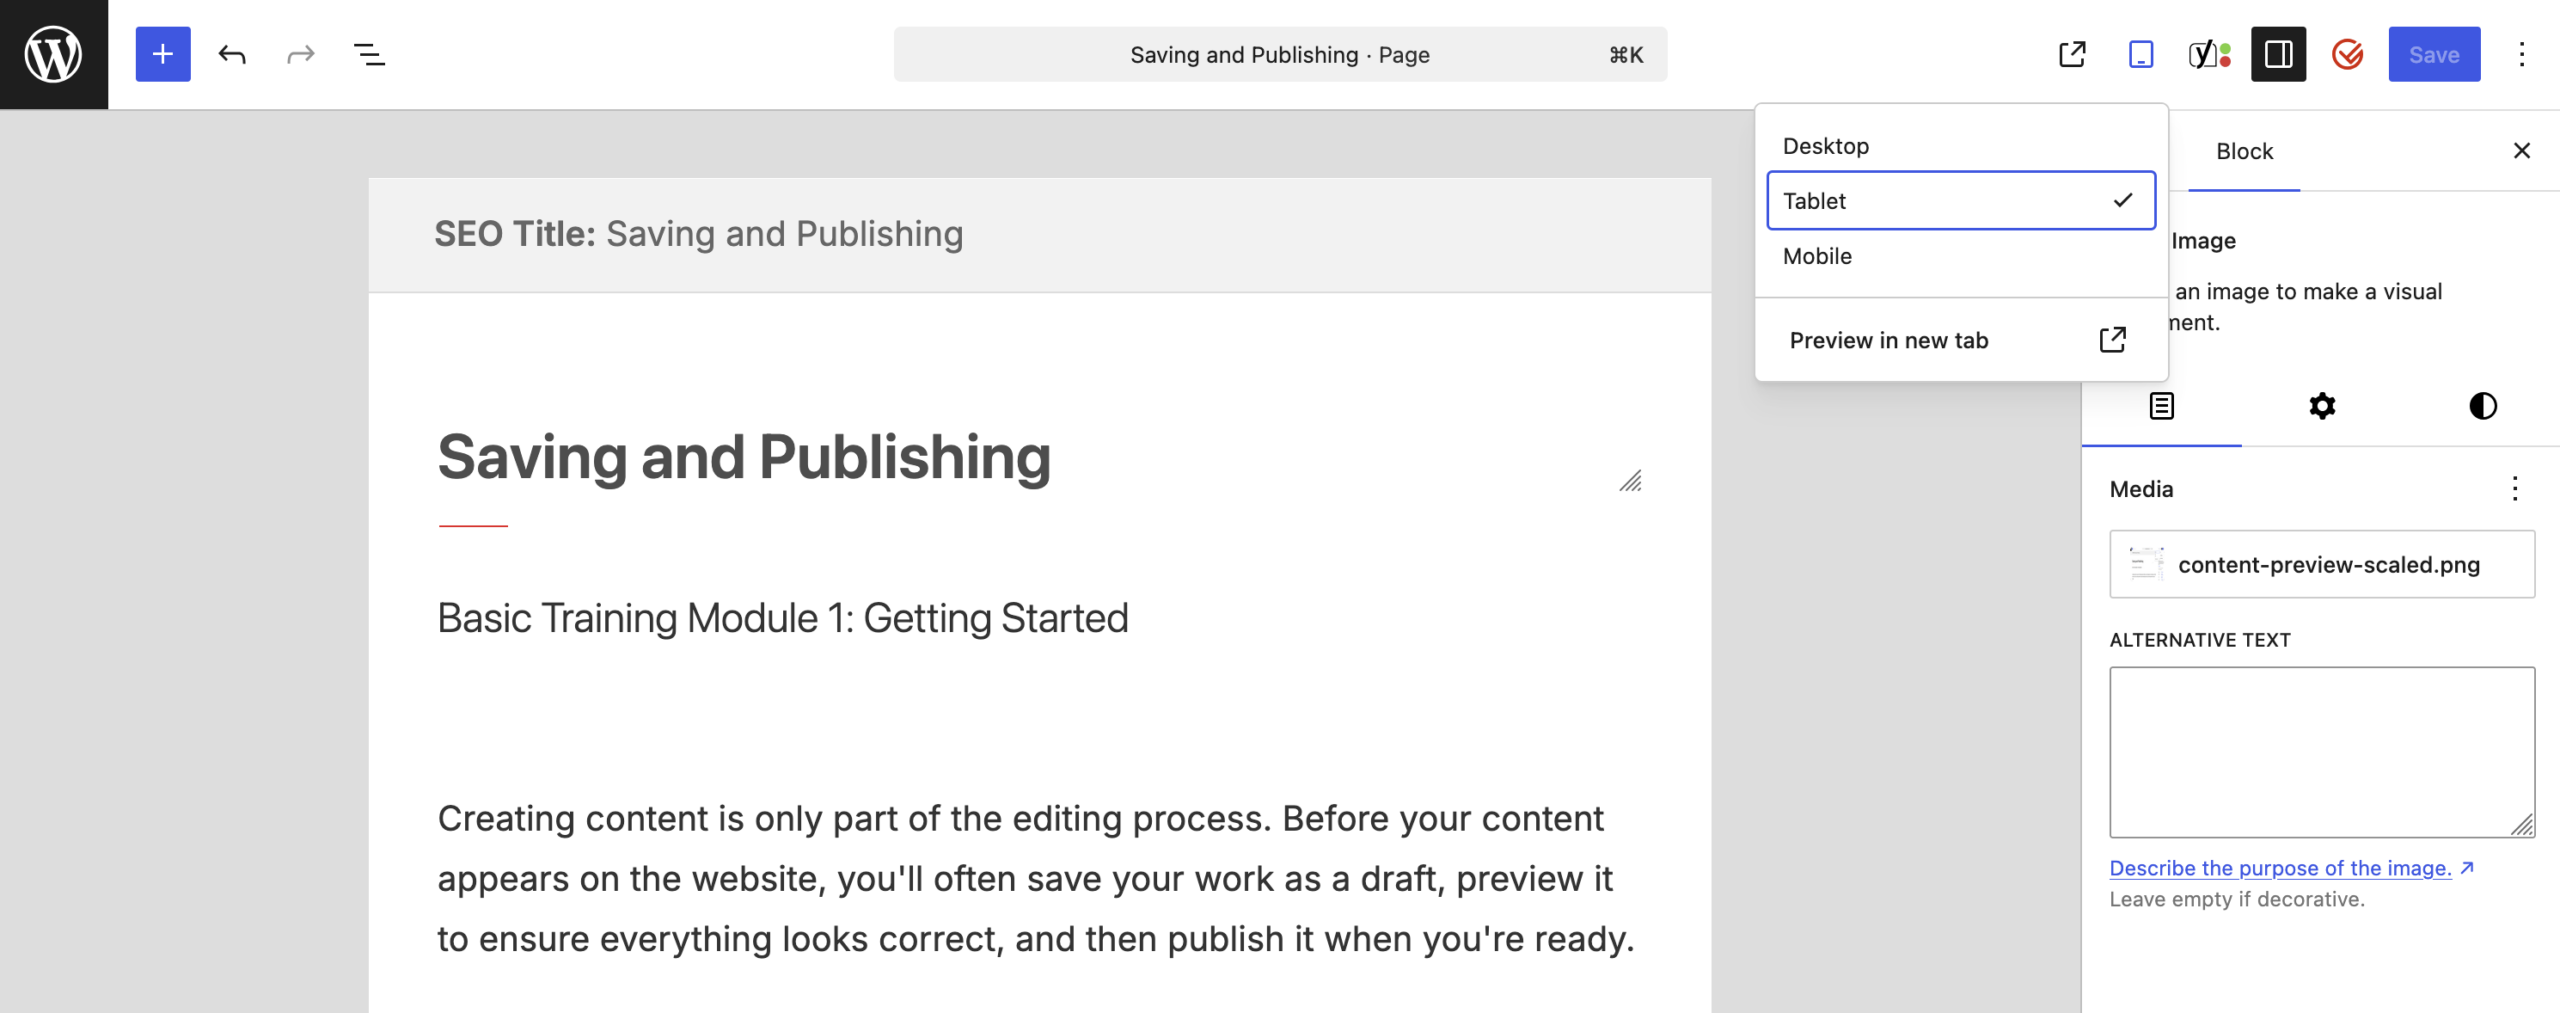
Before publishing, it’s important to preview your content to ensure it appears as expected.
Desktop Preview
The desktop preview displays how your content will appear on a typical computer screen.
Review:
- Formatting
- Images
- Headings
- Links
- Page layout
Mobile Preview
Many visitors access websites from mobile devices.
Use the mobile preview to ensure:
- Content remains readable
- Images display correctly
- Headings and spacing appear as expected
Preview Before Publishing
Previewing allows you to review your work before publishing it to the live website. Even small changes can affect page layout or formatting, so taking a moment to preview your content can help catch issues before visitors see them.
Publishing Content
When you’re satisfied with your content, you’re ready to publish it.
Publishing a New Page
To publish a page:
- Click the Publish button.
- Review the publication settings.
- Click Publish again to confirm.
Once published, the page becomes available to website visitors.
Updating Existing Content
When editing an existing published page, the Publish button is replaced with Update. Clicking Update immediately applies your changes to the live website.
Important: Any updates made to published content become visible as soon as the page is updated.
Managing Content Status
Throughout its lifecycle, content may exist in different states.
Draft
Draft content is still being developed and is not visible to visitors.
Use drafts when:
- Creating new content
- Making substantial revisions
- Waiting for approval or review
Published
Published content is live on the website and visible to visitors.
Most content will remain in the Published state until it is edited, replaced, or removed.
Trash
Content moved to the Trash is removed from public view but is not immediately deleted permanently.
If a page is removed accidentally, it can usually be restored from the Trash.
Before You Publish
Before making content live, take a few moments to perform a final review.
Publishing Checklist
- ✅ Check spelling and grammar
- ✅ Confirm dates, names, and contact information are accurate
- ✅ Test all links
- ✅ Verify heading structure
- ✅ Confirm images display correctly
- ✅ Preview the page on desktop and mobile views
- ✅ Ensure the content is complete and ready for visitors
Following a quick checklist can help improve content quality and reduce the need for corrections later.
-
Hi there and welcome to getting started with cutheme, module one. This module will focus on how to manage your content, including, adding pages, publishing options, and how to view your content.
To add a new page, go to Pages and Add New Page.
When creating content for your website, you have the option to save it as a draft or publish immediately. to save the content as a draft, just click Save Draft at the top right corner. This will save your content but not publish it. The page will only be visible by people who are logged into your site and not to the public.
To publish content immediately, click the blue Publish button. You will be directed to a confirmation tab. You can check your settings and if you’re ready to publish, click Publish again.
There are lots of ways to view your newly published content. You will see this temporary View Page at the bottom. You can click on that. Or you can click on the View Page button, the blue button. Also, under the page options tab, you can click on the URL of the page and that will allow you to preview your page as well.
If you need to revert your page back into draft, click on this Switch to Draft button over here on the right-hand side. This will put your page back into draft.
You can also delete a page by clicking Move to Trash.
Try it Out!
Now that you understand the publishing workflow, practice managing content through its different stages.
- Create a new page.
- Add a title and some sample content.
- Save the page as a draft.
- Preview the page in both desktop and mobile views.
- Publish the page.
- Make a small change and update the page.
- Return the page to draft status or move it to the Trash.