Creating and Managing Pages
Basic Training Module 2: Content Management
Pages form the foundation of your website. They are used to create long-term content that helps visitors navigate and understand your site.
Examples of pages include:
- About Us
- Contact Us
- Programs and Services
- Frequently Asked Questions
- Policies and Procedures
In this lesson, you’ll learn how to create pages and organize them using titles, page hierarchy, categories, and featured images.
Creating a New Page
To create a page:
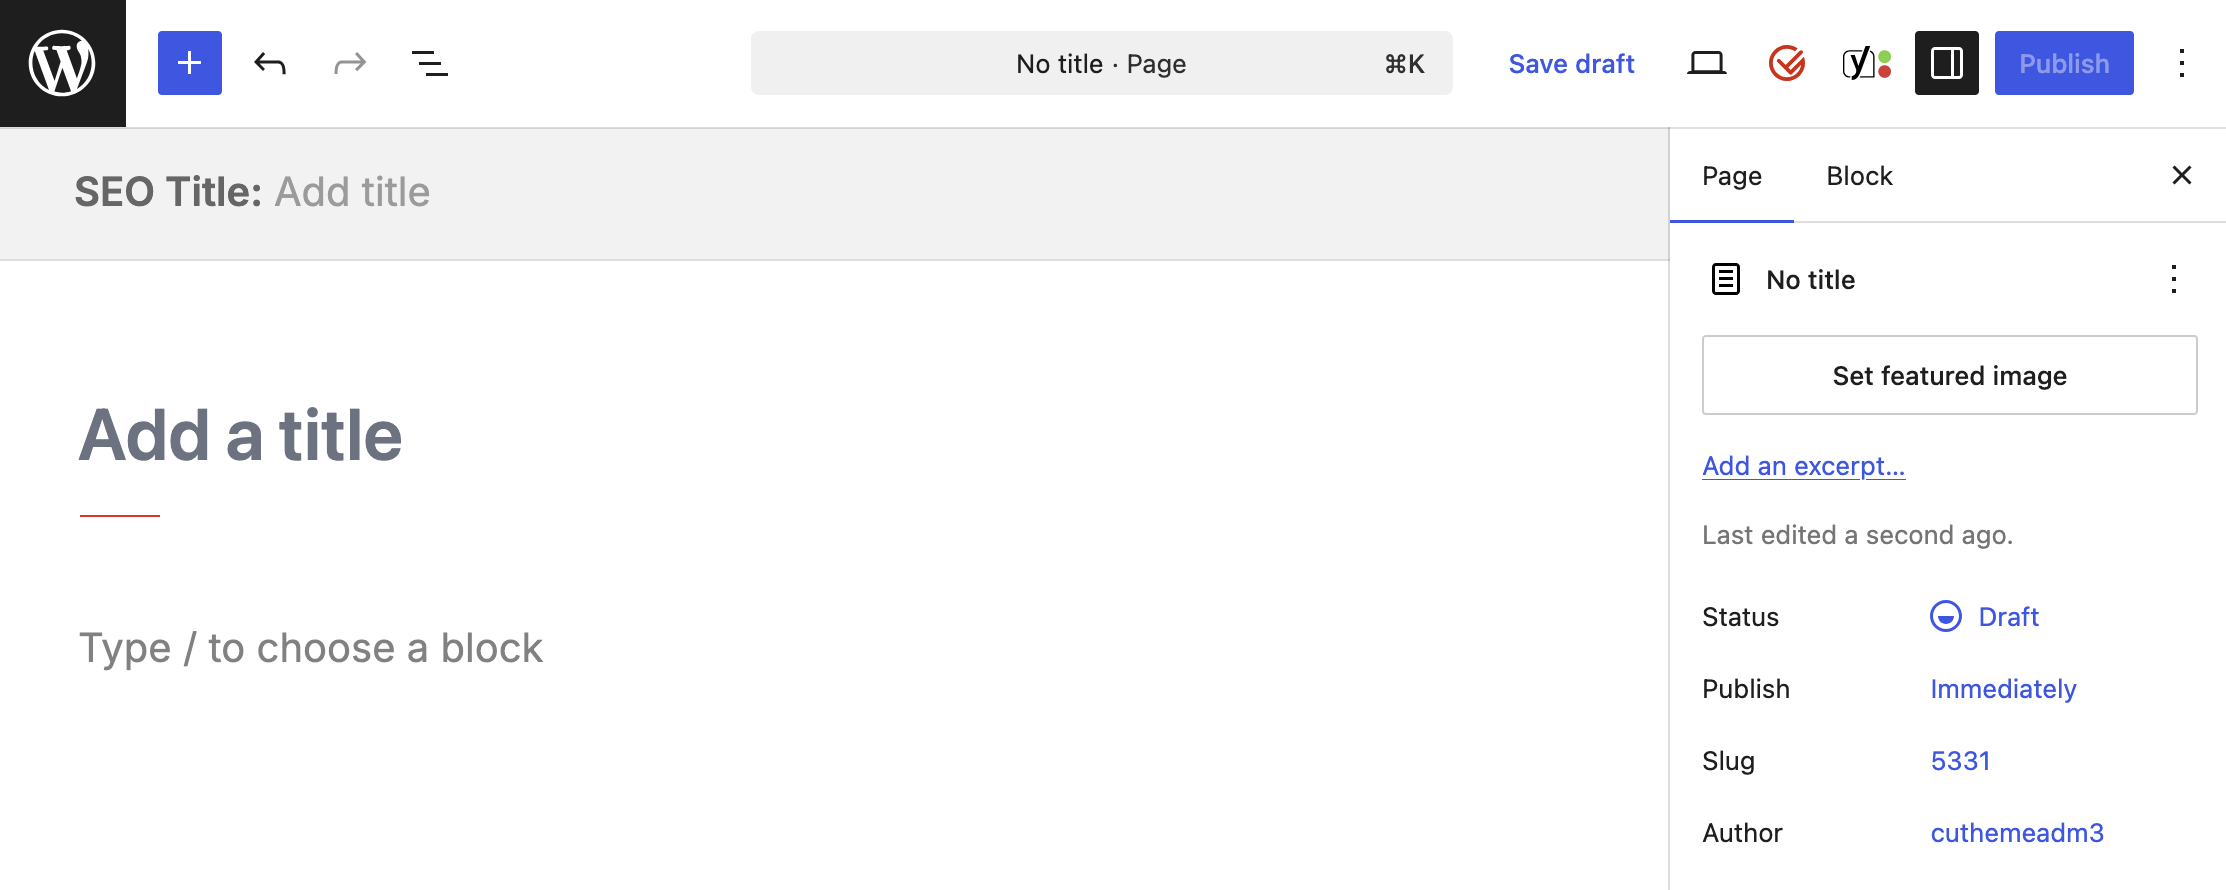
- From the Dashboard, select Pages > Add New.
- Enter a page title.
- Add content using blocks.
- Save your work or publish the page when ready.
You can return to edit your page at any time.
Note: Saving drafts, previewing content, and publishing pages were covered in Module 1: Getting Started.
Page Titles
When creating a page, you may encounter both an SEO Title and a Banner Title.
SEO Title
The SEO Title is used by search engines and often appears in browser tabs and search results.
It should clearly describe the content of your page.
Banner Title
The Banner Title is displayed to visitors at the top of the page.
In some situations, it may differ from the SEO Title.
For example:
SEO Title
Undergraduate Admissions RequirementsBanner Title
Admission RequirementsFor more information, see:
Organizing Pages
As websites grow, organizing your content becomes increasingly important.
Parent and Child Pages
Pages can be arranged in a hierarchy.
For example:
Programs
├── Undergraduate Programs
├── Graduate Programs
└── Continuing Education
In this example, the three program pages are children of the main Programs page.
To create a child page:
- Open the page editor.
- Open the Page settings panel.
- Locate Page Attributes.
- Select a parent page.
Creating a hierarchy helps organize your website and can also affect page URLs.
Example: https://carleton.ca/yoursite/programs/undergraduate-programs
Page Categories
Pages can optionally be assigned to categories.
Categories help group related content and can be used by certain listing blocks and filtering tools.
To add a category:
- Open the page editor.
- Locate the Page Categories section.
- Select an existing category or create a new one.
Learn more about categories in the Categories training module.
Featured Images
A featured image is an image associated with a page.
Featured images are often displayed:
- In page cards
- In listing blocks
- In featured content sections
To assign a featured image:
- Open the page editor.
- Locate the Featured Image panel.
- Select Set Featured Image.
- Choose an image from the Media Library or upload a new image.
Recommended size: 600 × 400 pixels
Tip: Choose images that clearly represent the page and are consistent with the visual style of your site.
Managing Existing Pages
To view your site’s pages:
- Navigate to Pages > All Pages.
The Pages screen allows you to:
- View all pages
- Search for pages
- Filter content
- Locate drafts
- Review content in the Trash
As your website grows, this screen becomes one of the primary tools you’ll use to manage content.
-
Welcome to getting started with cutheme, module 2. This tutorial will cover pages.
Add a new page using the top menu or the side menu. This will bring you to the page editor.
You can give your page a title by clicking on the Add a Title and then you just start typing in here. You can also add text or different types of blocks by clicking the add block button. Or just by typing in here which is a default paragraph block.
You can also make one page the child of another. This will put the URL of the parent page before the URL of the page. And it also really helps to keep your pages organized. To give a page a parent, open the page settings menu and then go over to the page tab. And near the bottom of this, you’ll notice Page Attributes. Click on the dropdown arrow to open that up. And then you can start typing the name of the page here. So I will select Mastery to be the parent of Charlotte’s page.
Click the Save Draft or the Publish button to publish the page. And now you can preview the Page by clicking on the View Page button.
View all of your pages by going to Pages> All Pages in the navigation menu. You can click on each tab to view the pages that you have published. All of the pages that are published, ones that are still in draft, or pages that are in the trash and that you have not deleted permanently.
Try it Out
Practice creating and organizing a page.
- Create a new page.
- Add a title and some sample content.
- Assign a featured image.
- Explore the available page categories.
- Create a second page and make it a child of the first page.
- View Pages → All Pages and locate the pages you created.