Creating and Managing Posts
Basic Training Module 2: Content Management
Posts are used for news, announcements, stories, and other content that is published regularly. Unlike pages, posts are designed to be grouped, categorized, and displayed in listings throughout your website.
In this lesson, you’ll learn how to create posts and use categories, featured images, and excerpts to help organize and showcase your content.
Creating a New Post
To create a post:
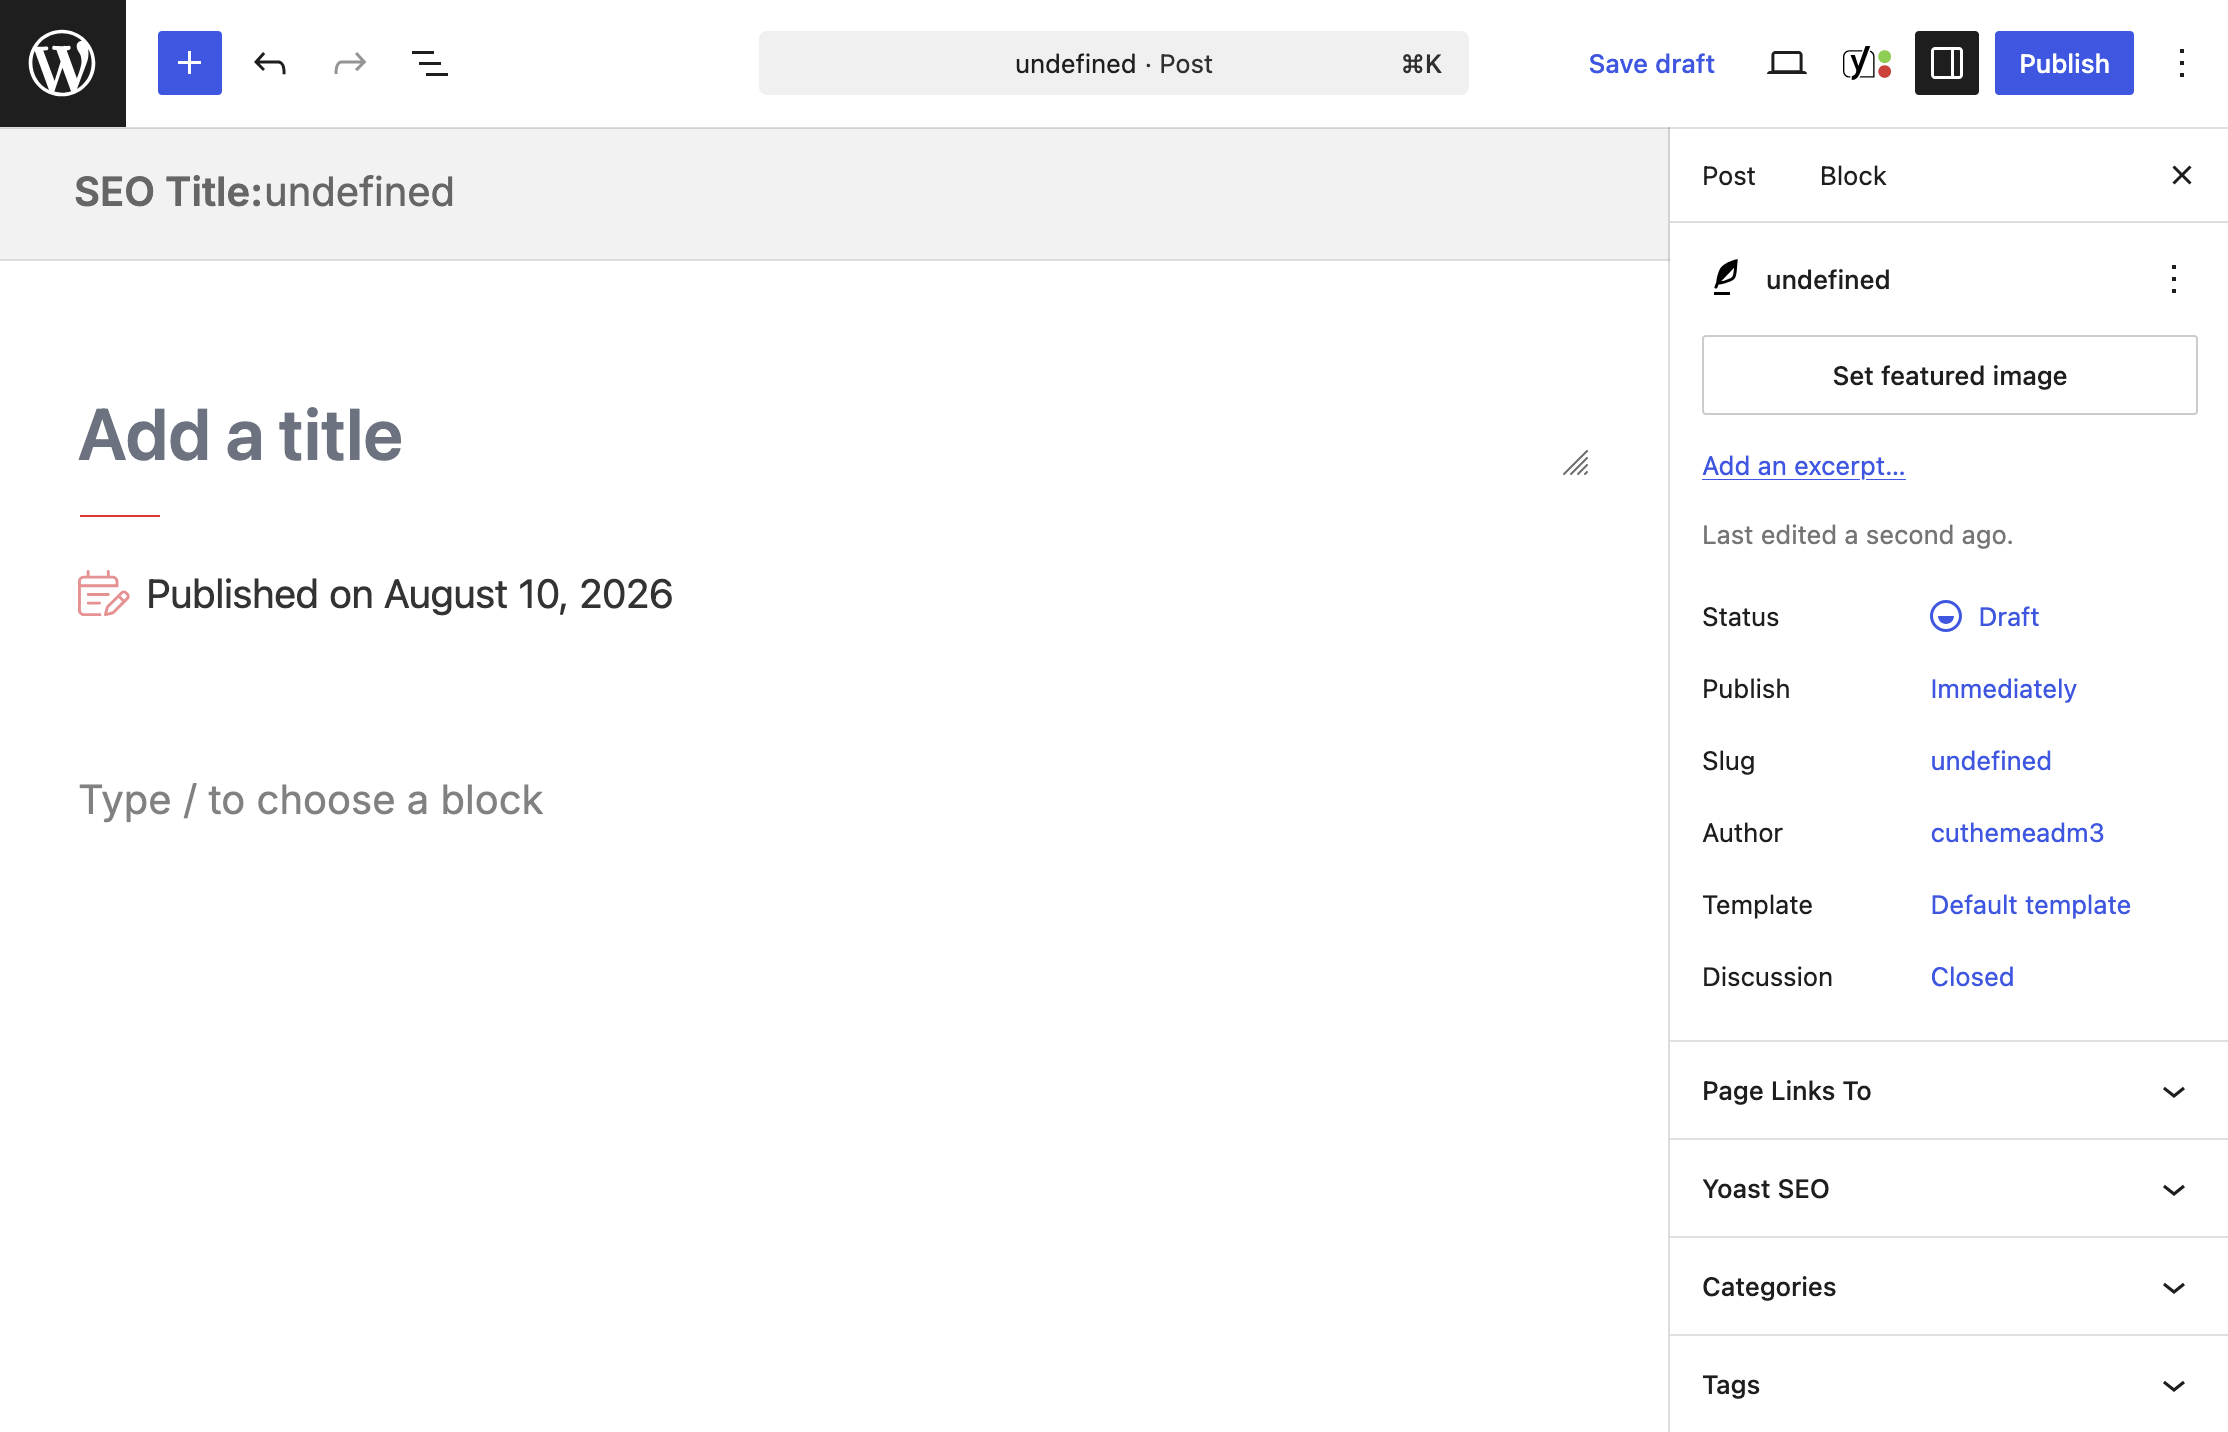
- From the Dashboard, select Posts > Add New.
- Enter a title for your post.
- Add content using blocks.
- Save your work or publish the post when it is ready.
Posts are created using the same Block Editor workspace used for pages.
Note: Saving drafts, previewing content, and publishing content were covered in Module 1: Getting Started.
Organizing Posts with Categories
Categories help group related posts together.
For example, a department website might use categories such as:
- News
- Events
- Research
- Awards
- Student Stories
Categories make it easier to:
- Organize content
- Create filtered listings
- Help visitors find related information
To assign a category:
- Open the post editor.
- Locate the Categories section in the sidebar.
- Select an existing category or create a new one.
Tip: Use categories consistently. Creating too many categories can make content difficult to manage.
Featured Images
A featured image is the primary image associated with a post.
Featured images are commonly displayed:
- In news listings
- In card layouts
- On landing pages
- In featured content sections
To add a featured image:
- Open the post editor.
- Locate the Featured Image panel.
- Select Set Featured Image.
- Choose an image from the Media Library or upload a new one.
Recommended size: 600 × 400 pixels
Choose images that are clear, relevant, and visually consistent with other content on your site.
Writing Effective Excerpts
An excerpt is a short summary of a post.
Excerpts are often displayed:
- In news listings
- In cards and featured content blocks
- In search results
A good excerpt helps visitors quickly understand what the post is about.
Best Practices
A strong excerpt should:
- Be one or two sentences long
- Summarize the main message
- Encourage visitors to read more
Example
Learn about upcoming changes to campus parking and what they mean for students and staff.If no excerpt is provided, WordPress may automatically generate one using content from the beginning of the post.
Managing Existing Posts
To view your posts:
- Navigate to Posts > All Posts.
The Posts screen allows you to:
- View all posts
- Search for content
- Filter by category
- View drafts
- Manage published content
As your website grows, categories and search tools become increasingly important for finding content quickly.
Content Best Practices
When creating posts:
Use Meaningful Titles
Post titles should clearly describe the content.
Choose Categories Carefully
Categories help visitors discover related content and improve the organization of your website.
Add a Featured Image
Whenever possible, include an image that supports the content and works well in listing layouts.
Write a Custom Excerpt
Custom excerpts provide a better experience than automatically generated summaries.
-
Welcome to getting started with cutheme. module 2. This video is going to show you how to make posts.
To add a post, hover over posts and then Add New Post. You can start by adding a title. Then you can begin to create the content of your post. And this can be composed of just text, like a paragraph block. Or you can add any other type of content by using the block menu. So, I’m just going to go ahead and grab some cat ipsum and we’ll paste that right in here to create a blog post.
Now if you go over to post settings, click on this tab right here. You’re going to see you have a lot of similar options to pages with a few extra things. You can categorize your post by clicking the add new category link, “cutest animals.” And once you’ve typed in the name click the add new category button and you can see that this post is now categorized as cutest animals.
Using categories is going to become important later when we learn how to pull posts onto a page by topic. And we’ll go into this in a lot more detail in future tutorials.
Down here in the bottom right, you’ll notice that you can add a featured image. This is an image that accompanies your post whenever it’s listed. For example, check out the homepage of the website and you’ll see here these are news posts and this little thumbnail here is the featured image for that particular post.
To add a featured image, click on Set featured image and then you can either upload one from your computer or select something that’s already in your media gallery. And we have this cute little kitty cat right here so I’m going to select that.
The excerpt tab down here provides a text box where you can write one or two sentences that describe what the post is all about. This will be used to preview content where your posts are listed.
Again, like on the homepage, this would be the excerpt. Note that this is optional. If you don’t put anything in there, then WordPress will automatically create one for you using the first 55 words of your post.
Now you can go ahead and either click Save Draft or Publish to publish your post. And then once that is published, click View Post to see what it looks like on the front end.
To view all your posts, go to the dashboard of your website and then go to Posts > All Posts. And here you can see, these are all the news posts that you’ve published and they are listed chronologically with the most recent being at the top.
Try it Out
Now that you’ve learned how to create and organize posts, practice using the key features discussed in this lesson.
- Create a new post.
- Add a title and sample content.
- Assign a category.
- Add a featured image.
- Write a custom excerpt.
- Publish the post and view it on your website.
- Visit Posts → All Posts and locate the post you created.