Tips & Tricks: Resizing Images on a Mac
As we start another week, we wanted to share another super helpful tip on image resizing.
We know we already shared our tip for resizing images on a PC -BUT- this week its all about resizing images on a Mac!
Not all of us have fancy image editing software on our Mac computers, and thats OK!
Every Mac comes with a simple photo editor and viewer application called ‘Preview’. It comes with basic functions such as image rotation, image flipping, exporting, and image resizing.
This app will make it so much easier when you have to resize images to fit the dimension requirements for banners and thumbnails!
Here are the steps:
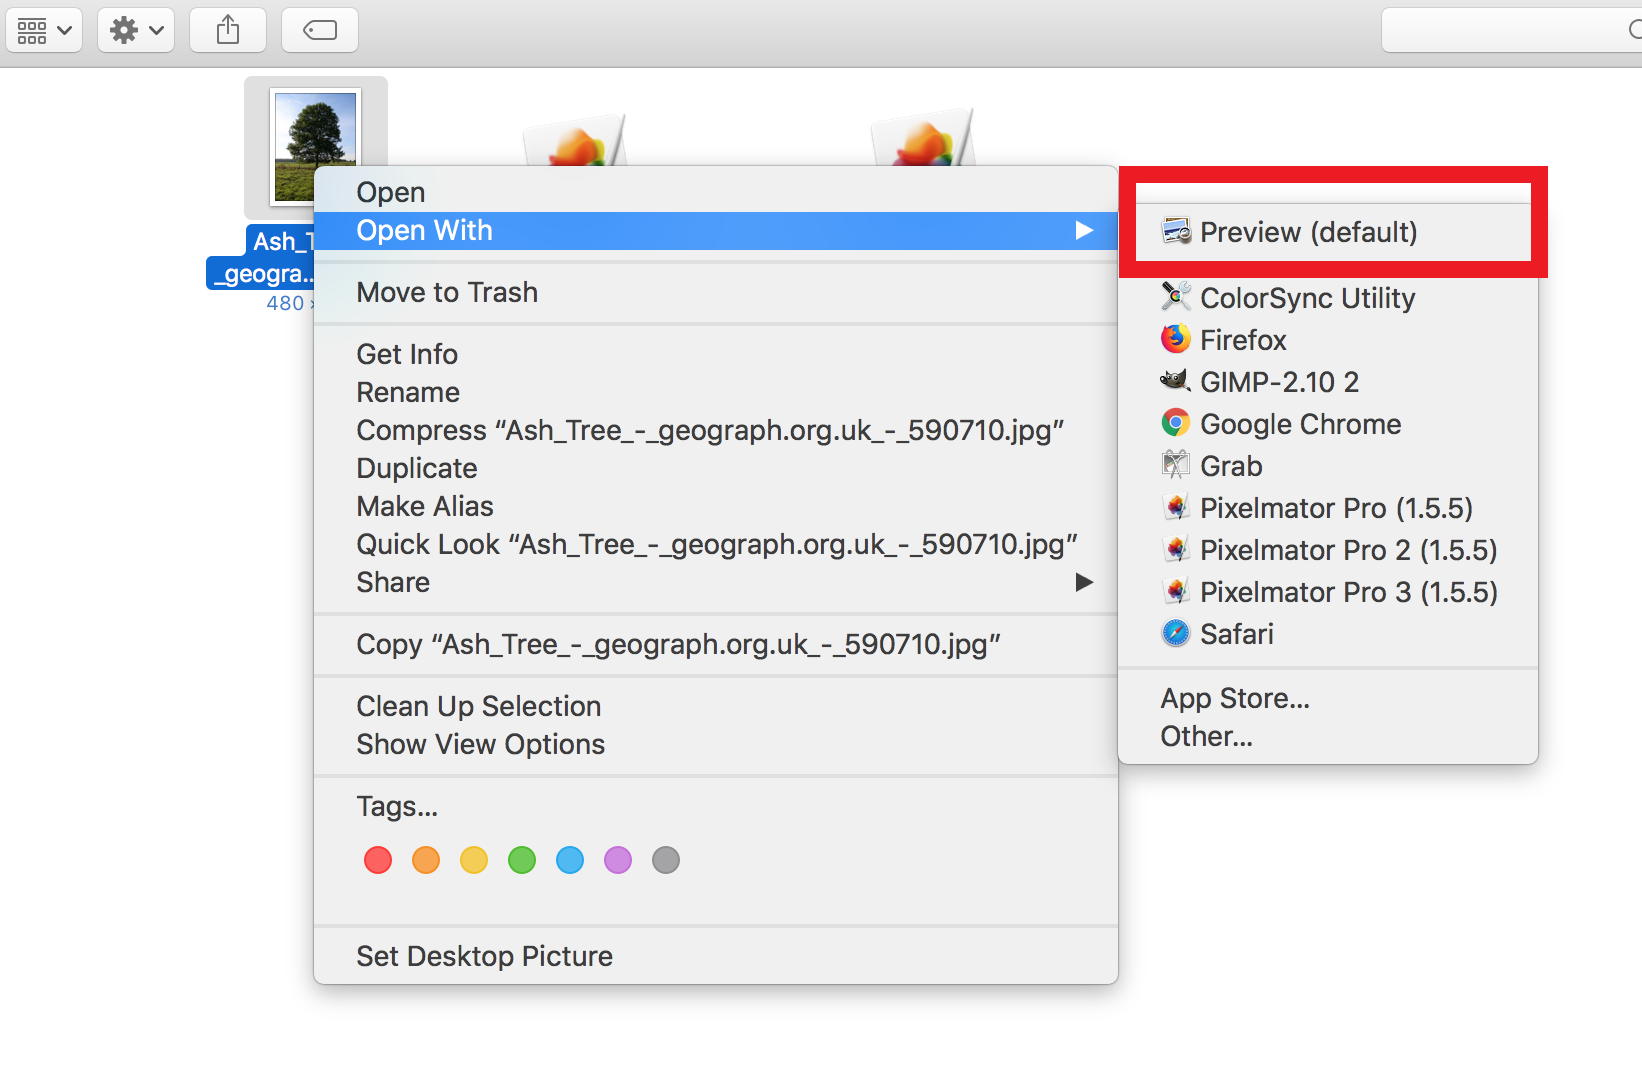
1. First go to the photo that you want to resize and right click.
2. In the drop down menu, select Open With, then select Preview out of the list of applications.
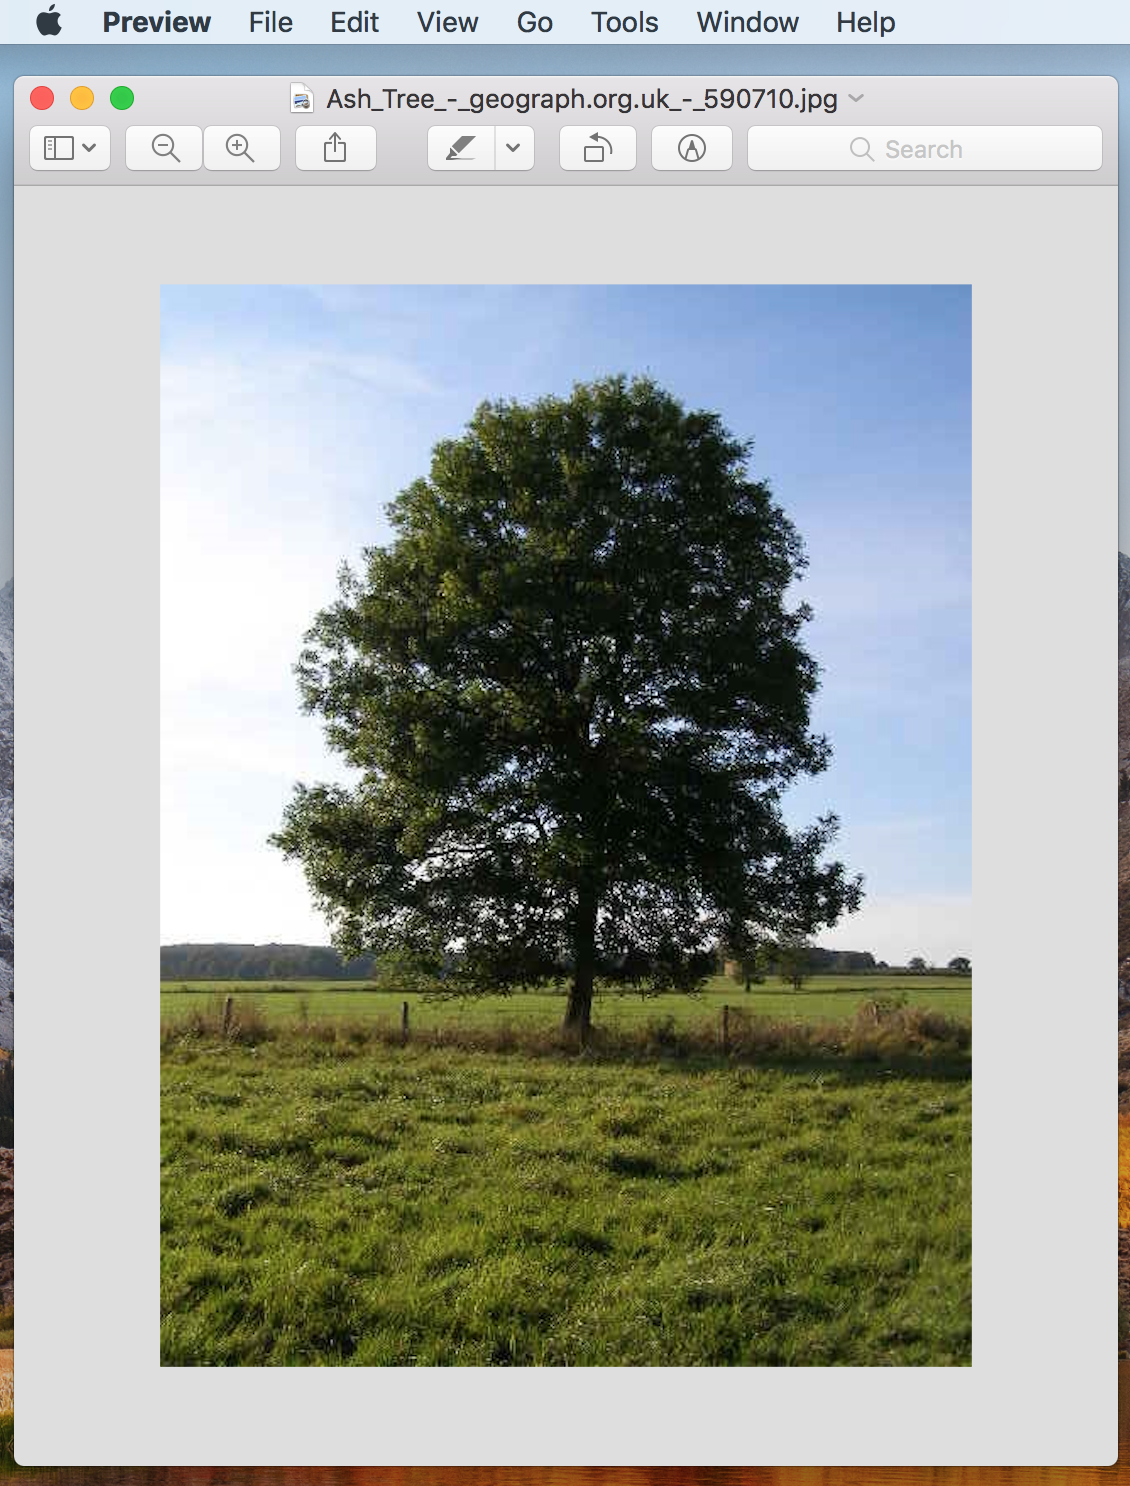
3. Now the image will be displayed in the Preview app as seen in the screenshot below.
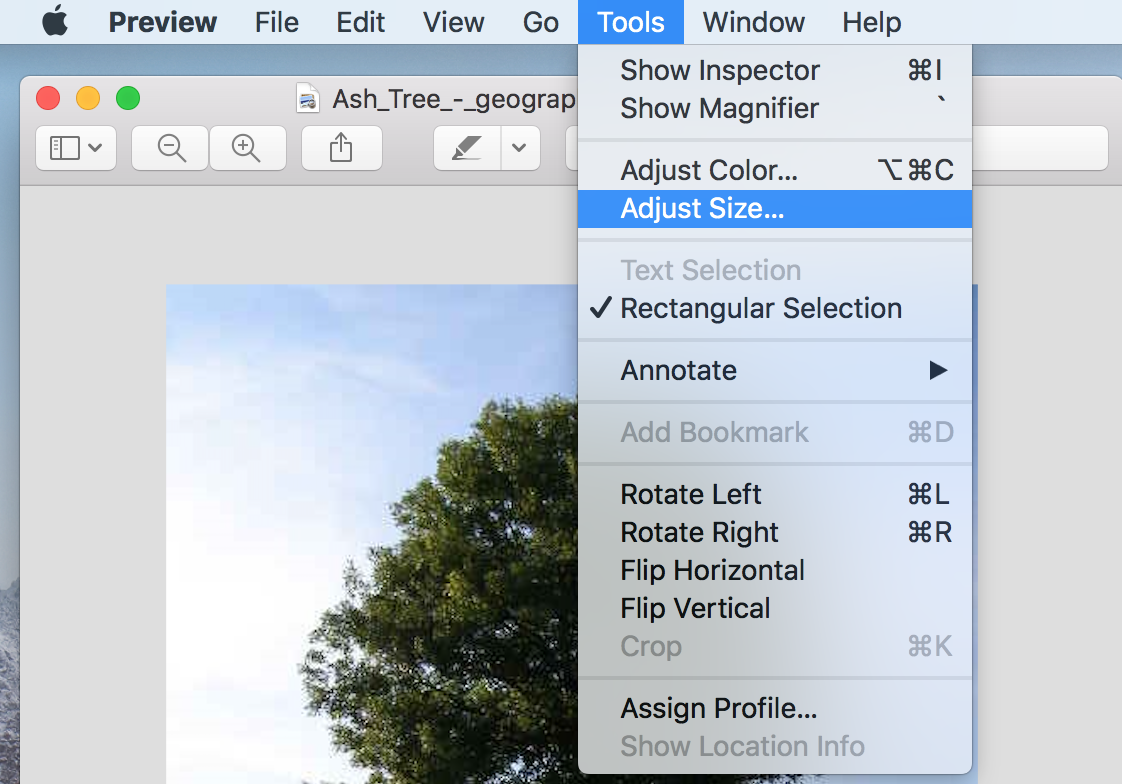
4. Go to the top Editor menu on your Mac and hover over Tools. Then select Adjust Size from the list.
5. Before changing the dimensions of the image, decide if you want the image scaled proportionally. Using this feature means the image will retain its original appearance (i.e. not be squished or elongated) even when the image is resized bigger or smaller. It is recommended that you keep this feature selected.
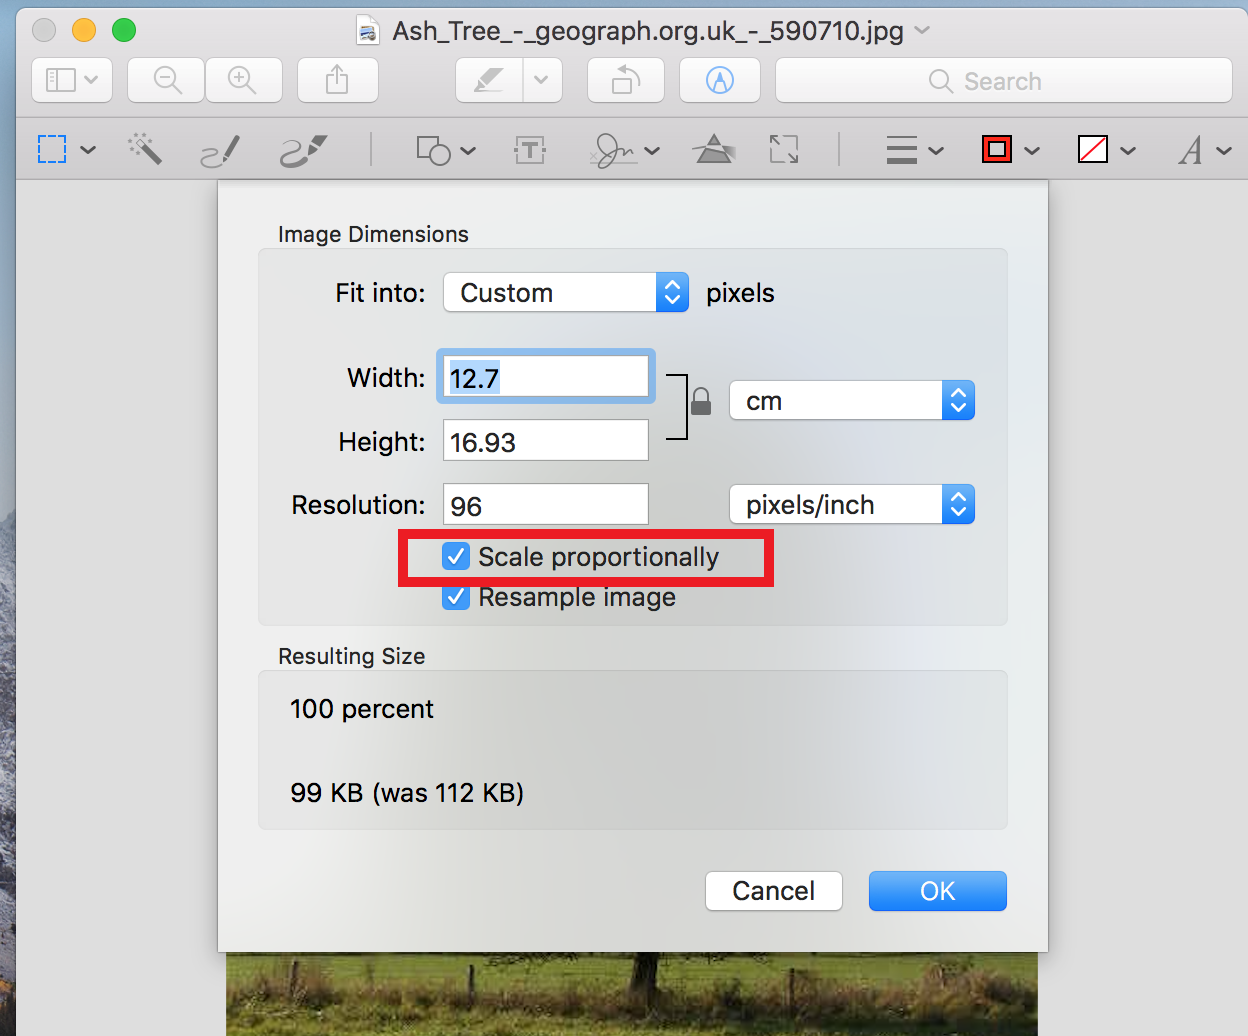
6. Under Fit into, you have the option of making custom dimensions as seen below.
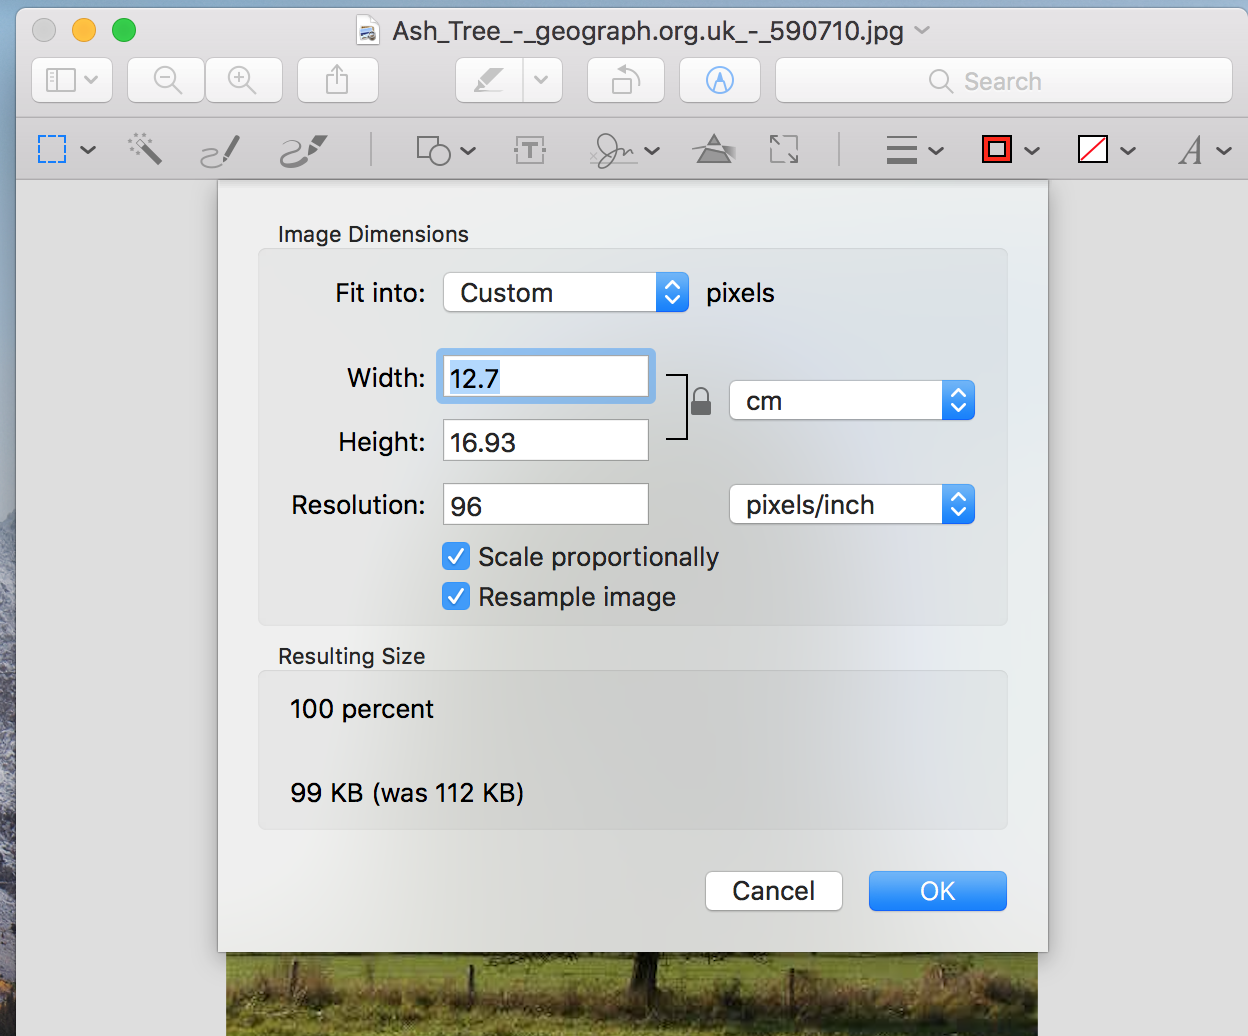
7. Under Fit into, you also can also select from a list of preset dimensions as seen below.

8. Once you select dimensions, select OK.
And there you have it! I told you it was simple!
If you missed our previous post about resizing images on a PC, click here to read all about it!
Have a question or need help? Reach out!