Events
Module 1.1 – Advanced: Advanced Content: Events
Table of Contents
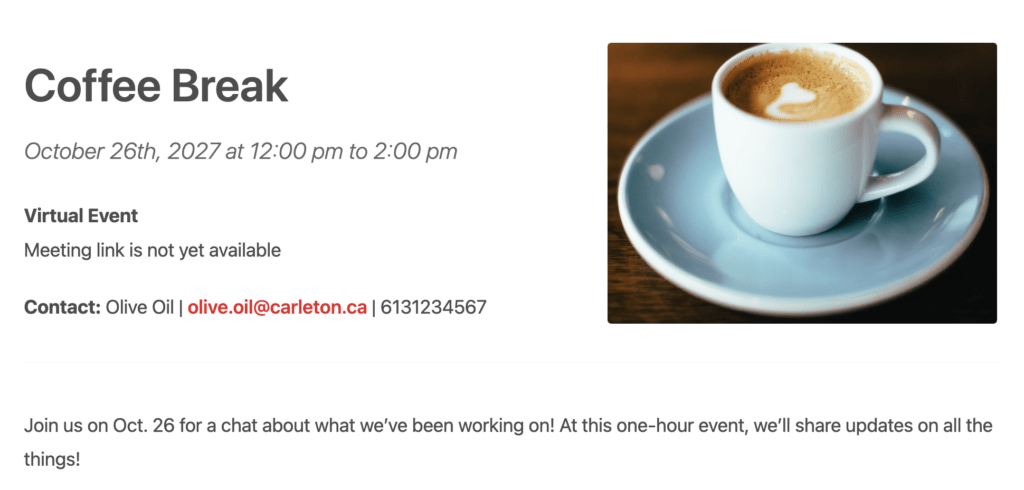
Event posts are used for listing events in chronological order, complete with information about when and where it is taking place, who is in charge of the event, and where you can get more information.
Here is an example of an event.
Step-By-Step
Add an Event
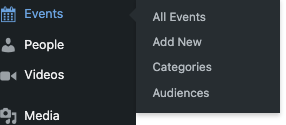
1. From the dashboard, hover over Events, and click Add New in the lefthand navigation bar.
2. Click Add a Title to give your event a name.

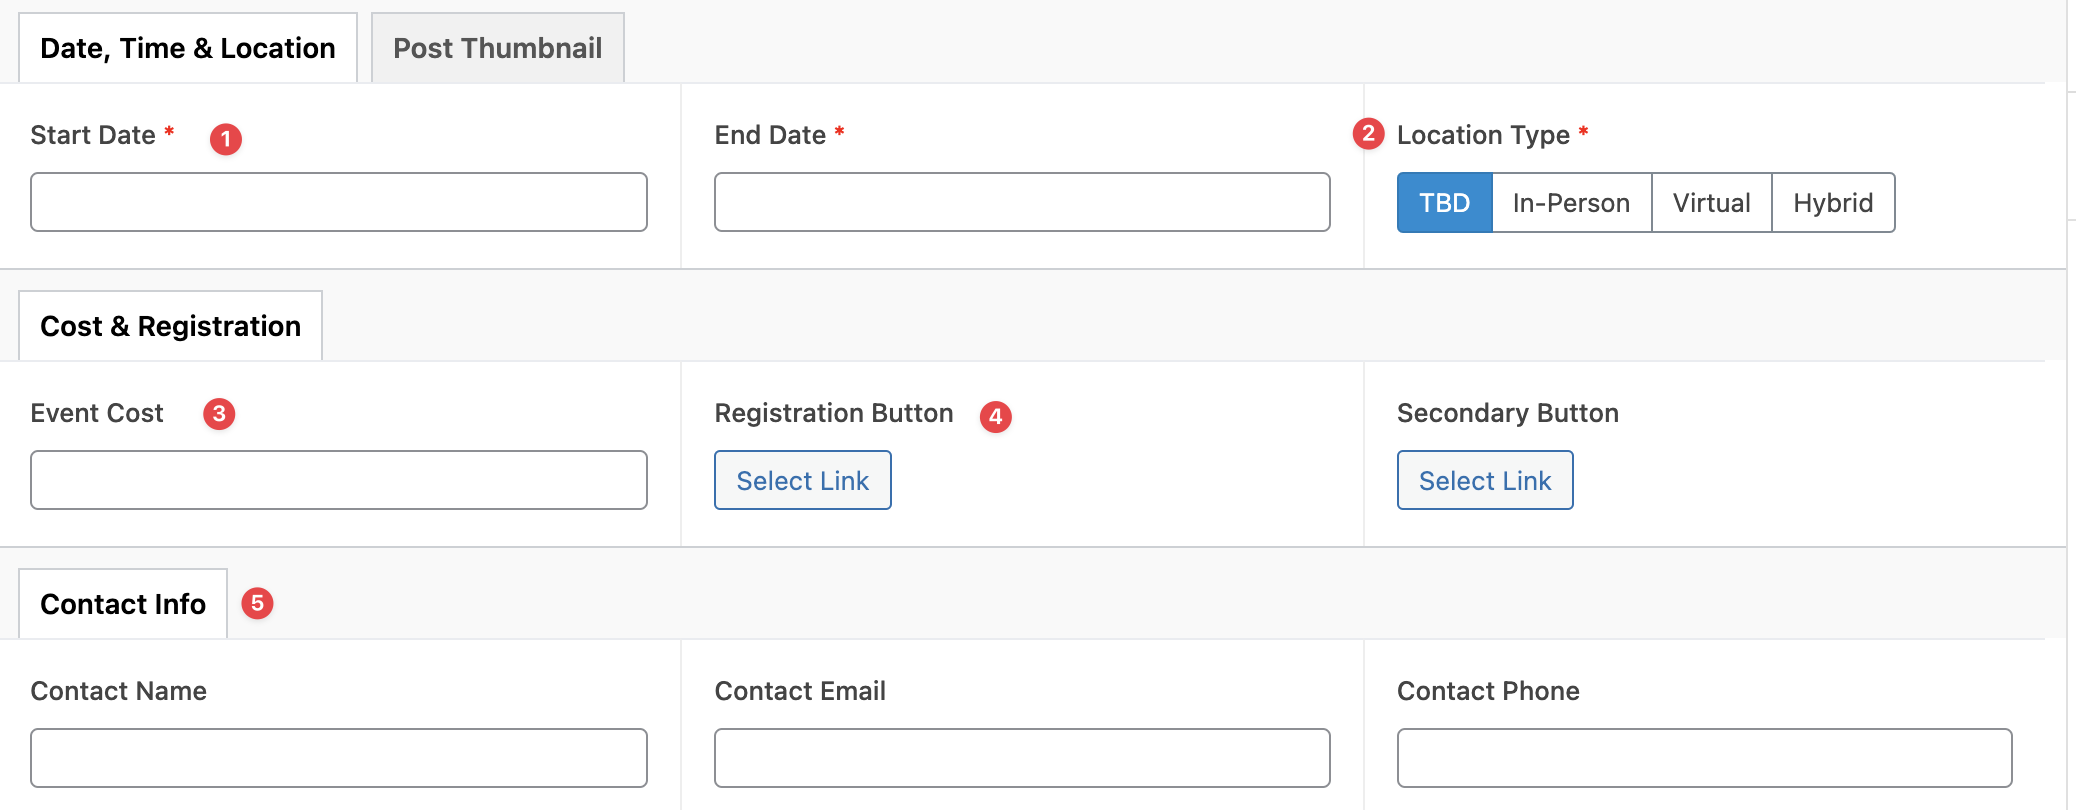
3. Click the arrow near the bottom right of the screen to edit Event Options.

Here you can add details such as:
- Start and end date
- Location
- Event cost
- Buttons for registration and other info
- Contact information
Note that the start and end dates as well as location are required.
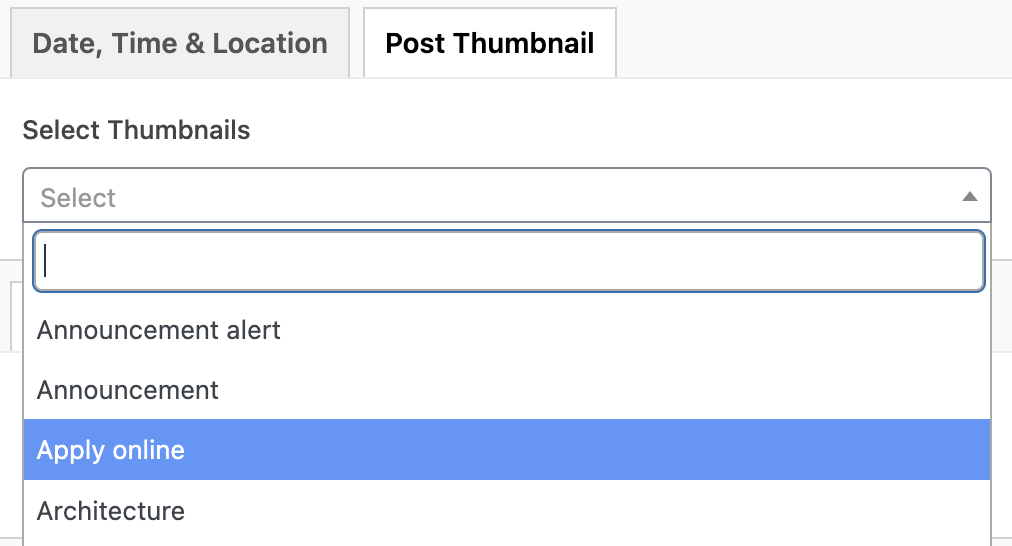
4. Choose an image for your event. You can either choose from our presets or upload a custom image of your choosing.
Add a preset image
To add an image from our presets, click the Post Thumbnail tab and select from the dropdown.
Add a custom image
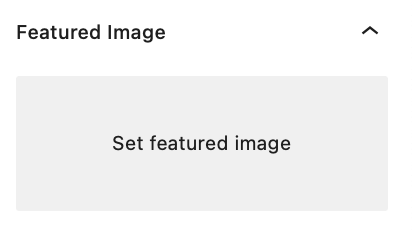
Select Featured Image under block options at the right to add a custom image. Click Set Featured Image to upload a photo or choose one from your media library.
Note: Recommended size for featured image is 600 x 400 pixels
5. Like with a page, you can add other blocks, such as a heading or paragraph, for more event information.
7. Events can be pulled onto a page in the form of stacked listings or cards.
Video Tutorial
-
Hello, and Welcome to cuTheme advanced training, Module 1.
In this video, we will be covering Events.
Event posts are used to list events related to your site, or hosted by your organization. Event posts include all the relevant information, such as time, location, or links to join if it is virtual.
To add an event, go to the dashboard, hover over “Events”, and click Add New.
The first thing you can do is add a title. You can click on the title, and add what you want.
Now, you will see at the bottom that you have Event Options, which you can use to customize the specifics of your event.
You can add a start and end date, including the time of day, the location (Whether it is in-person, virtual, or hybrid), event cost, buttons for registration and other information, and contact information.
The Start date, end date, and location are all required.
When You select in-person, you can choose whether it is on campus or off campus. If it is on-campus, you just select the building and the room number.
For off-campus, you can just enter the address of the location.
For a virtual event, you can chose whether it is on Teams or a zoom, and add a meeting link.
Next, you can choose an image for your event. You can choose one of our presets or upload a custom image.
To add a preset, go to the “Post Thumbnail” tab and select from the dropdown menu. To upload a custom image or use an image from your media library, click on “Featured Image” on the right side of the screen. This image should be 600 x 400 pixels.
Lastly, for the body text of your event, you can use the same blocks as you would for a regular post, to add more information about your event.
Try it Out!
Now that you have learned about events, it’s time to try it out!
- Create an event.
- Add event details: name, date, time, location, event description, image etc.
- Save the event.
- Preview the event on the front end.