People Posts
Module 1.2 – Advanced: Advanced Content: People
Table of Contents
People posts are used to create profiles for members of your department. These kinds of posts are useful for providing contact information to the community, along with biographies, personal websites, and more.
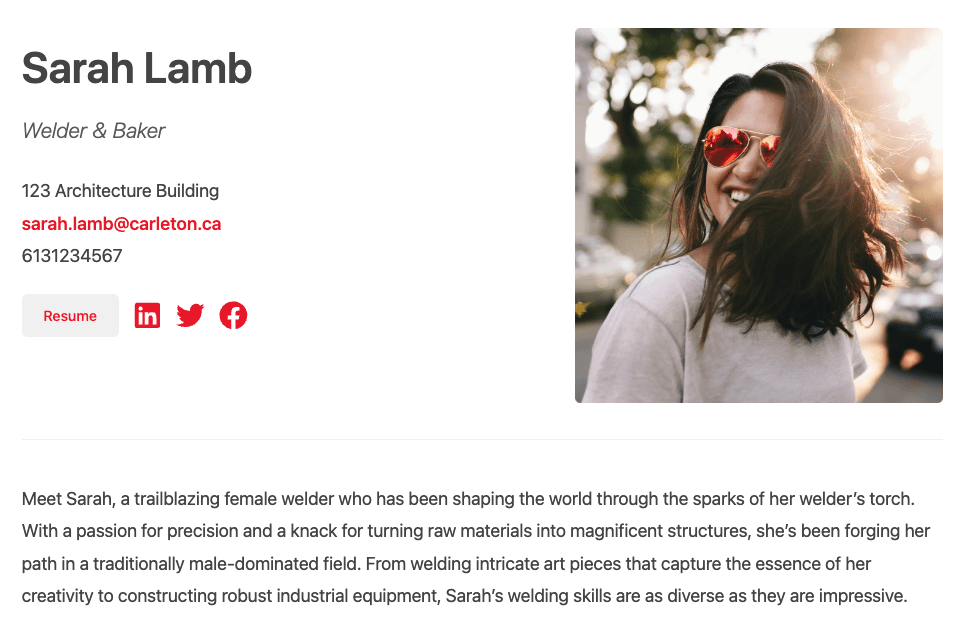
Here is an example of what a people post looks like in cuTheme.
Step-By-Step
Add a People Post
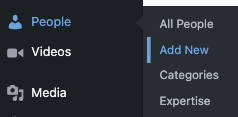
1. From the dashboard, go over to the left side of the screen, hover over People, and click Add New.
Edit the Banner
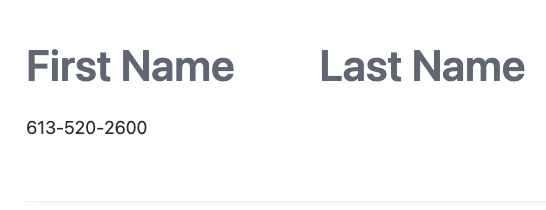
2. Click in the banner area to add first and last name.
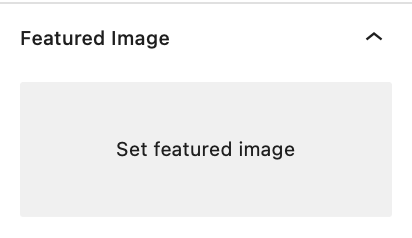
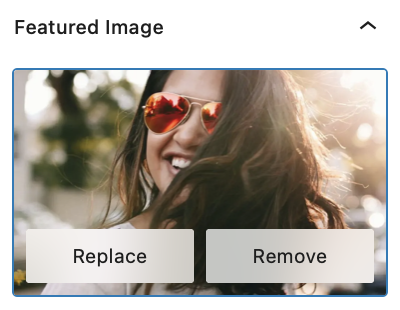
3. Add a Profile Photo by clicking Set featured Image under the Person tab at the right (near the bottom). You can choose from the media library or upload an image.
To change the image, click Replace or Remove under the Block options tab and select a new image.
Edit People Options
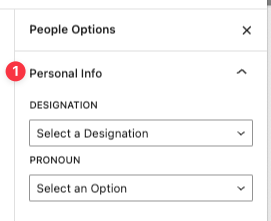
4. Click the pencil icon at the top right to edit People Options.

Edit personal information such as designation and pronouns.
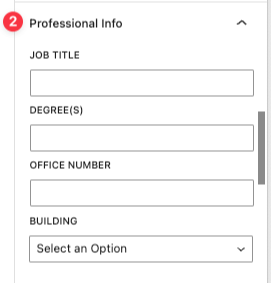
Add in job title, degree, and location.
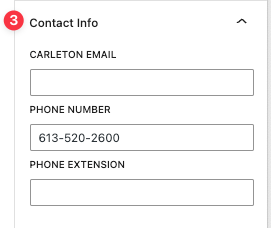
Include contact info such as email and phone number.
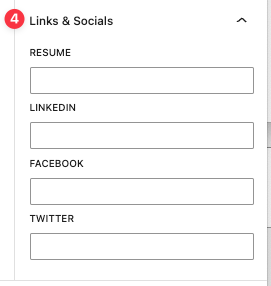
And finally, you can add in social links and info.
Add a Bio
5. Like with a page, you can add other blocks, such as a heading or paragraph, for more biographical information, publications, or other relevant content.
6. People can be pulled onto a page in the form of listings or cards. View this tutorial for details on how.
Video Tutorial
-
In this video, we are going to explore using People Posts in your website.
A people post is basically a way to create a profile for someone to display it on your website.
These types of posts are often used for faculty, admin staff, or anyone that plays a role in the operations of your department.
Most often these profiles are created to display contact information in a place where it can be found easily.
To create a people post hover over People and then Add New. You will now be working on a people post.
Start by clicking in the banner to add first name and last name.
Add a profile picture by clicking on the main options on the page, then click on “set featured image” to set a profile picture”
Next, under professional info, you can add in a job title, degree, and office number. And you can also select a building from this drop-down menu.
Beneath that is a place for contact information. So you can add an email address, a telephone number, and an extension.
And finally, here at the bottom is a place to add links to any kind of social or a link to the person’s resume.
Once you have filled in all the people options, click on the settings icon up here at the top.
Under the person tab, choose options relevant to how that person is listed on your site. You can categorize them. For example – faculty, staff, students. And you do that right down here under categories, Add a new people category. We’ll categorize this person as faculty.
And you can also specify an area of expertise. So perhaps a research area. And this allows you to pull people listings onto a page by category. For example, you might pull in all admin staff, or all researchers in a specific area, onto a page.
Below the people info block is a block area just like any other page, where you can add any block such as a paragraph to add for example, a biographical information.
Once your done, we can take look at what a people post will look like on the front end. As you can see all the information that we just entered is visible.
And once all is good, we have successfully created a People Post.
Try it Out!
Now that you have learned about People posts, it’s time to try it out!
- Add a new people profile. You can make one for yourself, invent someone, or make one for a fictional character.
- Fill in the banner info: add a name and upload a profile pic.
- Edit details by adding contact info info into the People Options.
- Add a paragraph block and a sentence or two for a bio.
- Publish and view your preview your post.