Featured Cards
Module 3.1 – Mastery: Featured Content Blocks: Featured Cards
Table of Contents
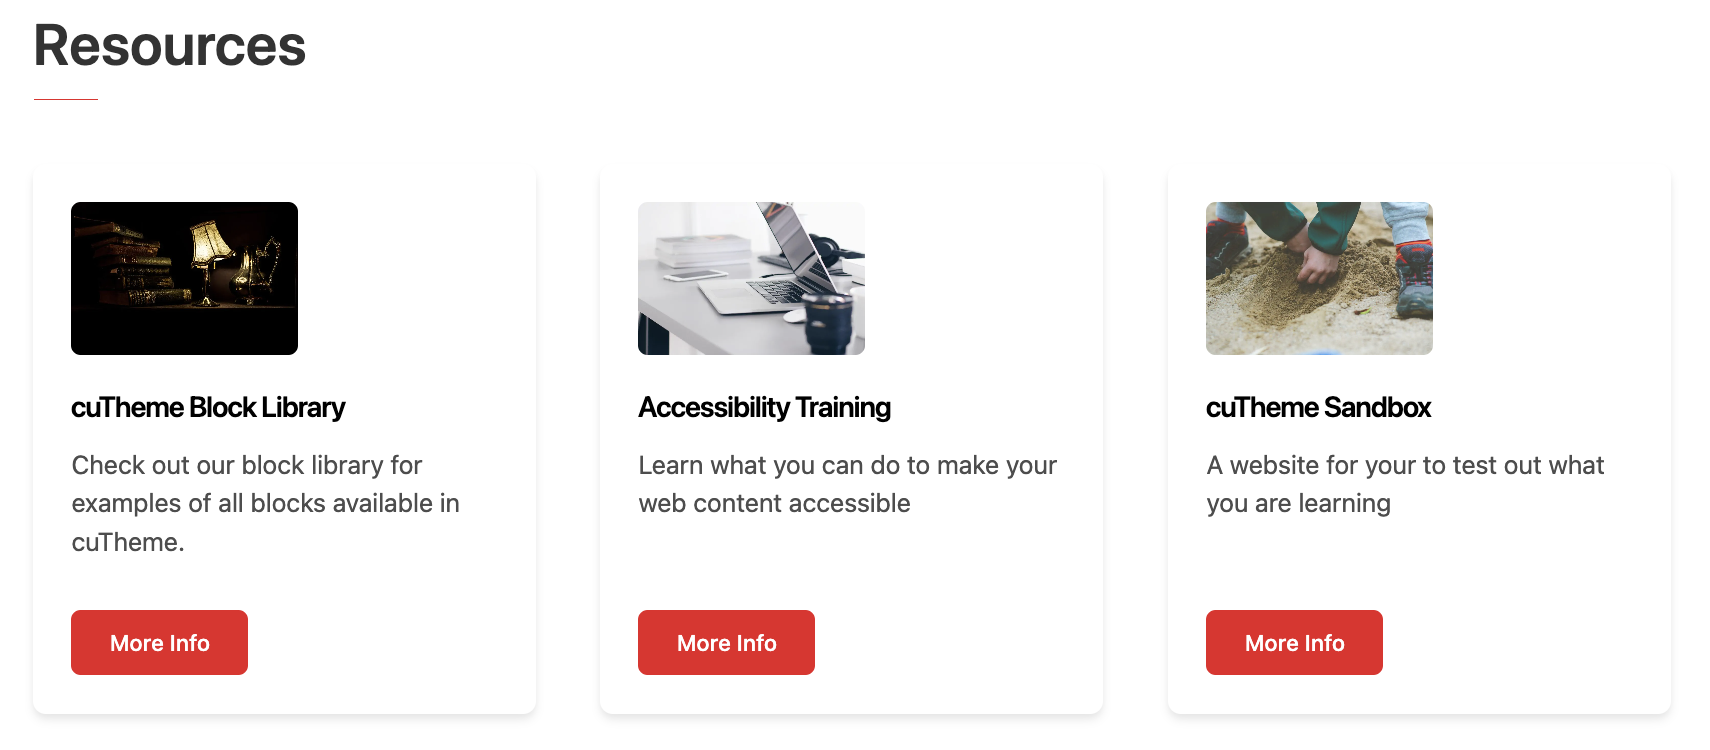
The Featured Cards block is a block that is used to highlight content and make it “pop.” If you are familiar with CMS, this is similar to quick links on our homepage. But you can use the block on any page on your site!
Complete with text, images, and buttons, this block is great for drawing attention to info that is deeper within your website.
Below is an example of the featured cards block as used on our homepage to highlight training resources.
Step-By-Step
1. To add a “Featured Cards” block, open up the block menu and select “Featured Cards.”
An empty row of 3 featured cards will be added to your page.

2. Start by clicking in the title area to add a title. (Note the 80 character text limit)

3. Next, click in the text area below the title to add a description.

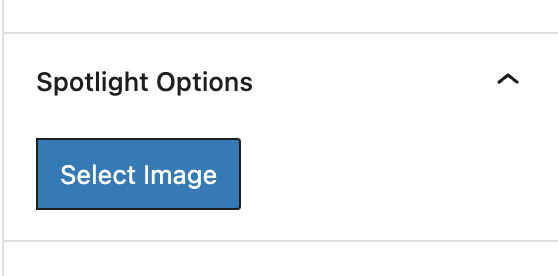
4. Under block options at the right, click Select Image to choose a thumbnail image. This is optional.
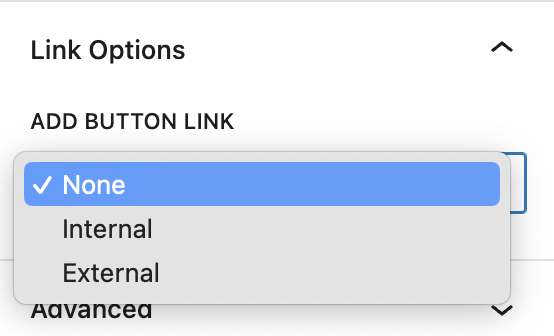
5. Also under block options, add a button by selecting Internal or External and adding the URL.
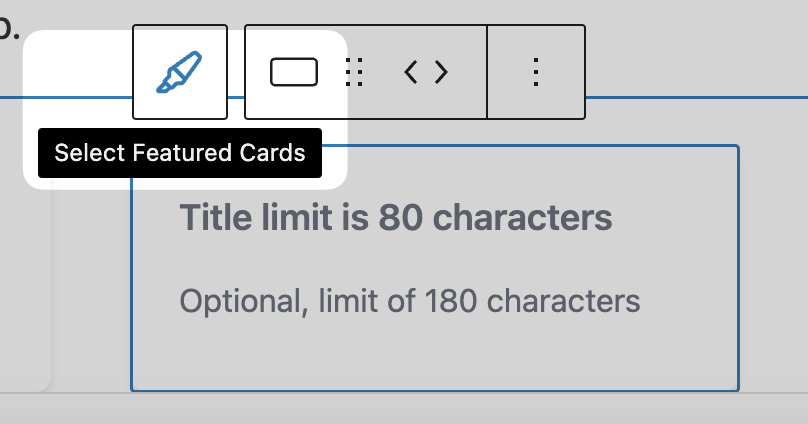
6. Access options for the entire block by clicking Select Featured Cards at the top left of the context menu.
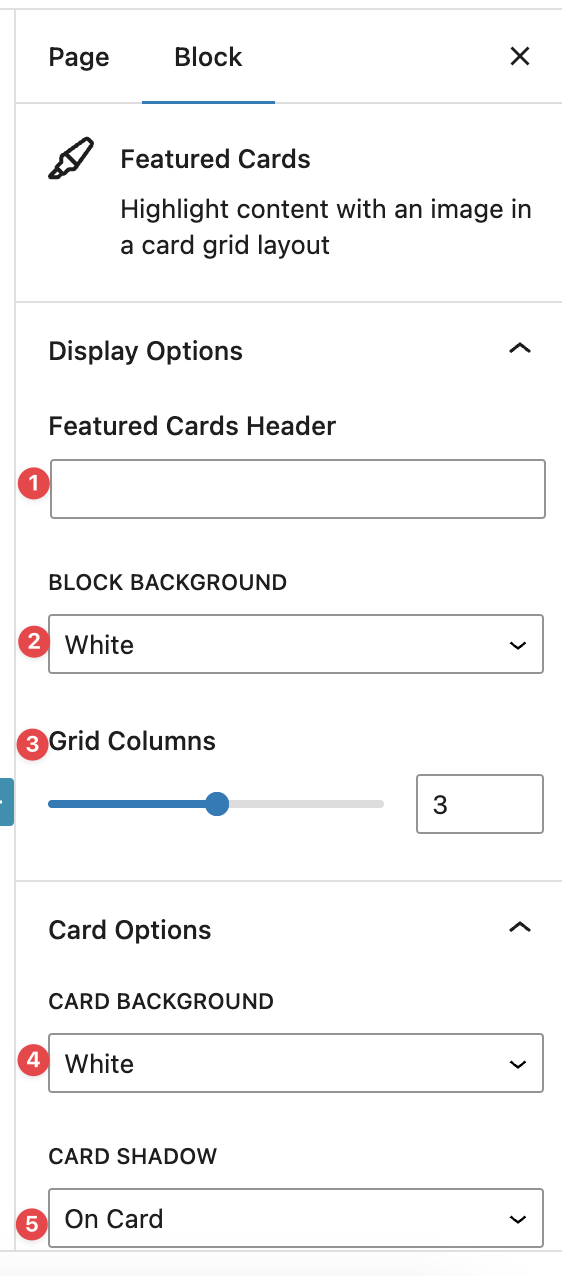
Choose your options under the Block tab.
- Add a header for the block.
- Select white or grey for the block background.
- Select the number of columns (icon cards in each block). Note this can be between 2-4.
- Select white or grey for the card background.
- Determine whether or not to have a shadow on the cards.
Video Tutorial
-
In this video, we are going to explore using Featured Cards for your website’s content.
Featured Cards acts as a highlight and maks content pop on your page, giving users quick access to pages you want them to notice more.
An example set of featured cards is shown in the screen in different customization options you can go for.
And as you can see, they draw attention to the user by compartmentalizing information regarding that page into a card, giving it a title, a description of the page, a button to access the page and a featured image.
Now that we have explained the purpose of a Featured Cards block and how it can improve your website’s content, we will now show you how to add them to your pages.
First, you want to go into editing mode of the page you want to add a block to.
Then navigate to the block menu and add the block to your page.
Once its on your page, you can enter the information you want into each card.
If you want to insert more information in each card, lets say an image or a button, you can do so by clicking on the card you want to edit, a menu on the right should appear.
From there you can add a featured image, or add a button link.
If you want to add another card, select anywhere in the block and click “select featured cards.” A blue plus button should appear on the bottom right of the block, click on that and a new card should appear.
If you want to customize the block as a whole, select the whole block using the same method you just did to add another card.
A menu on the right should appear, and from there you can:
- Add a header
- Add a description
- Choose background colours
- Change your column amount
As well as change card specific appearances such as background colours or card shadows.
And by finishing those steps, we have now successfully added Featured Cards to a page.
Try it Out!
- Add a Featured Cards block to a page
- Try out the various options:
- Add a title and text
- Add an image
- Add a button
- Play around with the various block options to change the number of columns and design options (background colour, shadow, etc.)
- Save your page and preview it!