Pages
Module 2.3 – Getting Started: Content Essentials: Pages
Table of Contents
Step-by-Step
Add and Edit a New Page
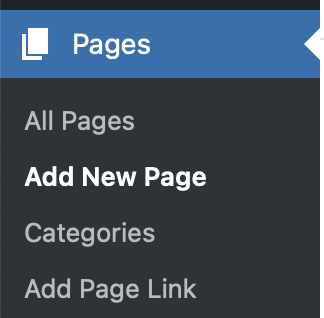
1. From the dashboard, go to the left side of the screen, hover over Pages, and click on Add New.
2. You are now editing a new page. Give your page an SEO title by clicking SEO Title: Add Title at the top.

3. Give your page a banner title by clicking Add a Title.

4. You can add text to the page by typing where it says “Type / to choose block”. This is a paragraph block. You will learn more about this later.

5. Save a draft or publish your page.
In the top right corner of the content editor screen, you will see buttons that allow you to save draft or publish your content.

Once a page is published, this will change to Update. Use the update to save any changes you make to your page.

Categorize your Pages
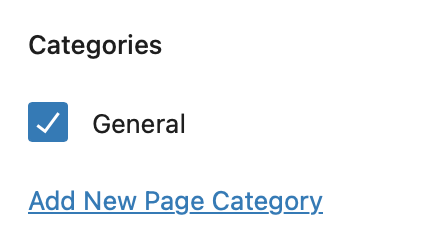
6. Categorize your page (optional) by:
- Clicking the “Add New Page Category” link, giving your category a name, and then
- Clicking the Add New Page Category button. Learn more about categories.
Featured Image
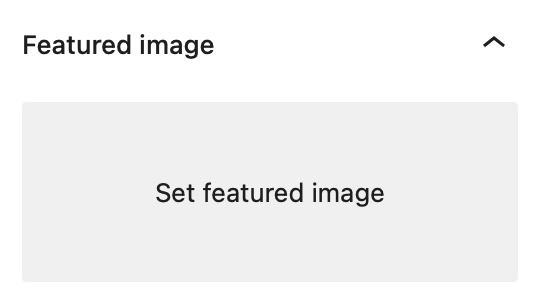
7. Upload a featured image (optional) that will be used in page cards and listings. Click “Set Featured Image” to upload or select from your media library.
Note: Recommended size for featured image is 600 x 400 pixels
Parent page
8. Make one page appear as the “child” of another page by giving it a “Parent” in the Page tab under Page Attributes.
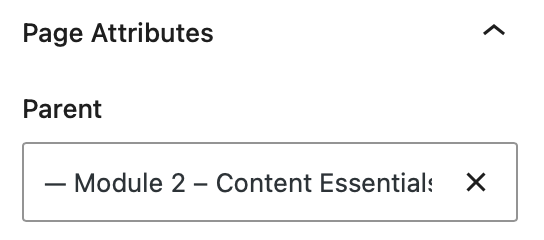
This will change the child page’s URL to the following: https://carleton.ca/yoursite/parent-page/child-page.
Preview
9. Preview your page.
Click the icon beside the Update button to preview your page.

View All Pages
10. View all of your pages by going to Pages > All Pages in the lefthand navigation.

You can click each tab to view:
- A list of all pages
- The pages you created
- Pages that are published
- Pages still in draft
- Pages in the trash
Video Tutorial
-
Welcome to getting started with cuTheme, module 2. This tutorial will cover pages.
Add a new page using the top menu or the side menu. This will bring you to the page editor.
You can give your page a title by clicking on the Add a Title and then you just start typing in here. You can also add text or different types of blocks by clicking the add block button. Or just by typing in here which is a default paragraph block.
You can also make one page the child of another. This will put the URL of the parent page before the URL of the page. And it also really helps to keep your pages organized. To give a page a parent, open the page settings menu and then go over to the page tab. And near the bottom of this, you’ll notice Page Attributes. Click on the dropdown arrow to open that up. And then you can start typing the name of the page here. So I will select Mastery to be the parent of Charlotte’s page.
Click the Save Draft or the Publish button to publish the page. And now you can preview the Page by clicking on the View Page button.
View all of your pages by going to Pages> All Pages in the navigation menu. You can click on each tab to view the pages that you have published. All of the pages that are published, ones that are still in draft, or pages that are in the trash and that you have not deleted permanently.
Try it Out
Now that you have learned how to save a draft, publish, and preview your content, it’s time to try it out!
- Add a new page. Give it a title and some content.
- Save this page as a draft.
- Publish this page and view it on the front end.
- Add another new page.
- View a list of all pages on your site. Have a look at the pages you created. Are there any pages in draft or in the trash?