Posts
Module 2.4 – Getting Started: Content Essentials: Posts
Table of Contents
Step-by-Step
Add and Edit a New Post
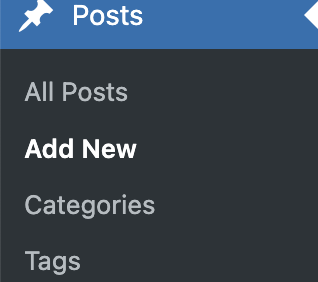
1. From the dashboard, go to the left side of the screen, hover over Posts, and click on Add New.
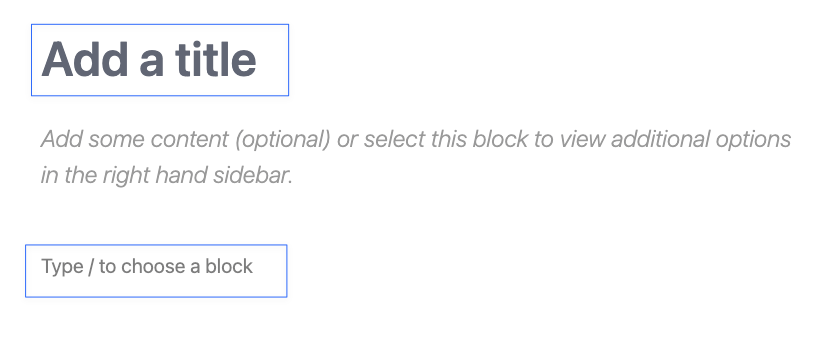
2. You are now editing a new post. Give your post a title by clicking Add a Title.
3. You can add text to the post by typing where it says “Type / to choose block”. This is a paragraph block. You will learn more about this later.
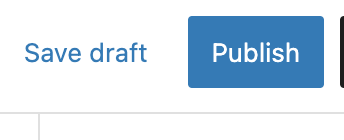
4. Save a draft or publish your post.
In the top right corner of the content editor screen, you will see buttons that allow you to save draft or publish your content.
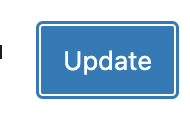
Once a post is published, this will change to Update. Use the update to save any changes you make to your page.
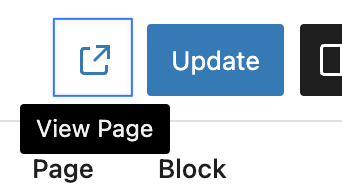
5. Preview your post.
Click the icon beside the Update button to preview your page.
Categorize Posts
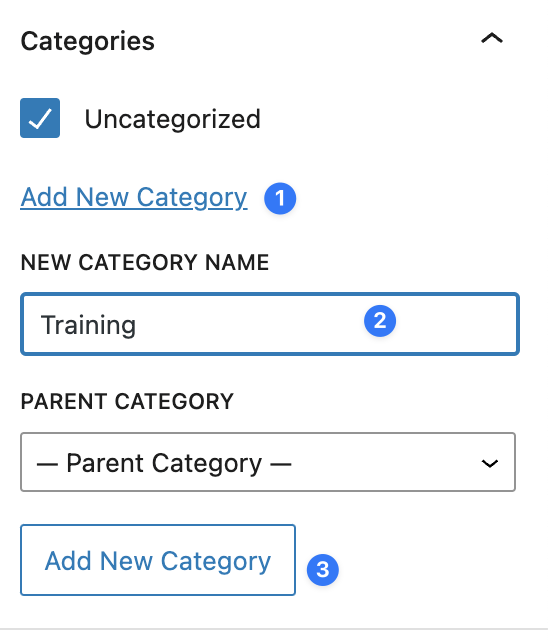
6. Categorize your post by clicking the “Add New Category” link, giving your category a name, and then clicking the Add New Category button.
Featured Image
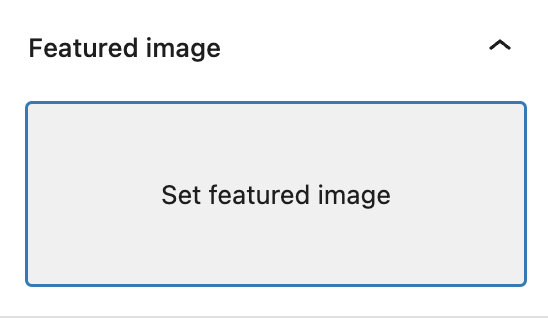
7. Set a featured image for your post. This will show up as a thumbnail when posts are listed on a page:
Click Set featured image and then choose an image from your media library or upload one from your computer.
Note: Recommended size for featured image is 600 x 400 pixels
Excerpt
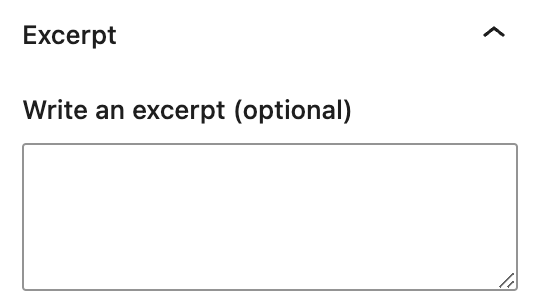
8. Add a one to two sentence description of the post by typing in the excerpt box. It will be used to preview the content wherever your posts are listed.
Note this is optional. If the excerpt is empty, one is created automatically using the first 55 words of the Post.
Video Tutorial
-
Welcome to getting started with cuTheme. module 2. This video is going to show you how to make posts.
To add a post, hover over posts and then Add New Post. You can start by adding a title. Then you can begin to create the content of your post. And this can be composed of just text, like a paragraph block. Or you can add any other type of content by using the block menu. So, I’m just going to go ahead and grab some cat ipsum and we’ll paste that right in here to create a blog post.
Now if you go over to post settings, click on this tab right here. You’re going to see you have a lot of similar options to pages with a few extra things. You can categorize your post by clicking the add new category link, “cutest animals.” And once you’ve typed in the name click the add new category button and you can see that this post is now categorized as cutest animals.
Using categories is going to become important later when we learn how to pull posts onto a page by topic. And we’ll go into this in a lot more detail in future tutorials.
Down here in the bottom right, you’ll notice that you can add a featured image. This is an image that accompanies your post whenever it’s listed. For example, check out the homepage of the website and you’ll see here these are news posts and this little thumbnail here is the featured image for that particular post.
To add a featured image, click on Set featured image and then you can either upload one from your computer or select something that’s already in your media gallery. And we have this cute little kitty cat right here so I’m going to select that.
The excerpt tab down here provides a text box where you can write one or two sentences that describe what the post is all about. This will be used to preview content where your posts are listed.
Again, like on the homepage, this would be the excerpt. Note that this is optional. If you don’t put anything in there, then WordPress will automatically create one for you using the first 55 words of your post.
Now you can go ahead and either click Save Draft or Publish to publish your post. And then once that is published, click View Post to see what it looks like on the front end.
To view all your posts, go to the dashboard of your website and then go to Posts > All Posts. And here you can see, these are all the news posts that you’ve published and they are listed chronologically with the most recent being at the top.
Try it Out
Now that you have learned how to save a draft, publish, and preview your content, it’s time to try it out!
- Add a new post. Give it a title and some content.
- Save this post as a draft.
- Publish this post and view it on the front end.
- Give the post a category.
- Add a featured image to your post.