Wide Image
Module 3.3.3 – Getting Started: Basic Building Blocks: Basic Image Blocks: Wide Image
Table of Contents
The Wide Image block allows you to include a larger image or banner on your web pages.
Step-by-Step
1. Add the Wide Image block using the block menu.
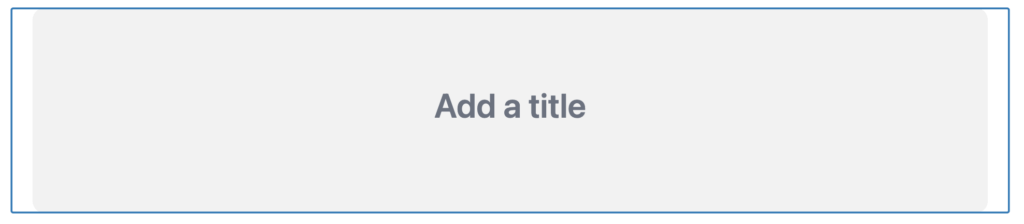
2. Click the block to add a title.
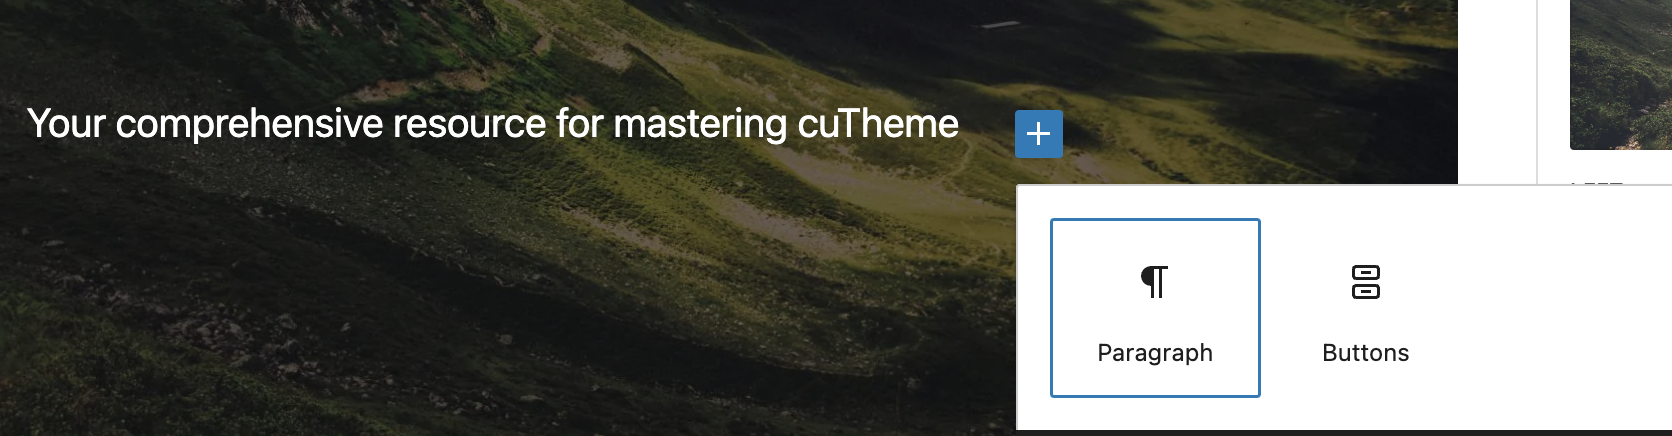
3. Add content below the title by clicking the + sign. You can add:
- A description (paragraph block)
- Buttons (buttons block)
4. Click the block options tab to:
Upload an image: Select Image to upload an image from your media library or computer.
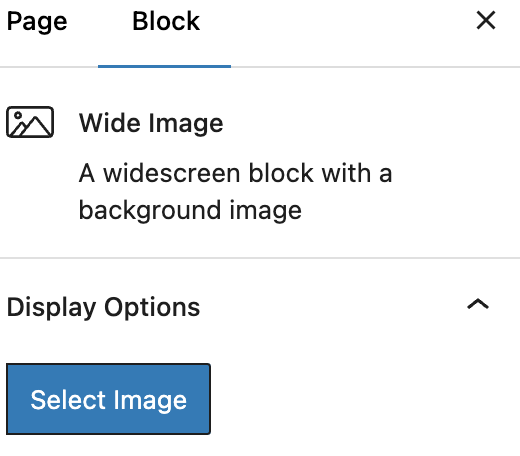
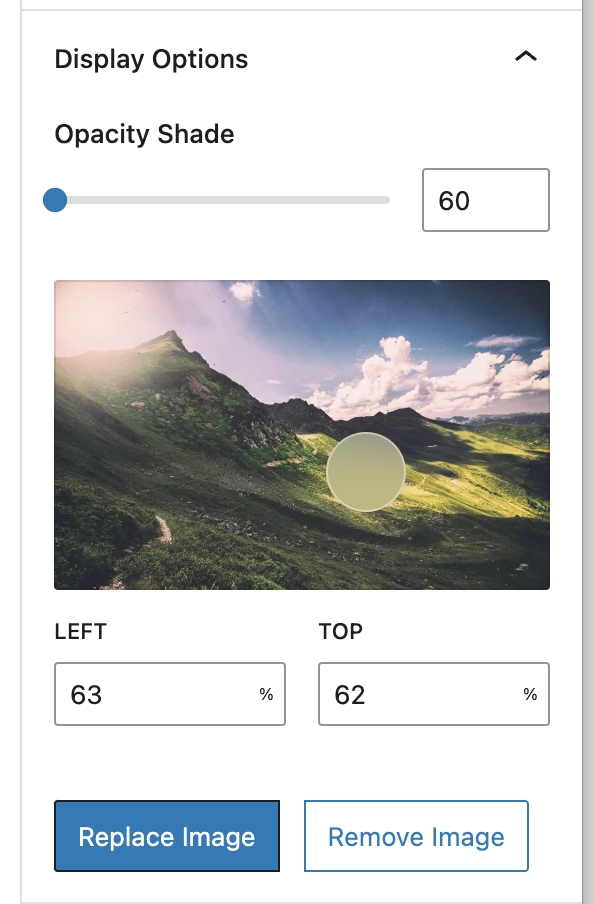
Under Display Options, you can:
- Change the image’s opacity shade
- Change the position of the image within the block
- Replace or remove the image
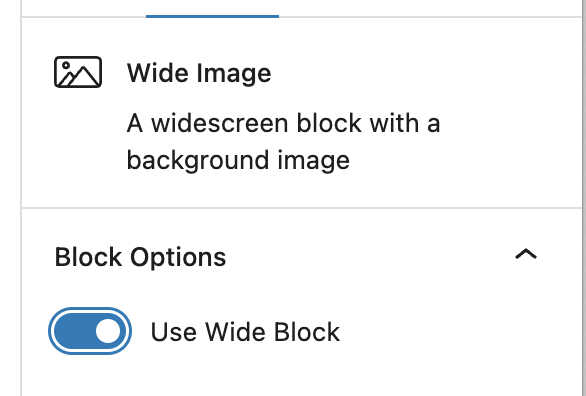
Use wide block: This option is available, under Block Options, for wide blocks in the content area. Toggle the switch to increase the block width to full screen.
Wide Image Block Example
This is a subtitle or description
Video Tutorial
-
Wide image blocks can be used for large, high-quality images that you want to spread across the entire screen. They are great for banners at the top of the page, like we have on the homepage for our documentation site. However, you can also add a wide image anywhere on your posts or pages.
When you create a new page, the block at the very top, or the page banner, is a text and image block by default. To convert it to a wide image block, click on the icon in the contextual menu and select “Wide Image.”
The wide image block consists of a title, a background, and content, such as a paragraph block or a set of buttons. Let’s start by adding a title. To add content, click on the plus sign, then click “Paragraph” to add a subtitle or description. You can also add a button—just make sure to add a link for all of your buttons under block options.
To add a background image to your wide banner block, select “Image” under block options. Please note that the image must be a minimum size of 1,600 by 700 pixels. Under block options, you can also darken the image by adjusting the opacity slider. Additionally, you can change the relative position of the image by dragging the circle.
Use the “Replace Image” and “Remove Image” options to switch or remove your image. Now that we’ve completed these steps, we’ve successfully added a wide image block to a page.
Try it Out
Now that you have learned how to work with the Wide Image block, it’s time to try it out!
- Add a Wide Image block to a page.
- Add a title
- Add an image, description/subtitle, and a button or two.
- Preview your results on the front end.