Quick Reference Guide
An overview of the basics of cuTheme and block editing to get you started quickly.
This quick start guide will show you how to navigate block-based editing on your cuTheme website. Let’s get started!
Table of Contents
Accessing the Block Editor
In the block editor workspace, you create and add all content for your website’s pages and posts.
- Log in to your website dashboard.
- Navigate to the page or post that you want to edit.
- Click the “Edit” button to open the block editor.
Editing Pages and Posts
- Once in the block editor, you’ll see your content divided into blocks.
- To edit existing content, click on the relevant block. You can add and edit text, images, videos, and other elements directly within each block.
- Use the toolbar above each block to format text, add links, and adjust settings.

Adding New Blocks
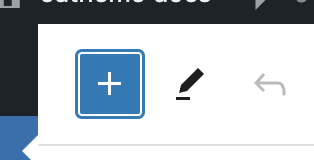
- Click the “+” icon (Add Block) at the top-left corner to add a new block.

- Choose the type of block you want to add (e.g., Paragraph, Image, Heading, etc.).
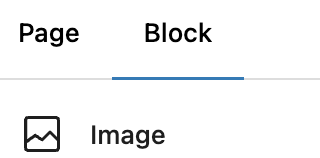
- Customize the block’s content and settings under the Block settings tab at the right.

Rearranging Blocks
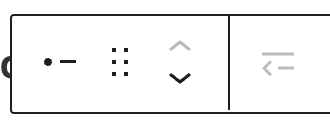
- To change the order of blocks, click the up/down arrows in the block toolbar.

Block Styles and Options
- Explore block-specific options in the right-hand sidebar (the block editor tab).
- Adjust alignment, add alt text to images, display elements in a particular way, plus other styling settings.
Saving Your Changes
- Click the “Update” button to save your edits.
- Preview your changes by clicking “Preview” or “View Post/Page.”
Remember, the block editor is flexible and intuitive. Experiment with different block types, and enjoy the creative possibilities!
Video Tutorial
-
In this video we are going to show you how to navigate through the block-based editing system on your cuTheme Website:
First off, we are going to be opening the block editor
There are two ways you can access this, creating a new post or page, or editing an existing one.
For this video we are going to access the editor using an existing page, and to do that you must log in to your website, navigate to the page or post that you want to edit, then click on the edit button to open the editor.
Next up we are going to edit a page or a post.
Now that we are in the block editor, you can see that the contents are sorted into what you call blocks.
To edit existing blocks, you can click on the one that you want to edit, and from there its going to depend on the block that you want to modify, but you can do stuff like edit text, images, videos and other elements.
When you click on a block, you may notice that there is a toolbar that appears above the block, you can use this bar to format text, add links or quickly change some settings for that block.
Now we are going to add new blocks.
To do that navigate to the top right portion of the editor, you will see a plus button, click that to open the tab for new blocks.
Click on the type of block that you want to add, it should then appear in the page
Now that we have added the new block, suppose we want it somewhere else on the page.
To move a block, click on it, and on the toolbar that appears, you can either use the up and down arrows or use the drag button to rearrange the block.
To customize more settings about the block, you can do so under the block settings tab at the right.
On this tab you can explore also block specific options such as alignments, adding headers, adding alt text to images or sorting content within the block.
Now that we have completed editing a page, all there is to do is to double check your work, then we can save.
To save your changes, click on the Update button on the top.
If you want to preview your changes, click preview or view post/page
Next Steps
- For more details, follow our training, exploring each module in a stepwise approach. Get started with Module 1.
- Or use the search at the top or index on the homepage to jump to a specific topic.