Gallery Block
Module 2.4 – Mastery: Design Blocks: Gallery
Table of Contents
The gallery block is perfect for showcasing a collection of images in an organized and visually appealing way! It allows you to display multiple photos in a grid format.
Step-by-Step
1. Add the Gallery block using the block menu.

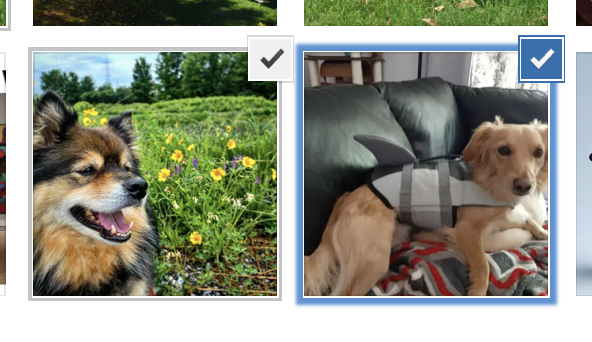
2. Add images by uploading from your device or selecting multiple images from your media gallery

3. Click “Create a new gallery”

4. Click “Insert Gallery

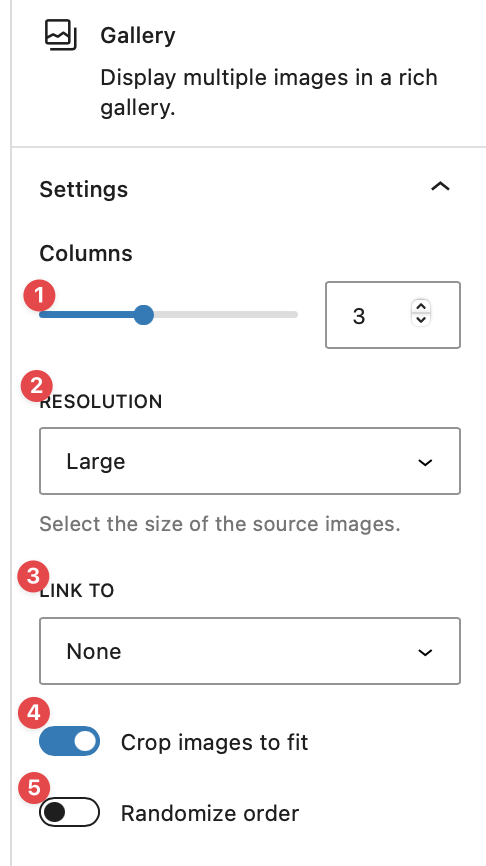
5. Select gallery options under the block tab at the right.
You can change the number of columns to display, choose image resolution, link images, crop images, and randomize order.

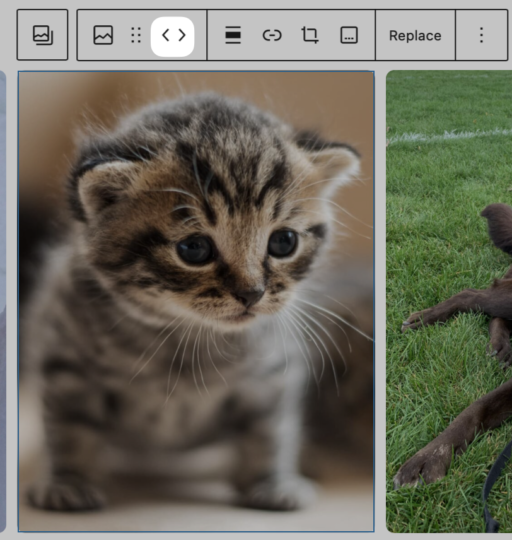
6. Change the order of your images by clicking on an individual image. Move it around with the arrows on the contextual menu that appears.

Video Tutorial
-
The gallery block is a way to display multiple photos in a grid, this makes it optimal for you to show your collection of images in an organized way.
To add a gallery block to your page, navigate to the block menu and add the gallery block.
Images can be added by using your media library or uploading new photos from your computer. Then click create a new gallery, then insert gallery.
You can organize your images by using the arrows on the menu that appears above the block.
To customize how your gallery looks, navigate to the block tab and from there you can change the number of columns, resolution of your images, if you want to make the images link to its media files, crop images or randomize the placement order of the images.
Try it Out
Now that you have learned how to work with the gallery block, it’s time to try it out!
- Add a gallery block to your page.
- Select a few images.
- Publish and preview your page.
- Try out some of the gallery block options.
- change the number of columns
- change the order of the images