Creating & Editing Forms
Module 5.1 – Mastery: Forms: Creating & Editing Forms
Forms are a great way to gather information for things like events and workshops, to ask your audience questions, and to provide a way for them to get in touch with you.
Table of Contents
Step-By-Step
Add a new form
1. From the main navigation menu, select Forms. Click New Form

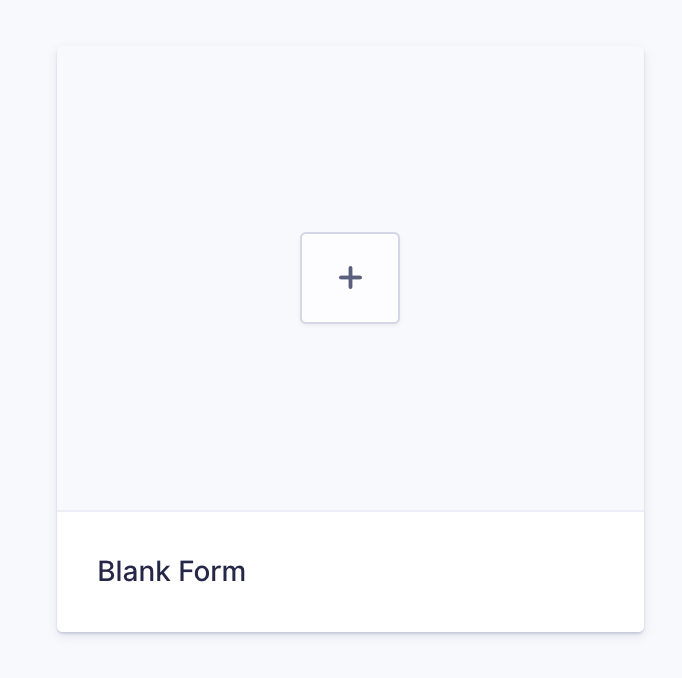
2. Select Blank Form
3. Enter Form Title (required) and Form Description (optional)
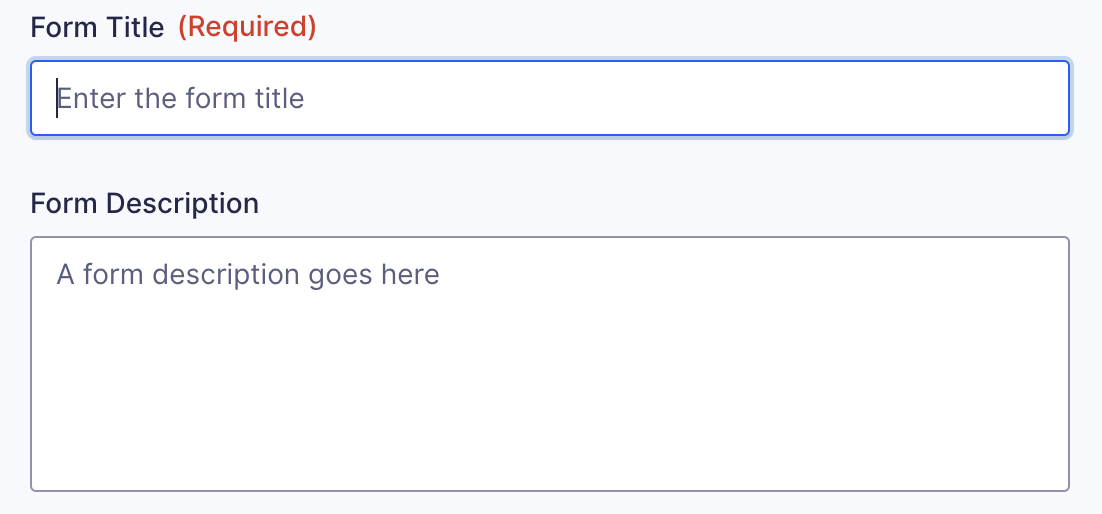
4. Click Create Form

Edit a form
1. Use the fields located on the right-hand side of your screen to build the form. Click the fields or drag and drop them to add them to the editing area.
For more information on the specific uses of each field, please visit the Gravity Forms documentation site.
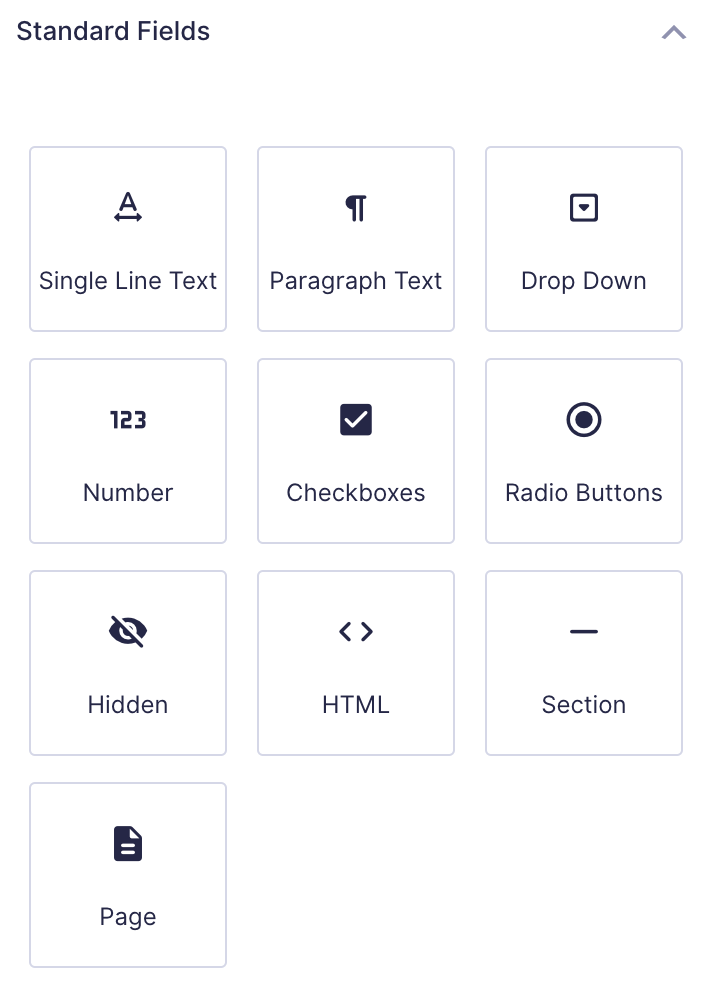
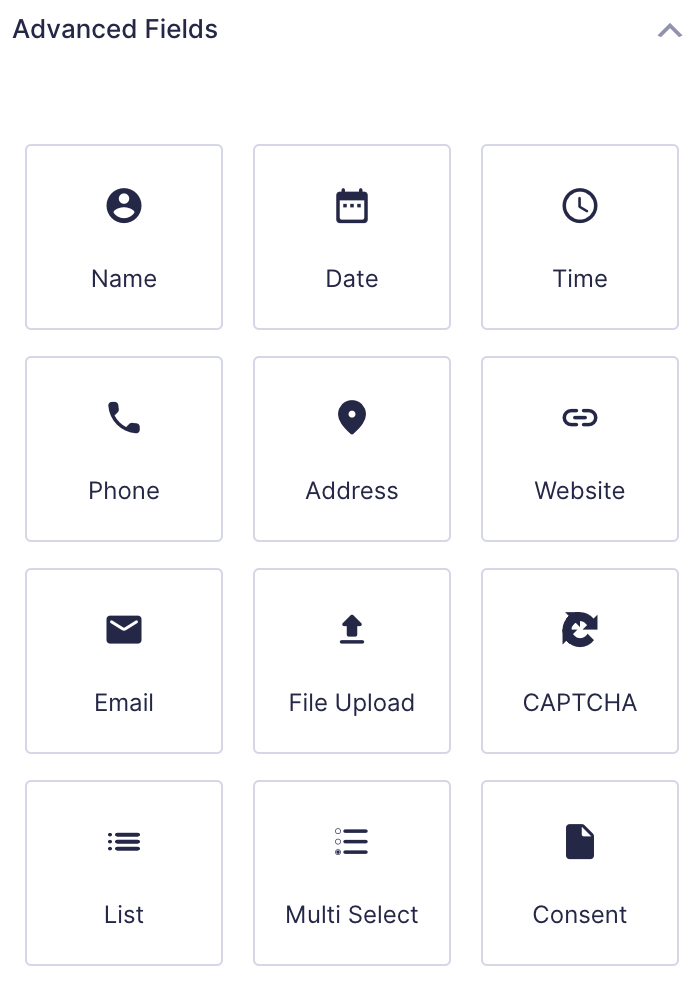
2. Clicking on a field will prompt the options to 1) Move, 2) Duplicate, open 3) Settings, and 4)Delete the field.
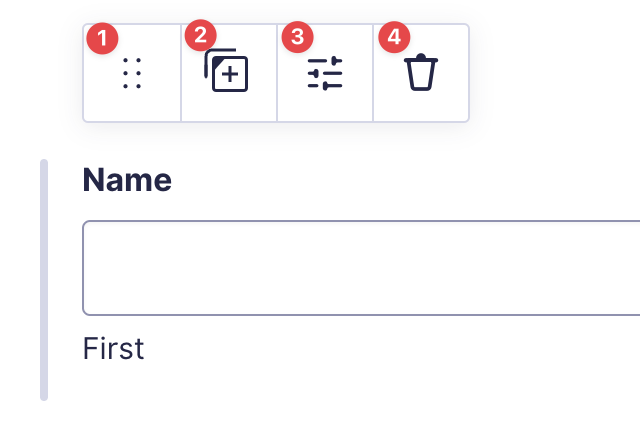
3. Select Settings to open the Field Settings, which allows you to customize the field.
4. When you are done editing, click Save Form at the top right.
Customize a Field
When you open the Field Settings, you will see the following tabs: General, Appearance, Advanced and Conditional Logic.
Click the dropdown arrow at the right of each tab to access settings.

1. General
This tab varies between fields, but generally, it has the following options:
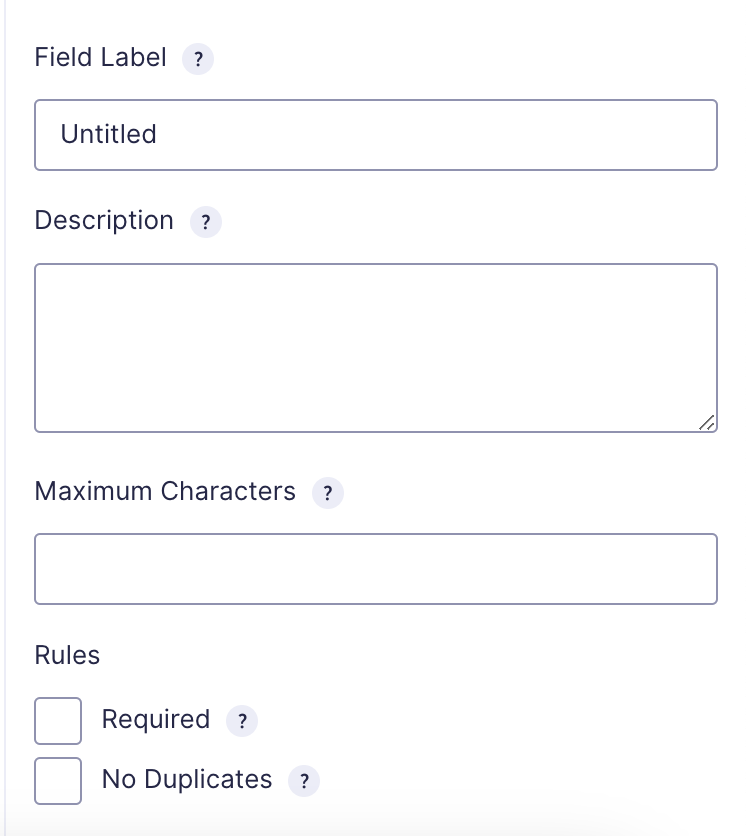
- Field label: to change the title of the field. E.g., Program of Study
- Description: to add a description to the field E.g., What program are you in?
- Rules: You can mark this field as Required (i.e., the users must fill this field to be able to submit the form) and No Duplicates (i.e., the users can only enter a unique value to this field)
2. Appearance: options to change the look of the field E.g., small, medium or large field
3. Advanced: customize functionality E.g., make a field hidden
4. Conditional Formatting: customize what the user sees depending on their form inputs
Each field has slightly different settings, so we recommend you explore each field, see what they’re used for, and how they might be useful for you.
For detailed information on field settings and customization, please visit the Gravity Forms documentation site.
Add a CAPTCHA
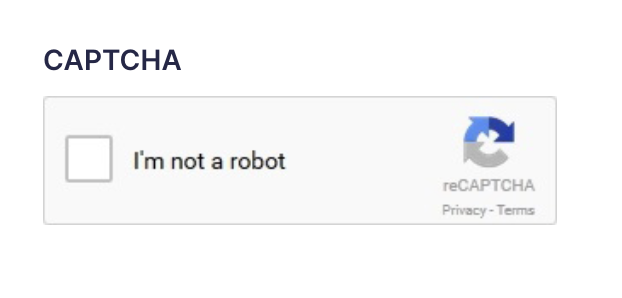
In order to fight forms spam, we recommend you add a CAPTCHA field to your form. This is a small checkbox that the person completing the form must click on to prove they are human.
You’ll find this field under the Advanced Fields tab.
Video Tutorial
-
Hello and welcome to cuTheme Mastery Training, Module 5. In this video, we will go over creating and editing forms.
Forms are a way to get interactions from those who view your site. They let users enter information, which will then be sent to the site owner. This can be helpful for getting information for events, user contacts, and so much more.
To create a form, to go the sidebar, hover over “Forms”, and click “New Form”.
A new menu will pop up, so click on “Blank Form”, and enter a form title and description.
Once you have a title and description, click “Create Blank Form.
You’ll then be taken to an editing screen.
You’ll see there are multiple fields you can add to your form. So, to add a field, either double-click it, or drag and drop into the main area.
For more information for each specific field, you can visit the Gravity Forms documentation site, which can be accessed through the cuTheme docs form page, or in the description of this video.
Once you have field in the form, you have 4 options right here, to move it around, duplicate it, open settings, or delete it.
Field settings are on the right side of the page. There are 5 available settings: General, Appearance, Advanced, Perks, and Conditional Logic.
General features all the basic options, like a label, description, and whether or not you want it to be required.
Appearance focuses on how the field itself appears in your form. You can make it smaller or larger than the default if you want.
Advanced features more complicated settings, such as making a field hidden.
Perks are for more miscellaneous settings, like making a field read-only, and adding minimum and maximum word counts.
Lastly, conditional logic allows you to edit what the form says based on input in previous fields.
The Gravity Forms documentation does go more in depth on all the fields and settings, so be sure to check the site out to gain a greater understanding of how you can improve your forms.
Try it Out!
Now that you have learned all about forms, it’s time to try creating one!
- Create a new form. Give it a title and description
- Add a few different fields and explore the options available to customize these fields
- Add a CAPTCHA field.
- Save your form. We’ll test it out at the end of the forms modules!