Form Notifications
Module 5.3 – Mastery: Forms: Form Notifications
Table of Contents
When a user submits a form, the site administrator receives an email notification that a form has been successfully submitted.
Step-By-Step
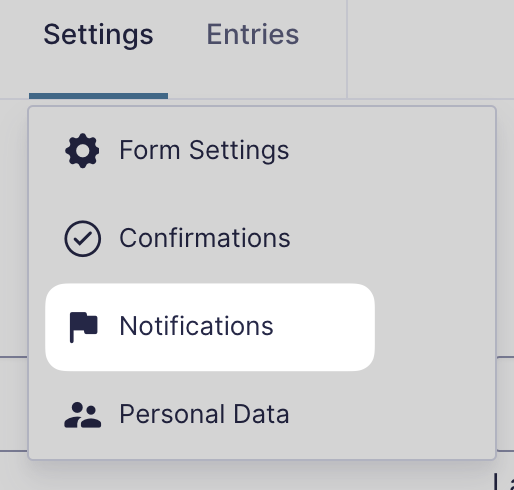
1. To access confirmations, hover over Settings then click Notifications.
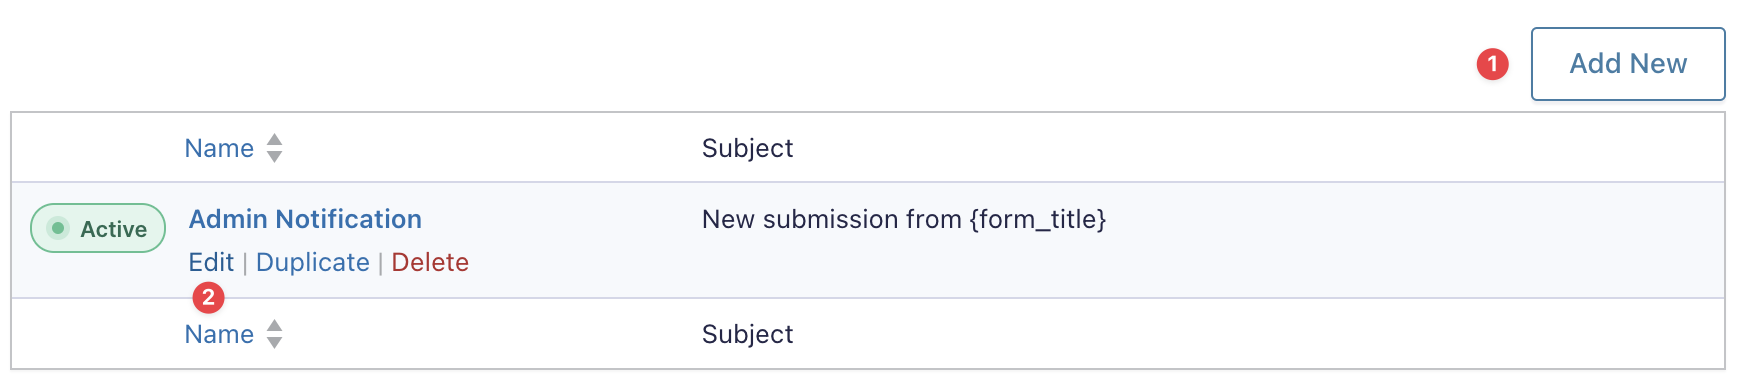
2. Create a new notification by clicking Add New, or edit the existing admin notification.
3. Give your notification a name. Typically the Admin Notification will go to you or someone who will track the form submissions. You can also create a User Notification which will be emailed to the form submitter.

4. There are several fields you can edit on the notification screen. The most important fields are explained here, but you can view more information on each field by hovering over the question mark icon next to each field name:
Send To
Under Send To, you can input the email where the notification will be sent in the Send to Email field.

This email address is typically a departmental or individual email that will be monitored for form responses. However, if you are creating a notification that will email users when they have filled out the form, you can also choose the Select a Field option, and choose the email field in your form.
If you are editing the default Admin Notification, be sure to remove {admin_email} from the Send to Email field.
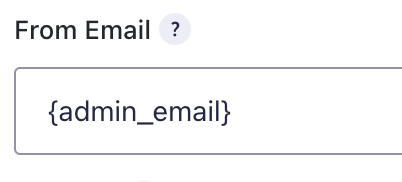
From Email
In the From Email field, input the email you would like the notification to be sent from.
If you are editing the default Admin Notification, be sure to remove {admin_email} from the From Email field.
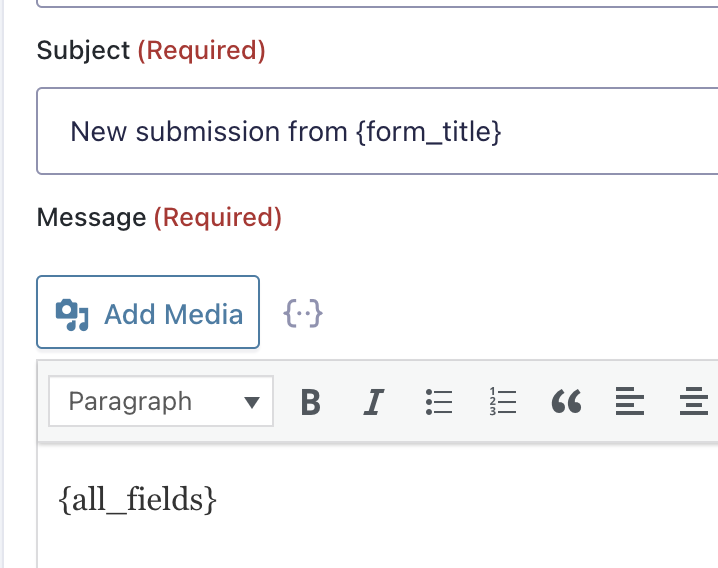
Subject and Message
You can also edit the Subject and Message of the email notification.
By default, the subject is the name of the form and the message is information the user entered into the form.
Merge Tags
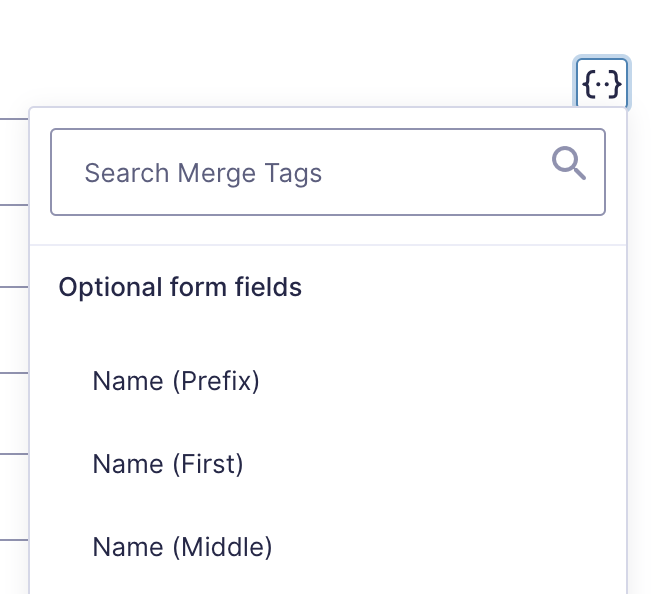
Next to most fields, there is a Merge Tags button which allows you to input the values that the user entered into a field in the form. These values will appear as the name and id of the selected field in curly brackets and will be replaced by the actual input value when the message is sent.
5. Once you’re finished editing the notification, click Update Notification.
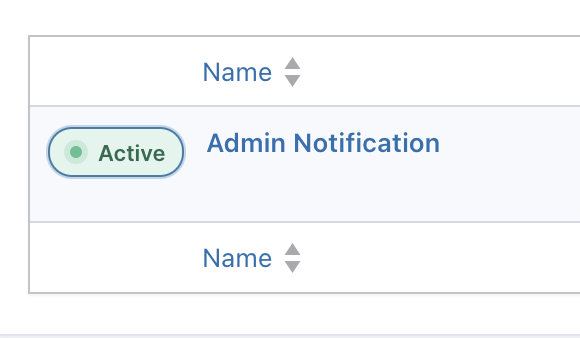
6. From the main notifications screen, ensure that the notifications you want to be sent, are toggled on with the Active/Inactive slider.
For detailed information on configuring notifications and merge tags, please visit the Gravity Forms documentation site.
Video Tutorial
-
Hello and welcome to cuTheme Mastery Training, Module 5. In this video, we will go over Form Notifications.
Form notifications signal to the site owner through email that a form has been completed. There are several ways to customize notifications, which we will go over now.
Similar to form confirmations, hover over settings, and this time click on “Notifications”. You’ll be redirected to the notifications menu, which has a similar layout to the confirmations menu. I’m going to edit the default notification here.
So the edit menu gives you many options for your notification. First, make sure to give your notification a name.
Under Send To, you can choose where you want your email to be sent. Under “Enter Email”, you can manually enter the email you want the notification to be sent to. If the notification says {admin_email}, make sure that is deleted.
“Select a Field” allows you to choose an email field in your poll, so the notification is sent to the entered email, and “Configure Routing” will send it to different email addresses depending on information in the form.
“From Email” refers to the email the notification will be sent from. Once again, if {admin_email} is in here, make sure it is deleted.
Then, like any other email, you can enter a subject and message for your notification.
Now, you will notice under most of the input fields, there is an icon with brackets. This is the merge tags button, which allows you to input the user-entered values of a field in the form. These appear as IDs when you enter them, but they will be replaced with the user’s entry as the notification is sent.
Once all your information is entered, head to the bottom and click “Update Notification”. Head back to the original screen, and make sure your notification is set to active. Just like that, you now have a notification for your form.
Try it Out!
- Create a new notification
- Enter your email in the send to (we’ll test it out in the next module!)
- Add a message above {all_fields} in the message area
- Save your notification and make sure that it is active