Go back to the Microsoft MFA page at the ITS Help Centre
Students should follow the steps below in the order provided to successfully set up Microsoft multi‑factor authentication (MFA).
- All steps must be completed in the sequence shown.
- Be sure to configure a backup authentication method to avoid being locked out of your account if your phone is lost, replaced, or unavailable.
- If accessibility needs prevent you from using any of the available authentication options, please contact the Service Desk for assistance.
- New Students: Soft Enrolment
-
Soft Enrolment
Students will automatically begin seeing prompts to set up MFA when they attempt to log into Carleton services using their MyCarletonOne password. The prompts should match the screenshot below.
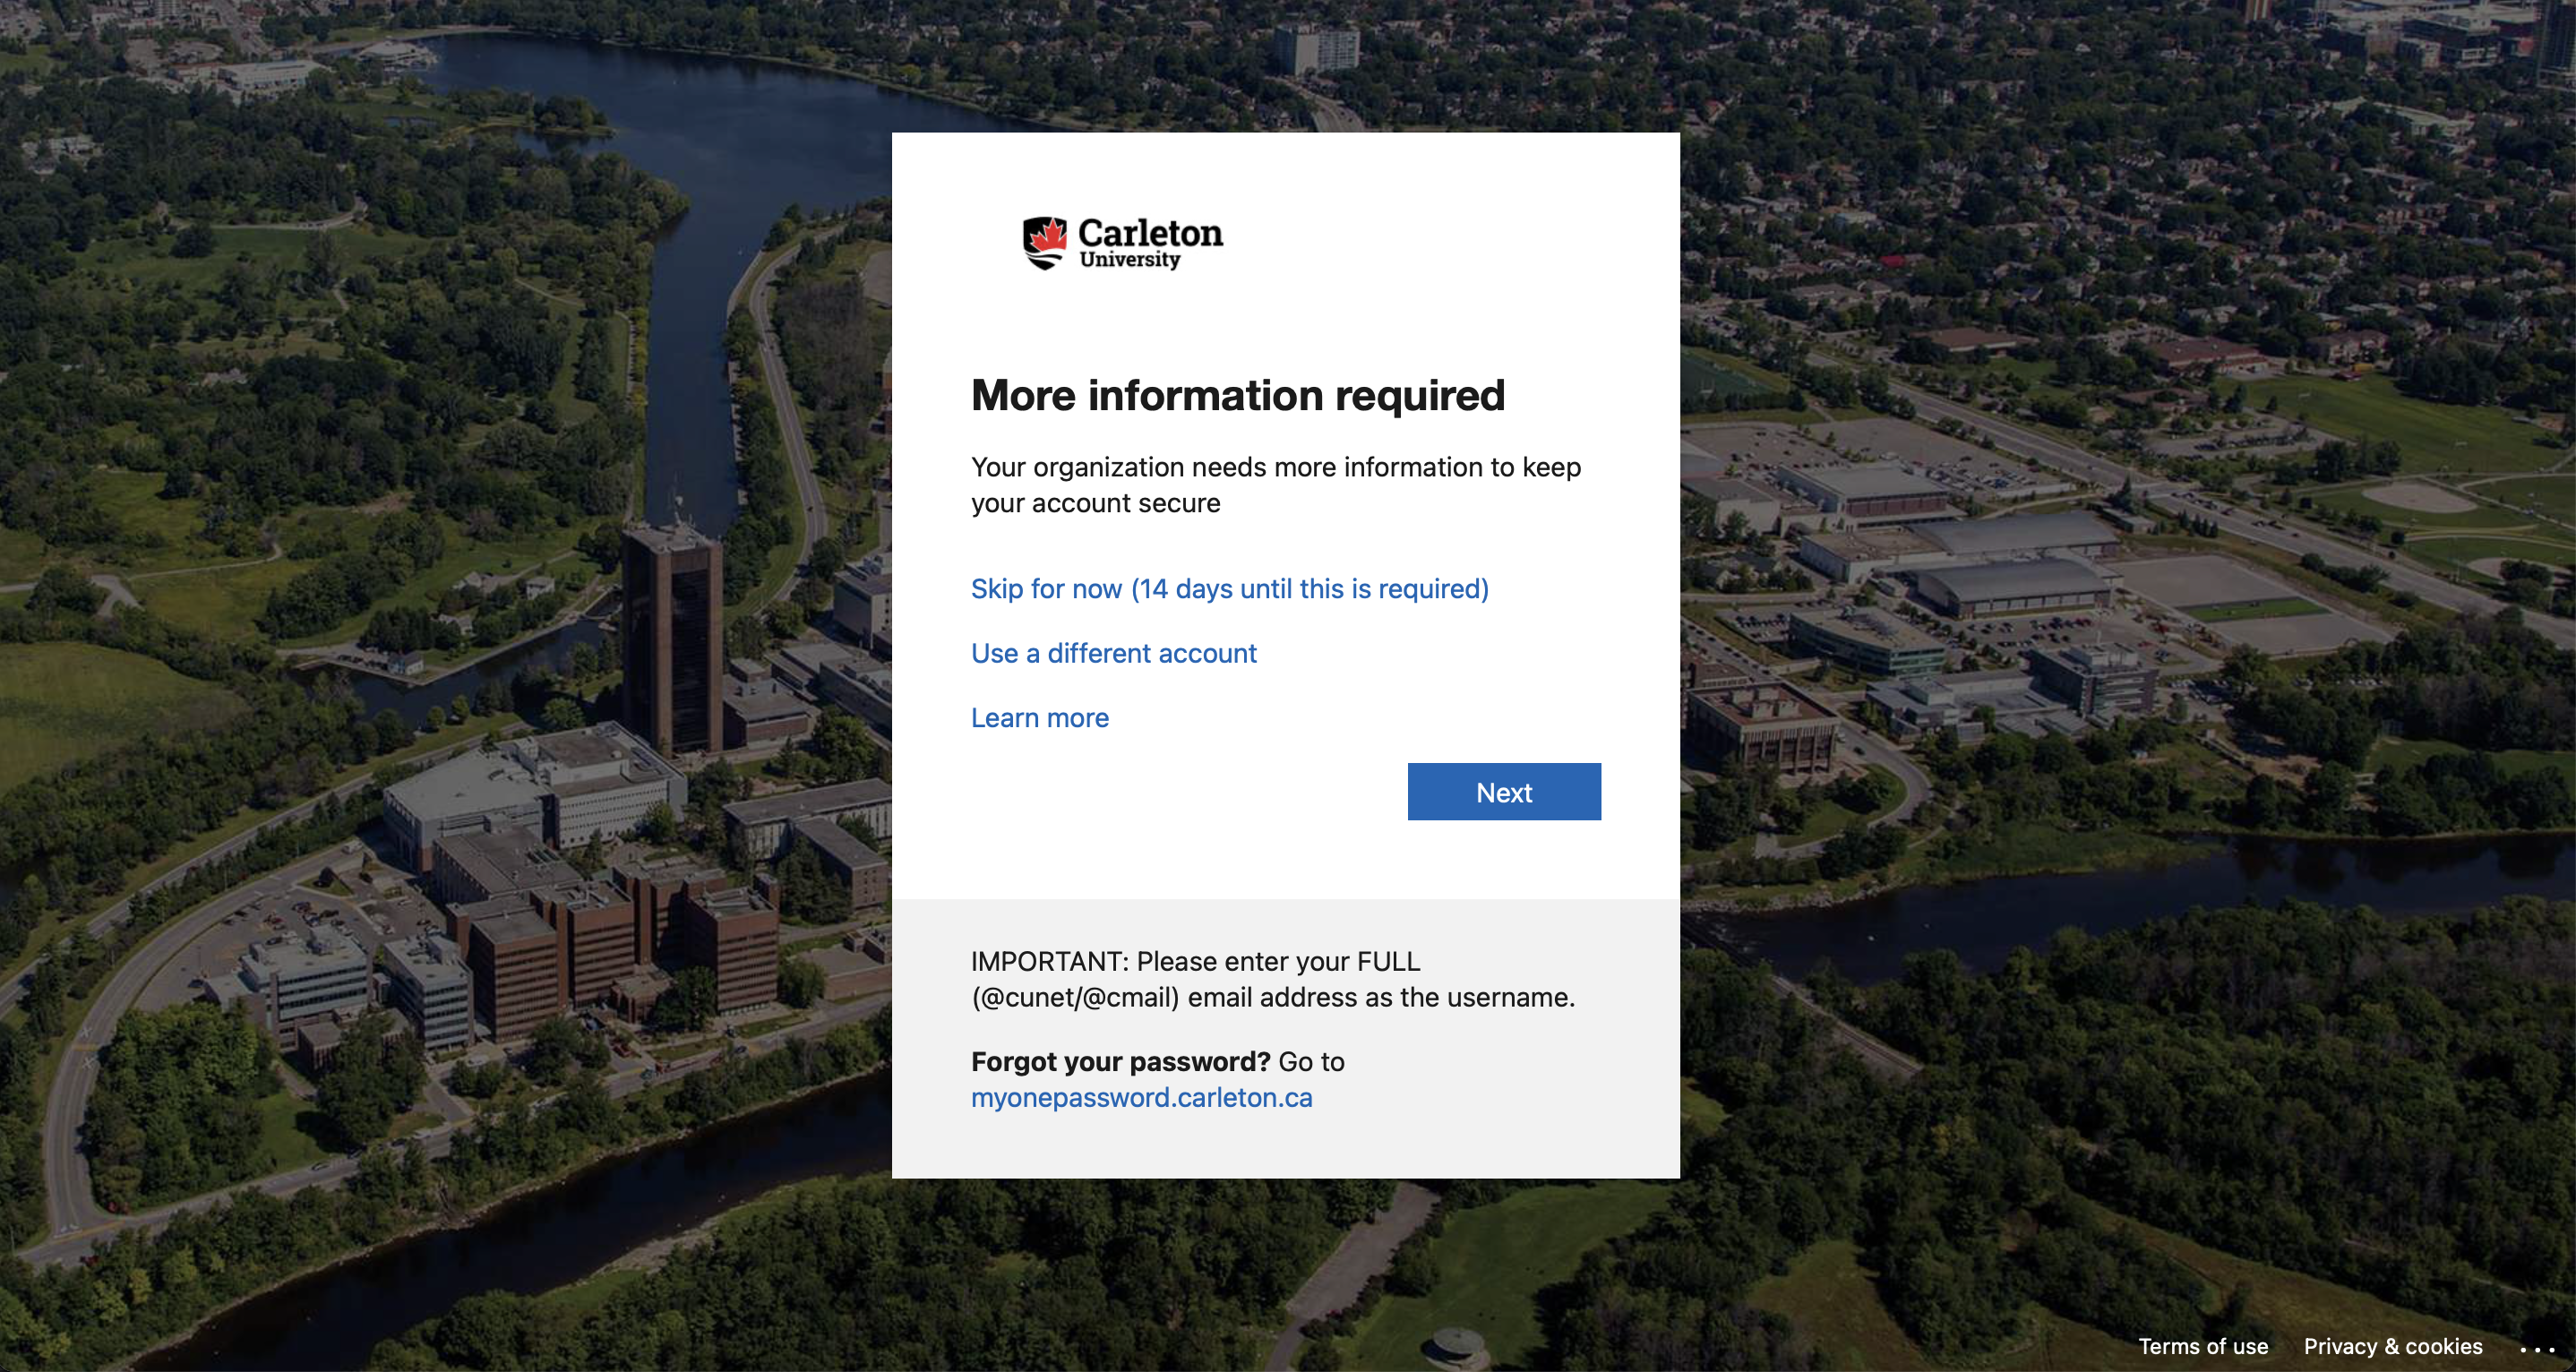
During this phase, students will be given the choice of the following:
- Click Next and follow the prompts to exit the Self Enrolment Phase and enrol in MFA.
- Click Skip for now (14 days until this is required) to continue on in the Self Enrolment Phase and access to the service they were attempting to log into. Please note that this option will disappear 14 days after it is first clicked. This means the Self Enrolment Phase has ended, at which point students will be required to click Next and set up MFA before accessing Carleton services. Details about how to set up MFA are covered in the remainder of this page.
Note: If the Self Enrolment Phase has ended and a student urgently needs to log into a Carleton service, they can request an exception by contacting the ITS Service Desk. In this scenario, the student in question would be required to set up MFA at a later time.
- MFA Enforcement
-
MFA Enforcement
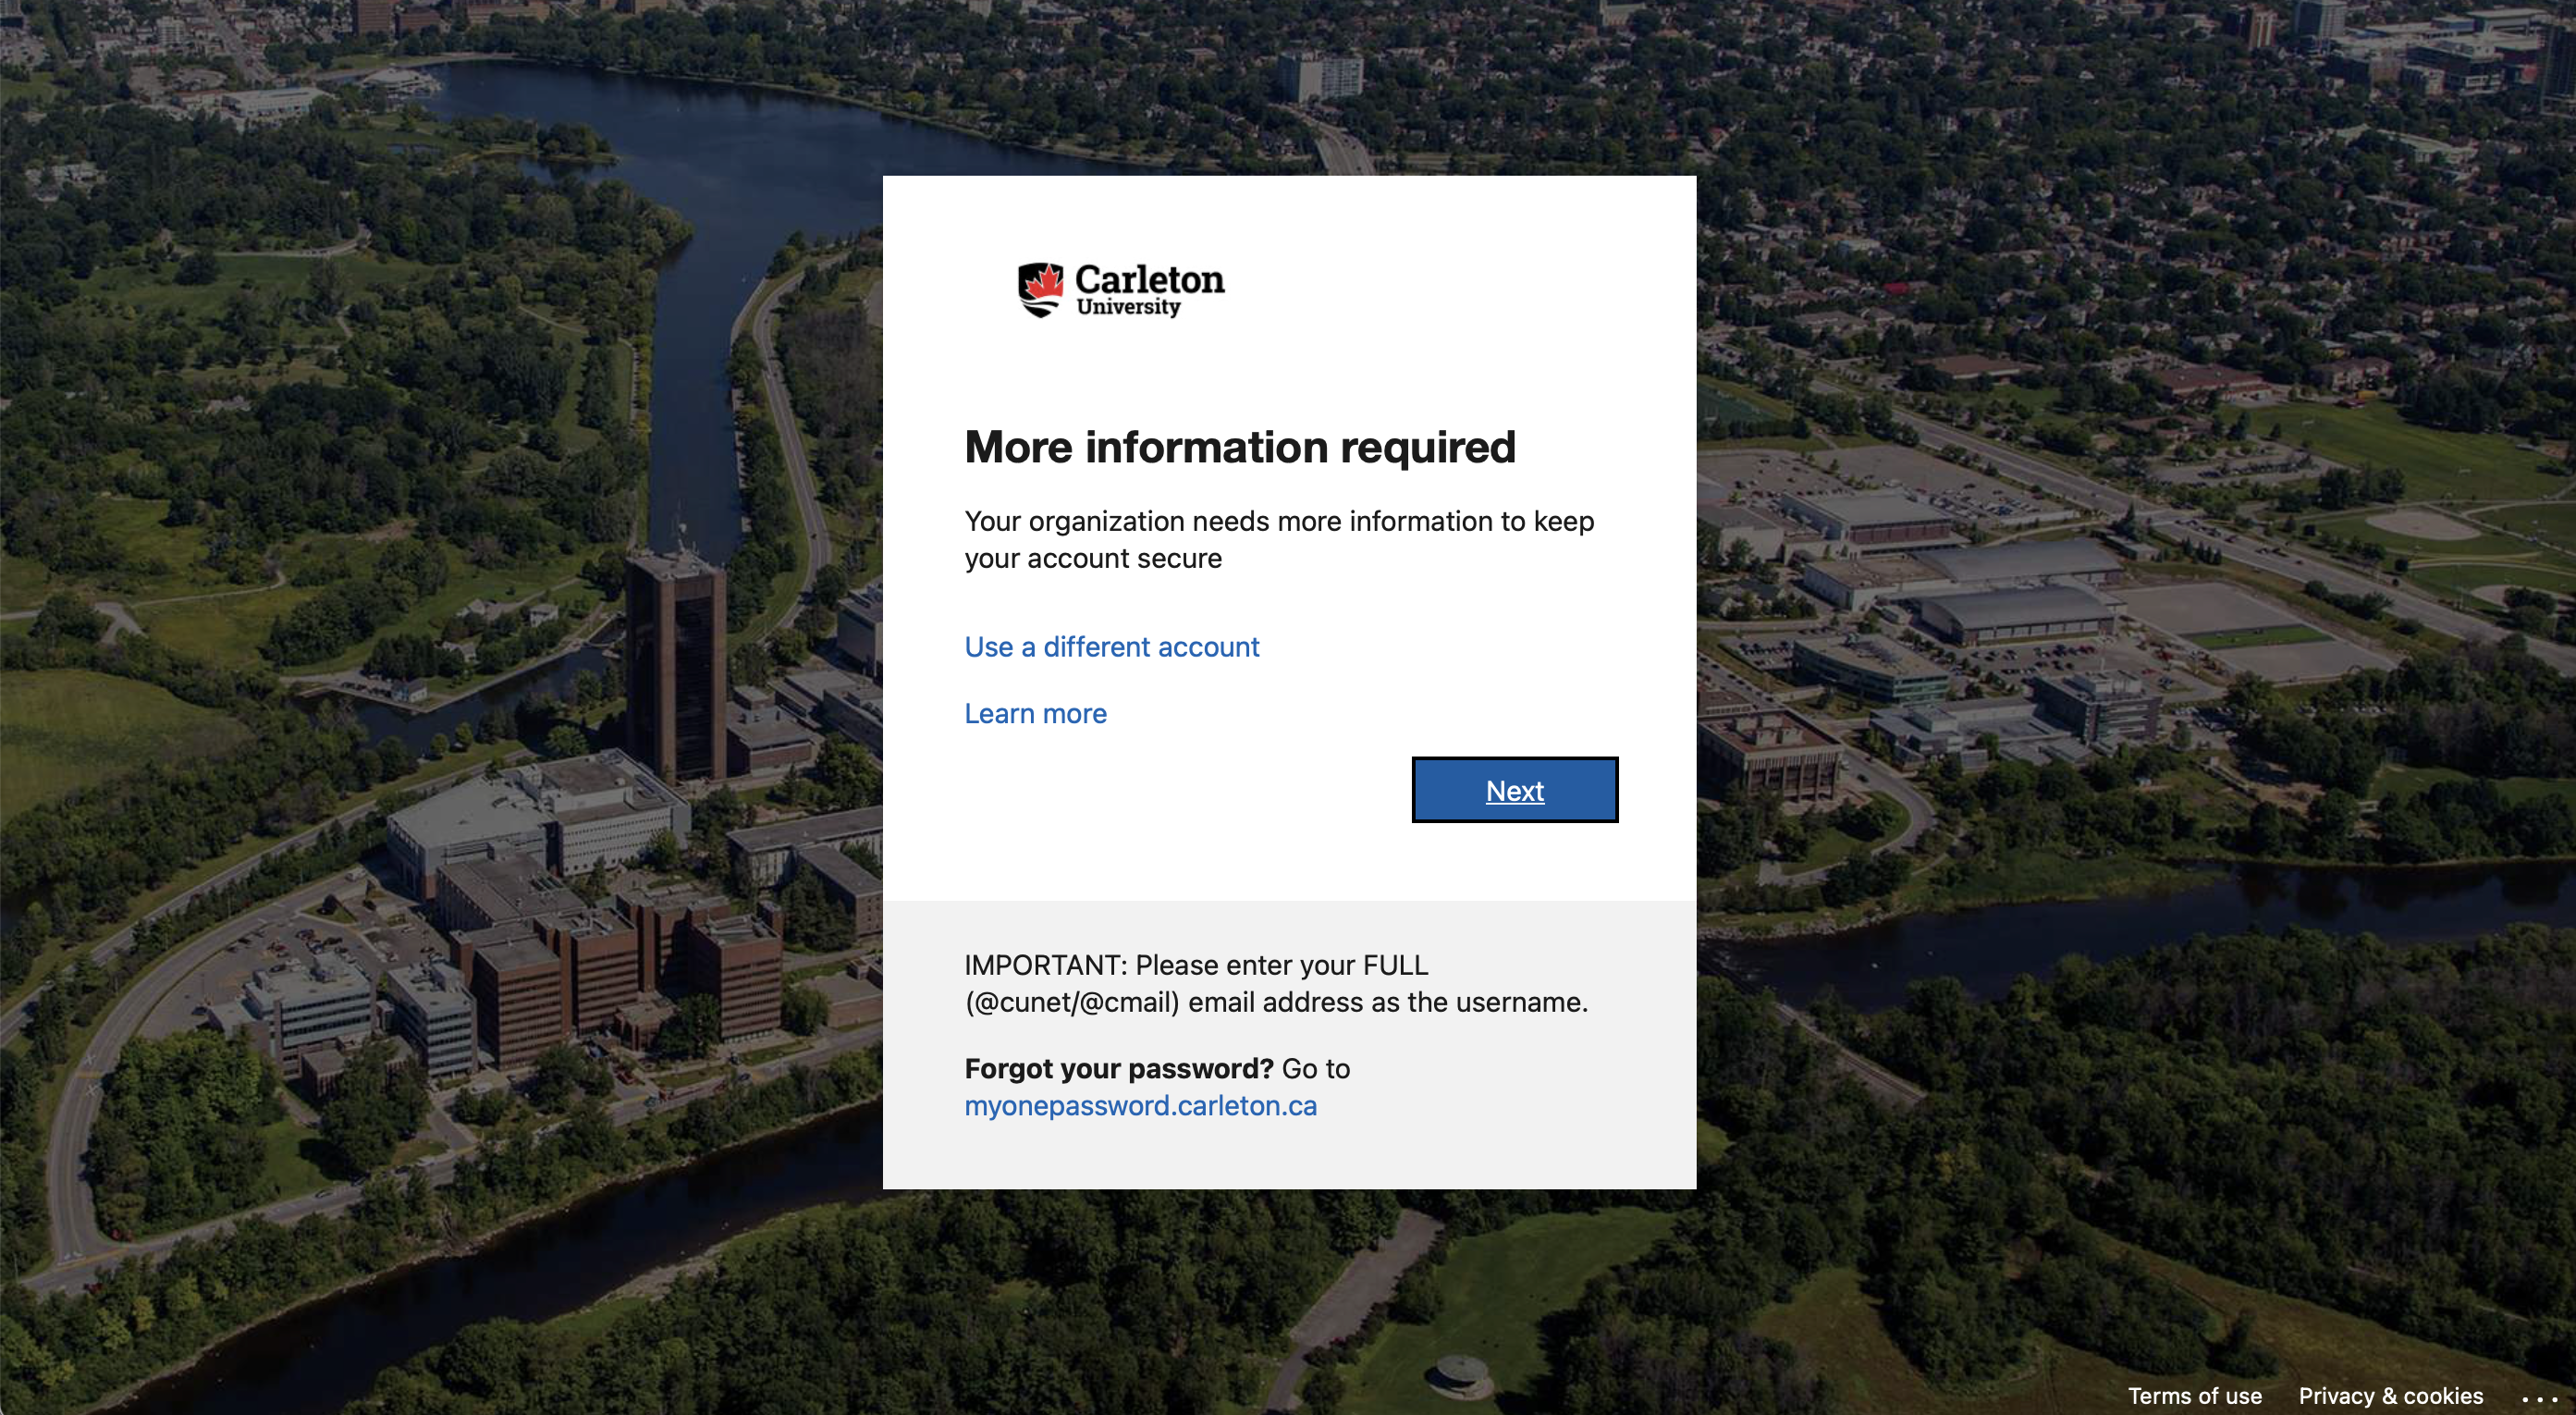
Students who have exhausted the 14-day grace period will encounter a prompt that should match the screenshot below. This prompt signals that the grace period is now over and students will be prevented from logging into Carleton services until they have set up MFA.
To download and configure the Microsoft Authenticator, follow these steps:
- Click Next to proceed to the screen below
**Note: If you already have the Microsoft Authenticator app installed you can proceed to step 2
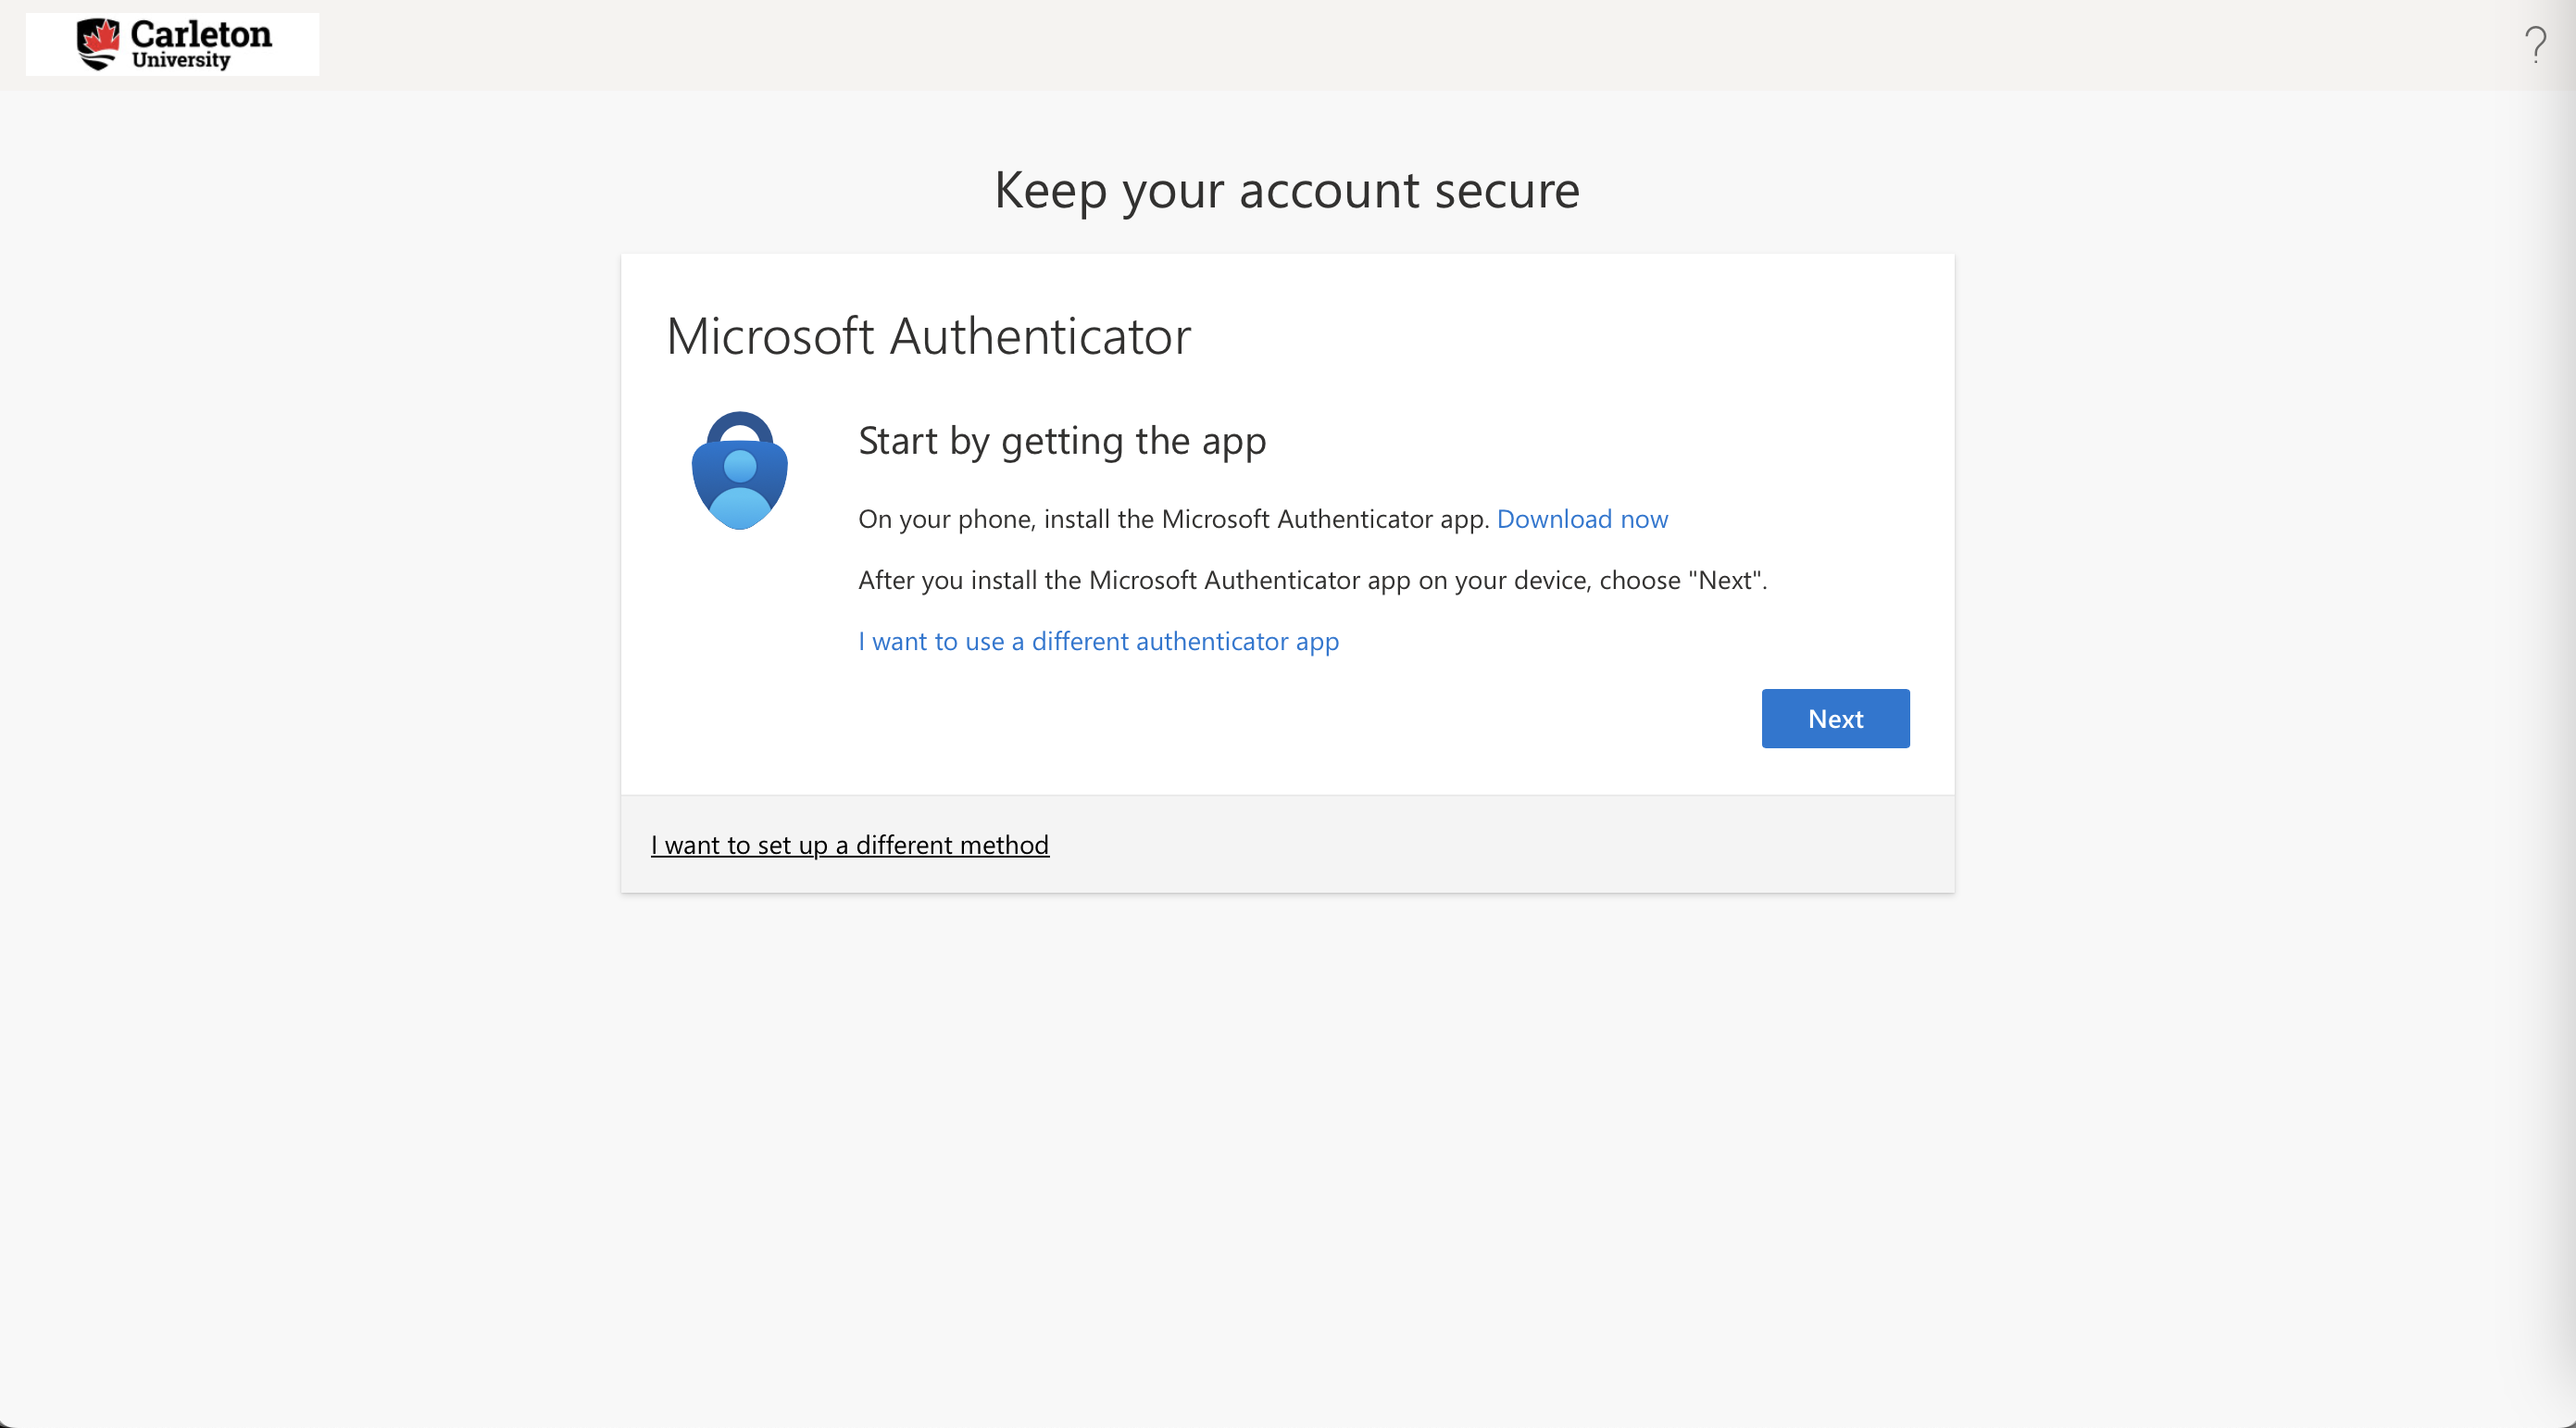
- Click Download now. You will be taken to a Microsoft page that directs you to the Microsoft Authenticator app within the Apple App Store or Google Play Store, depending on your device’s operating system. Download the app on your phone to proceed.
- Once you have downloaded the app, return to your browser window and click Next to proceed to the screen below.
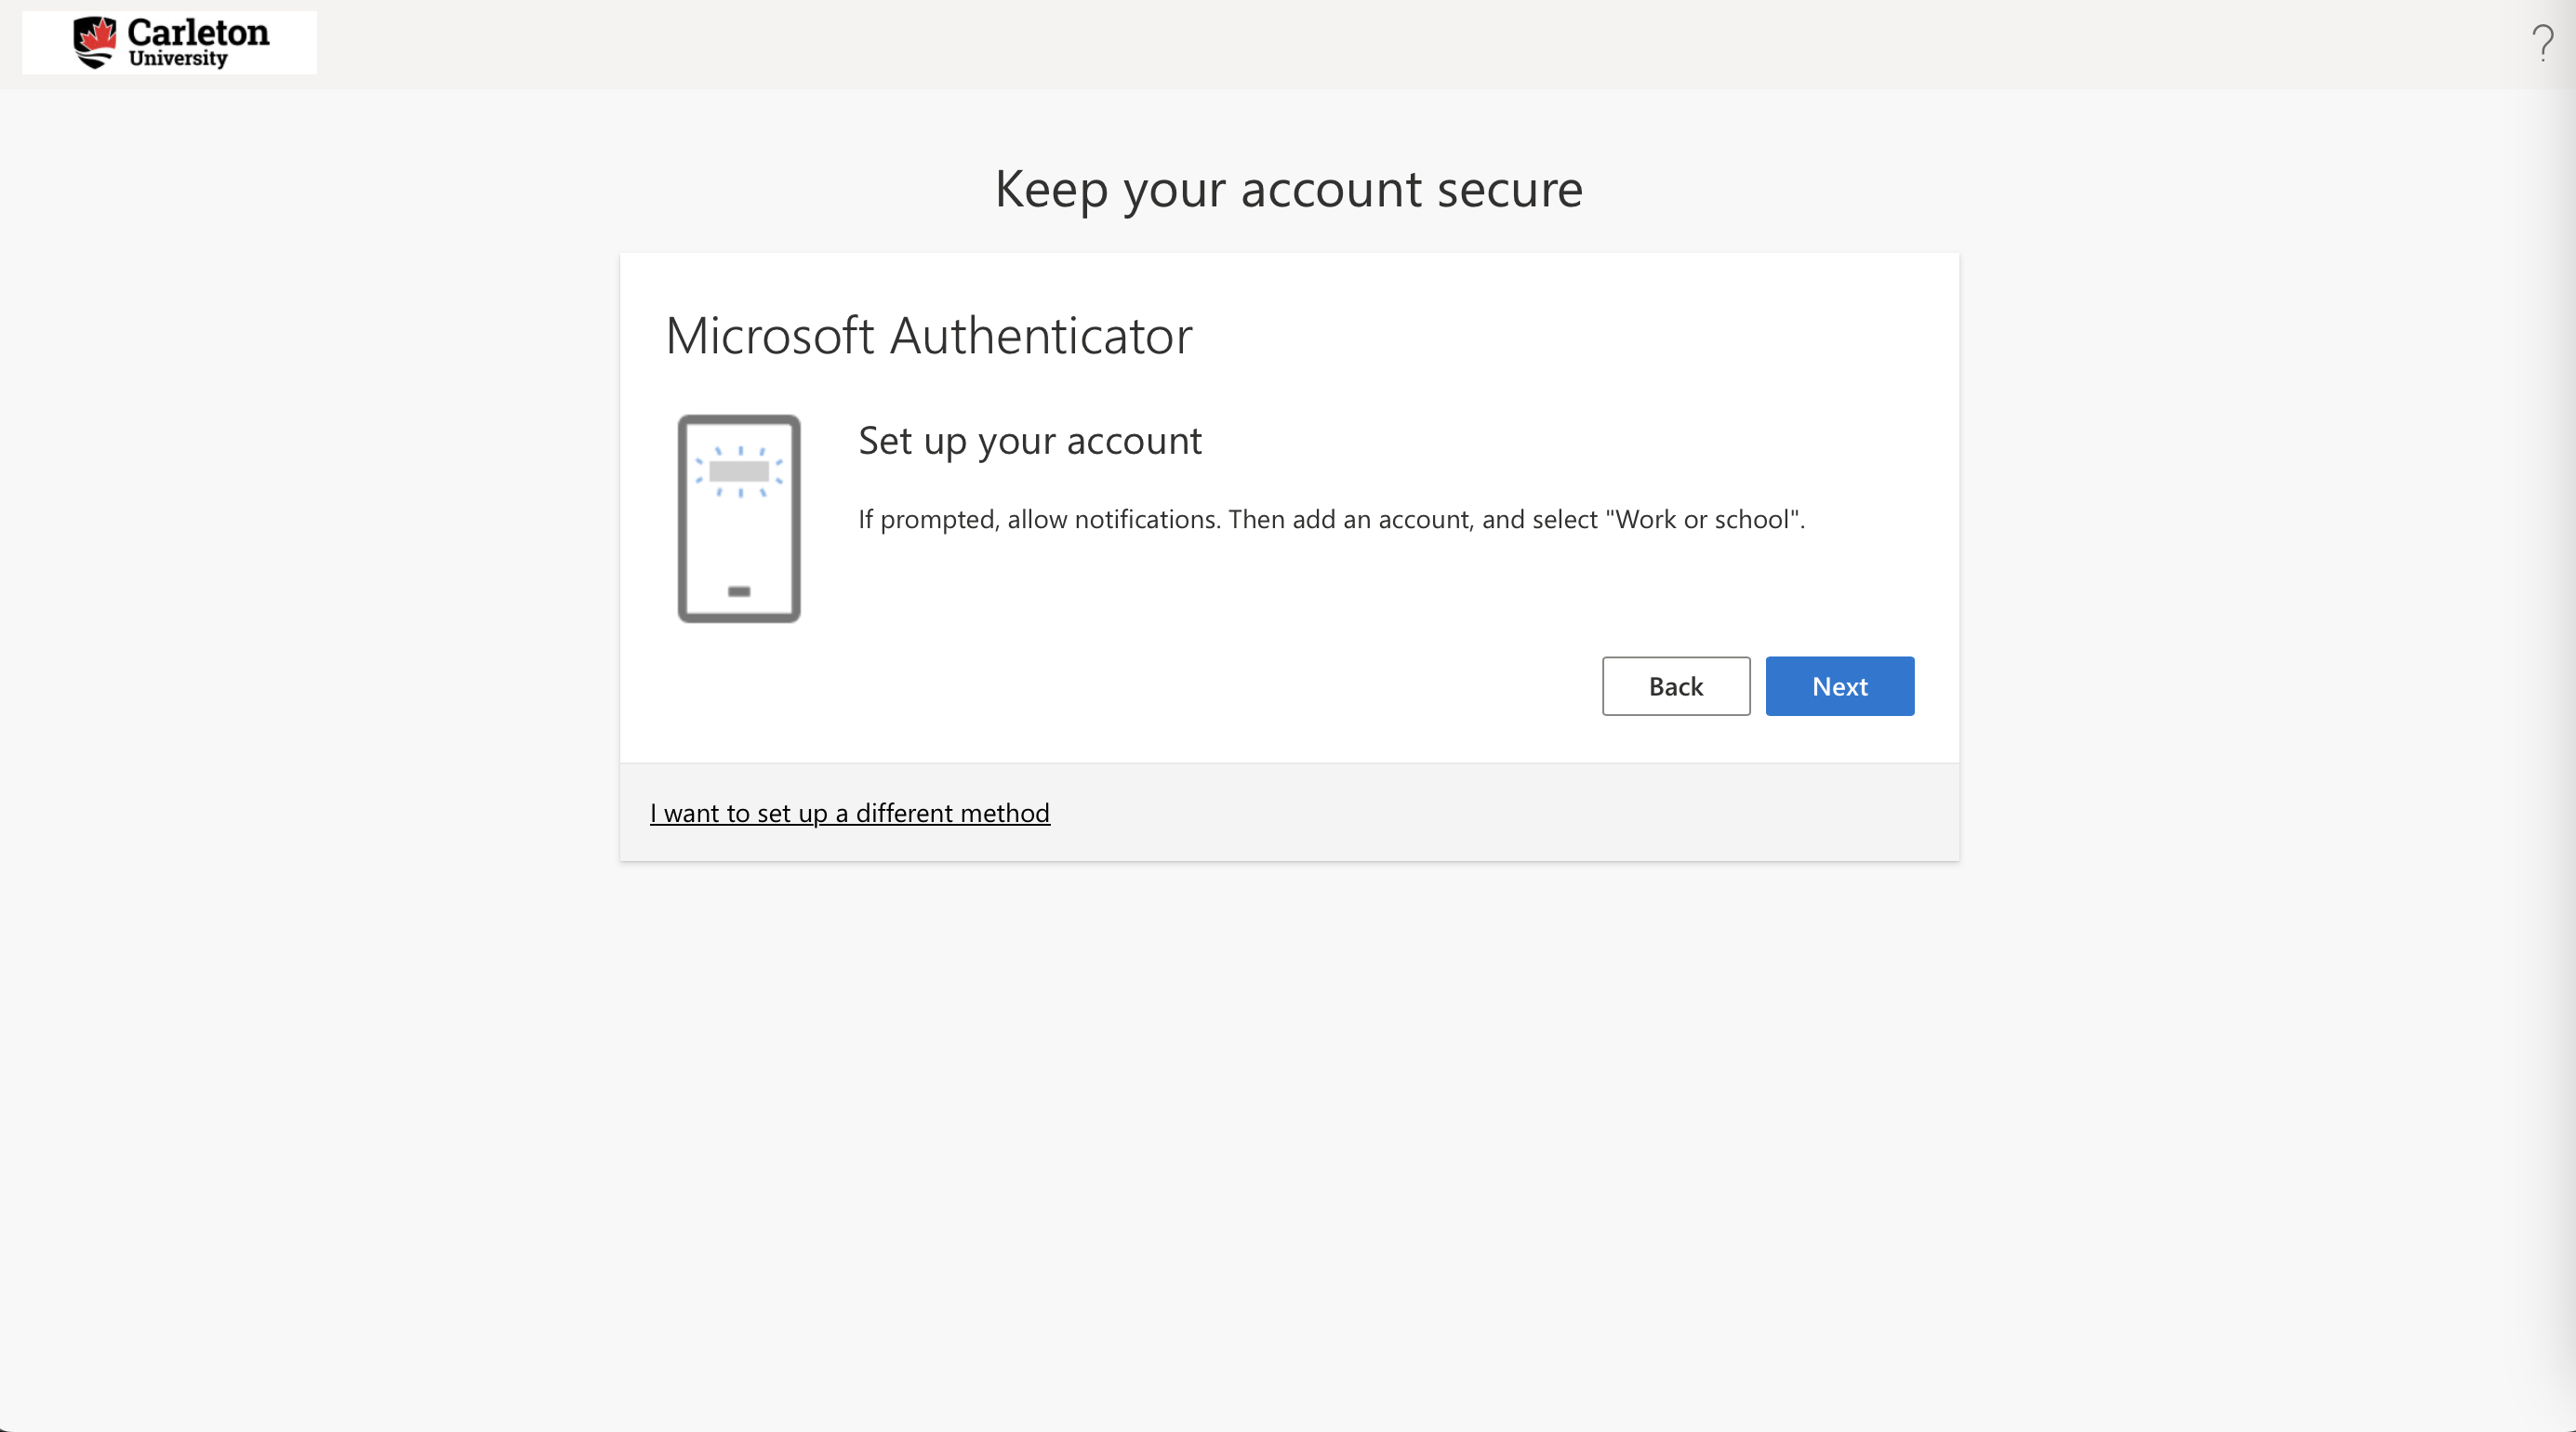
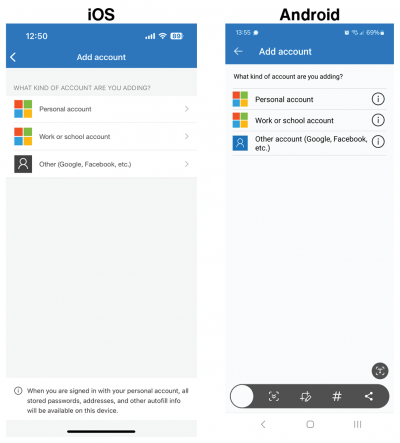
- If prompted, allow notifications within the Microsoft Authenticator app, then click + to add an account.

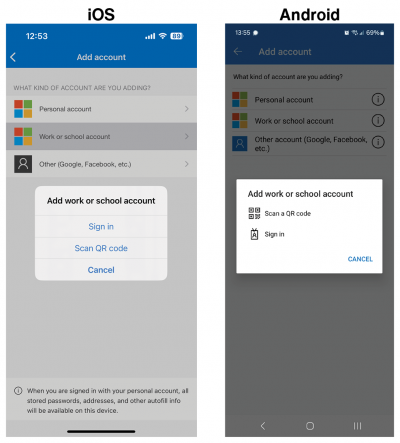
- Select Work or school.
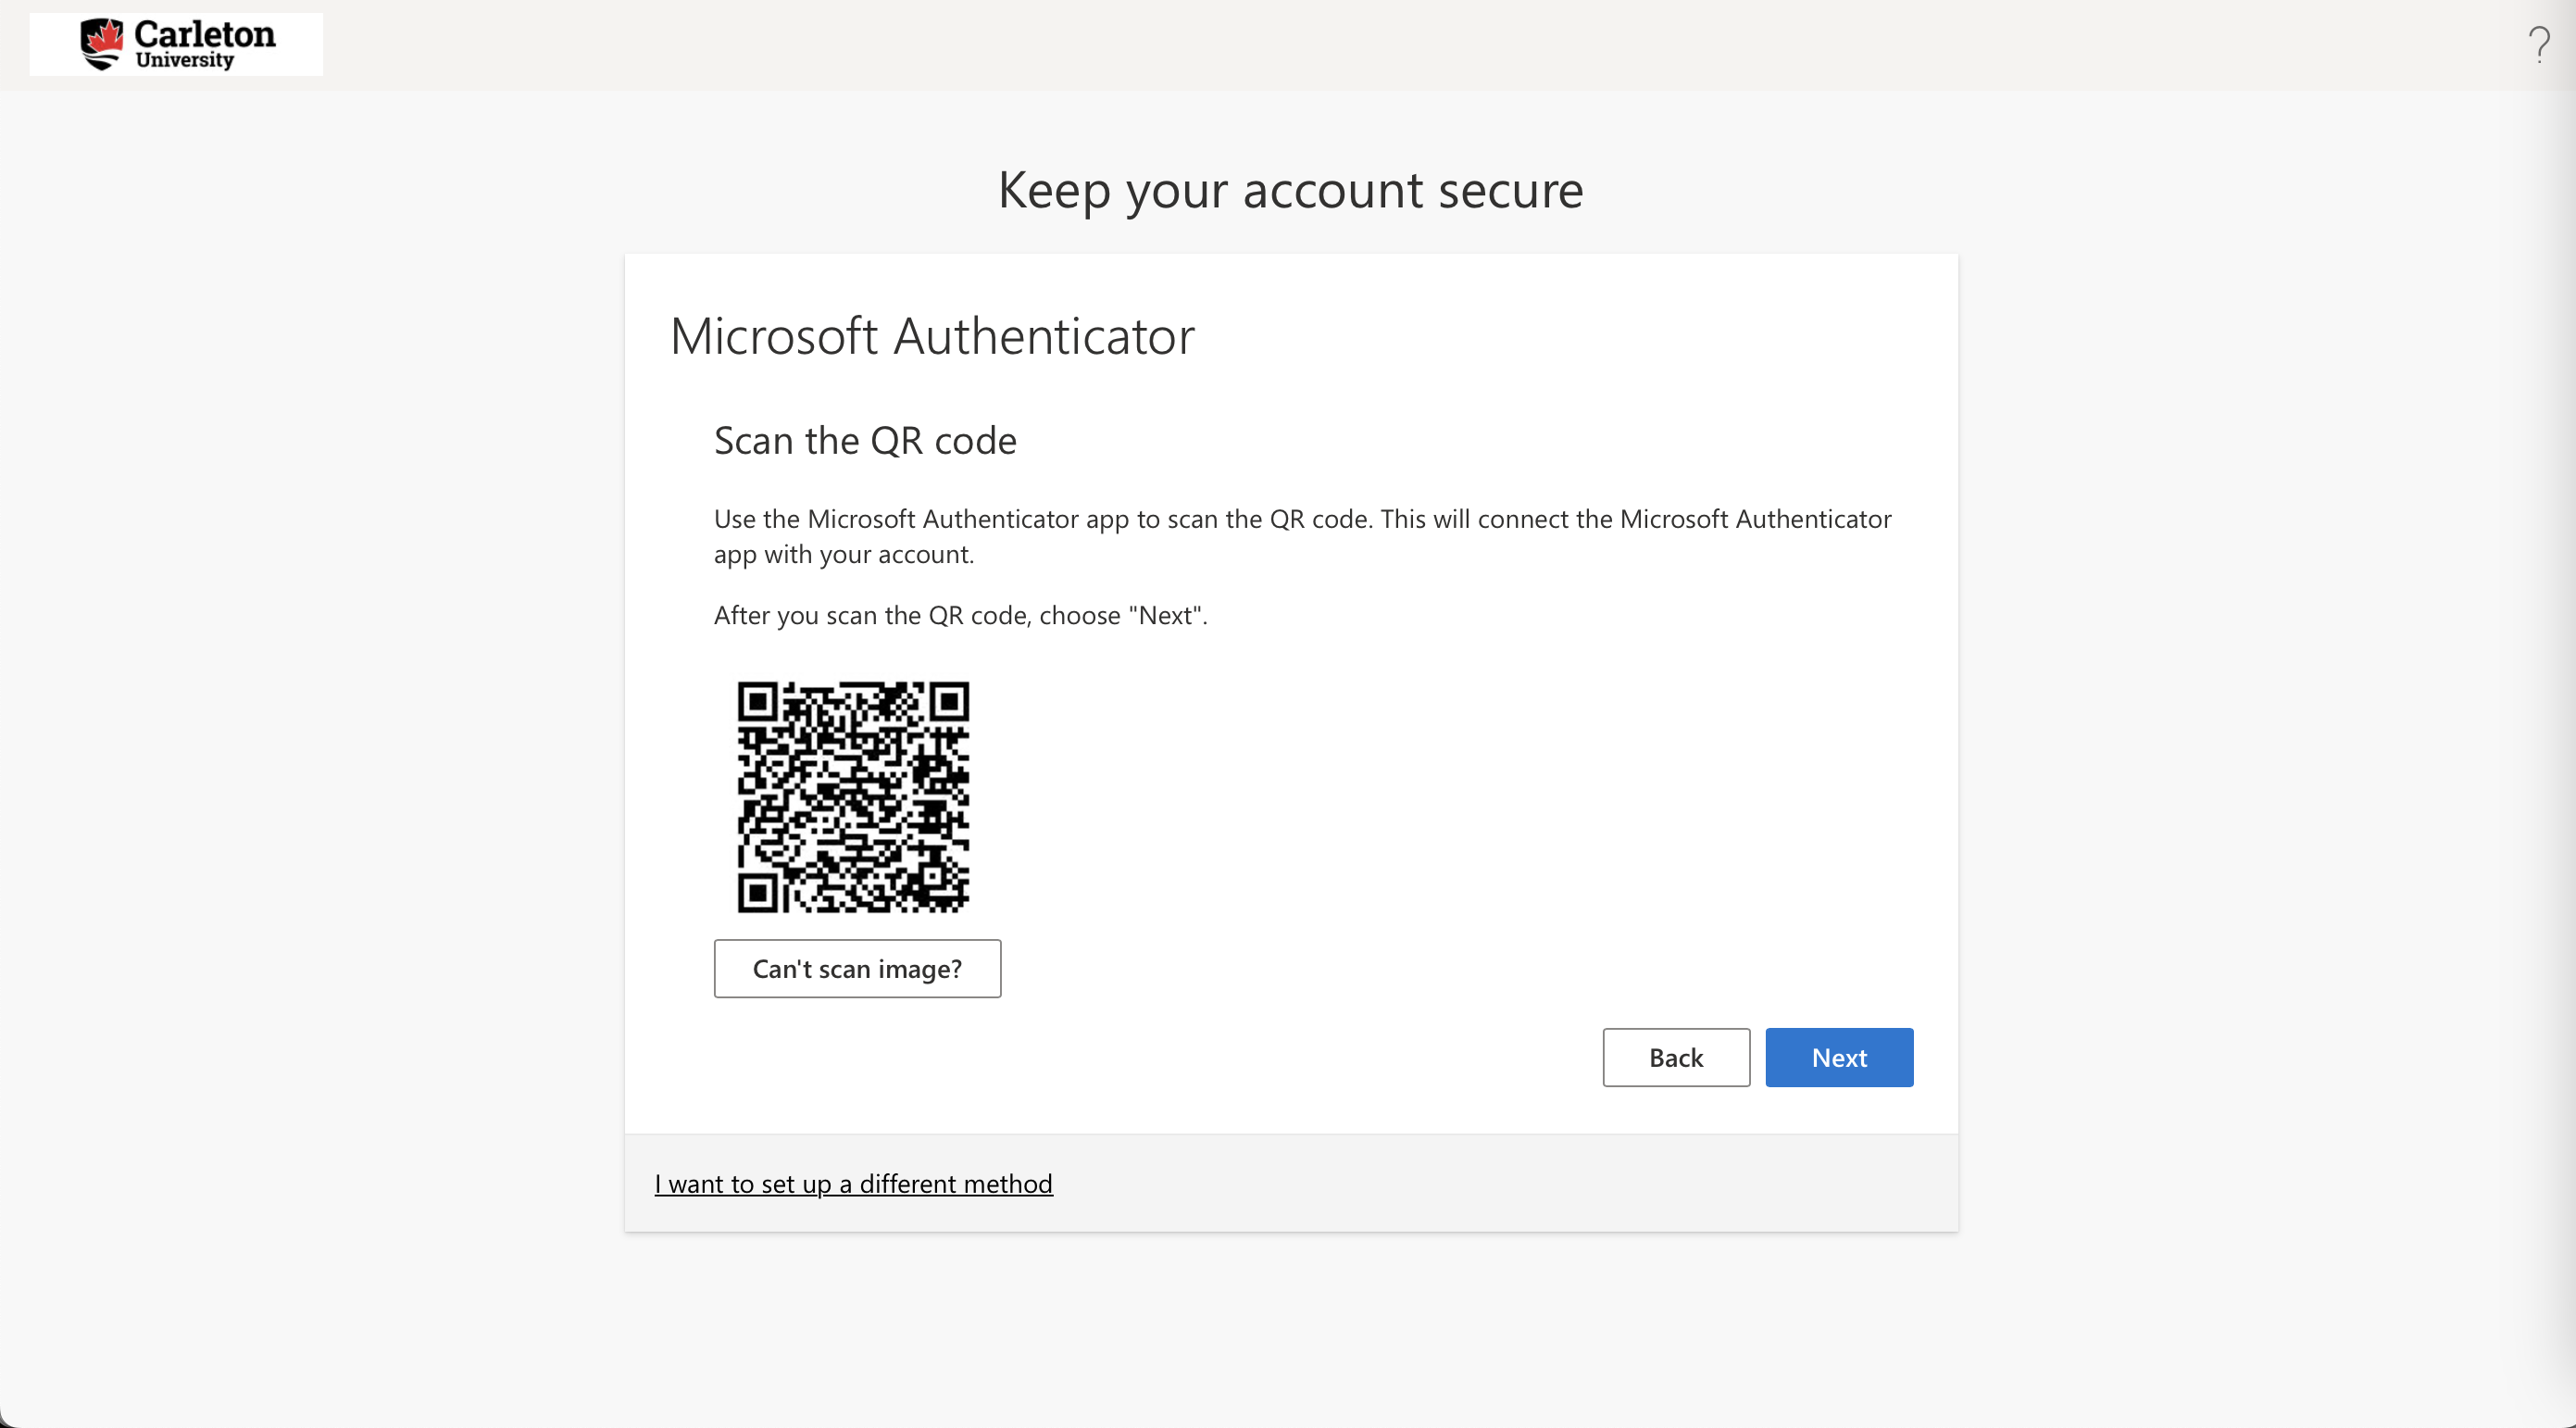
- Select Scan QR code and a QR code scanner will activate on your phone
- On the screen below in your browser, click Next to reveal the QR code. Scan it using the app on your phone, not just your camera.

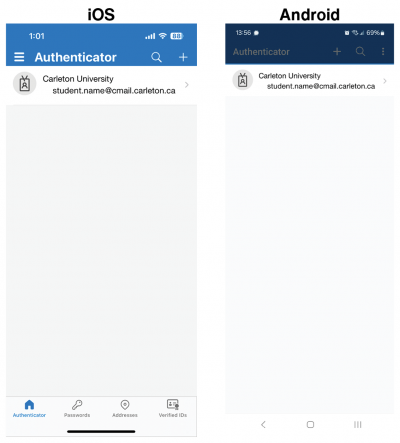
- Once you have scanned the QR code, your Cmail account will appear in the Microsoft Authenticator app on your phone.
- On the page below in your browser, click Next to proceed.
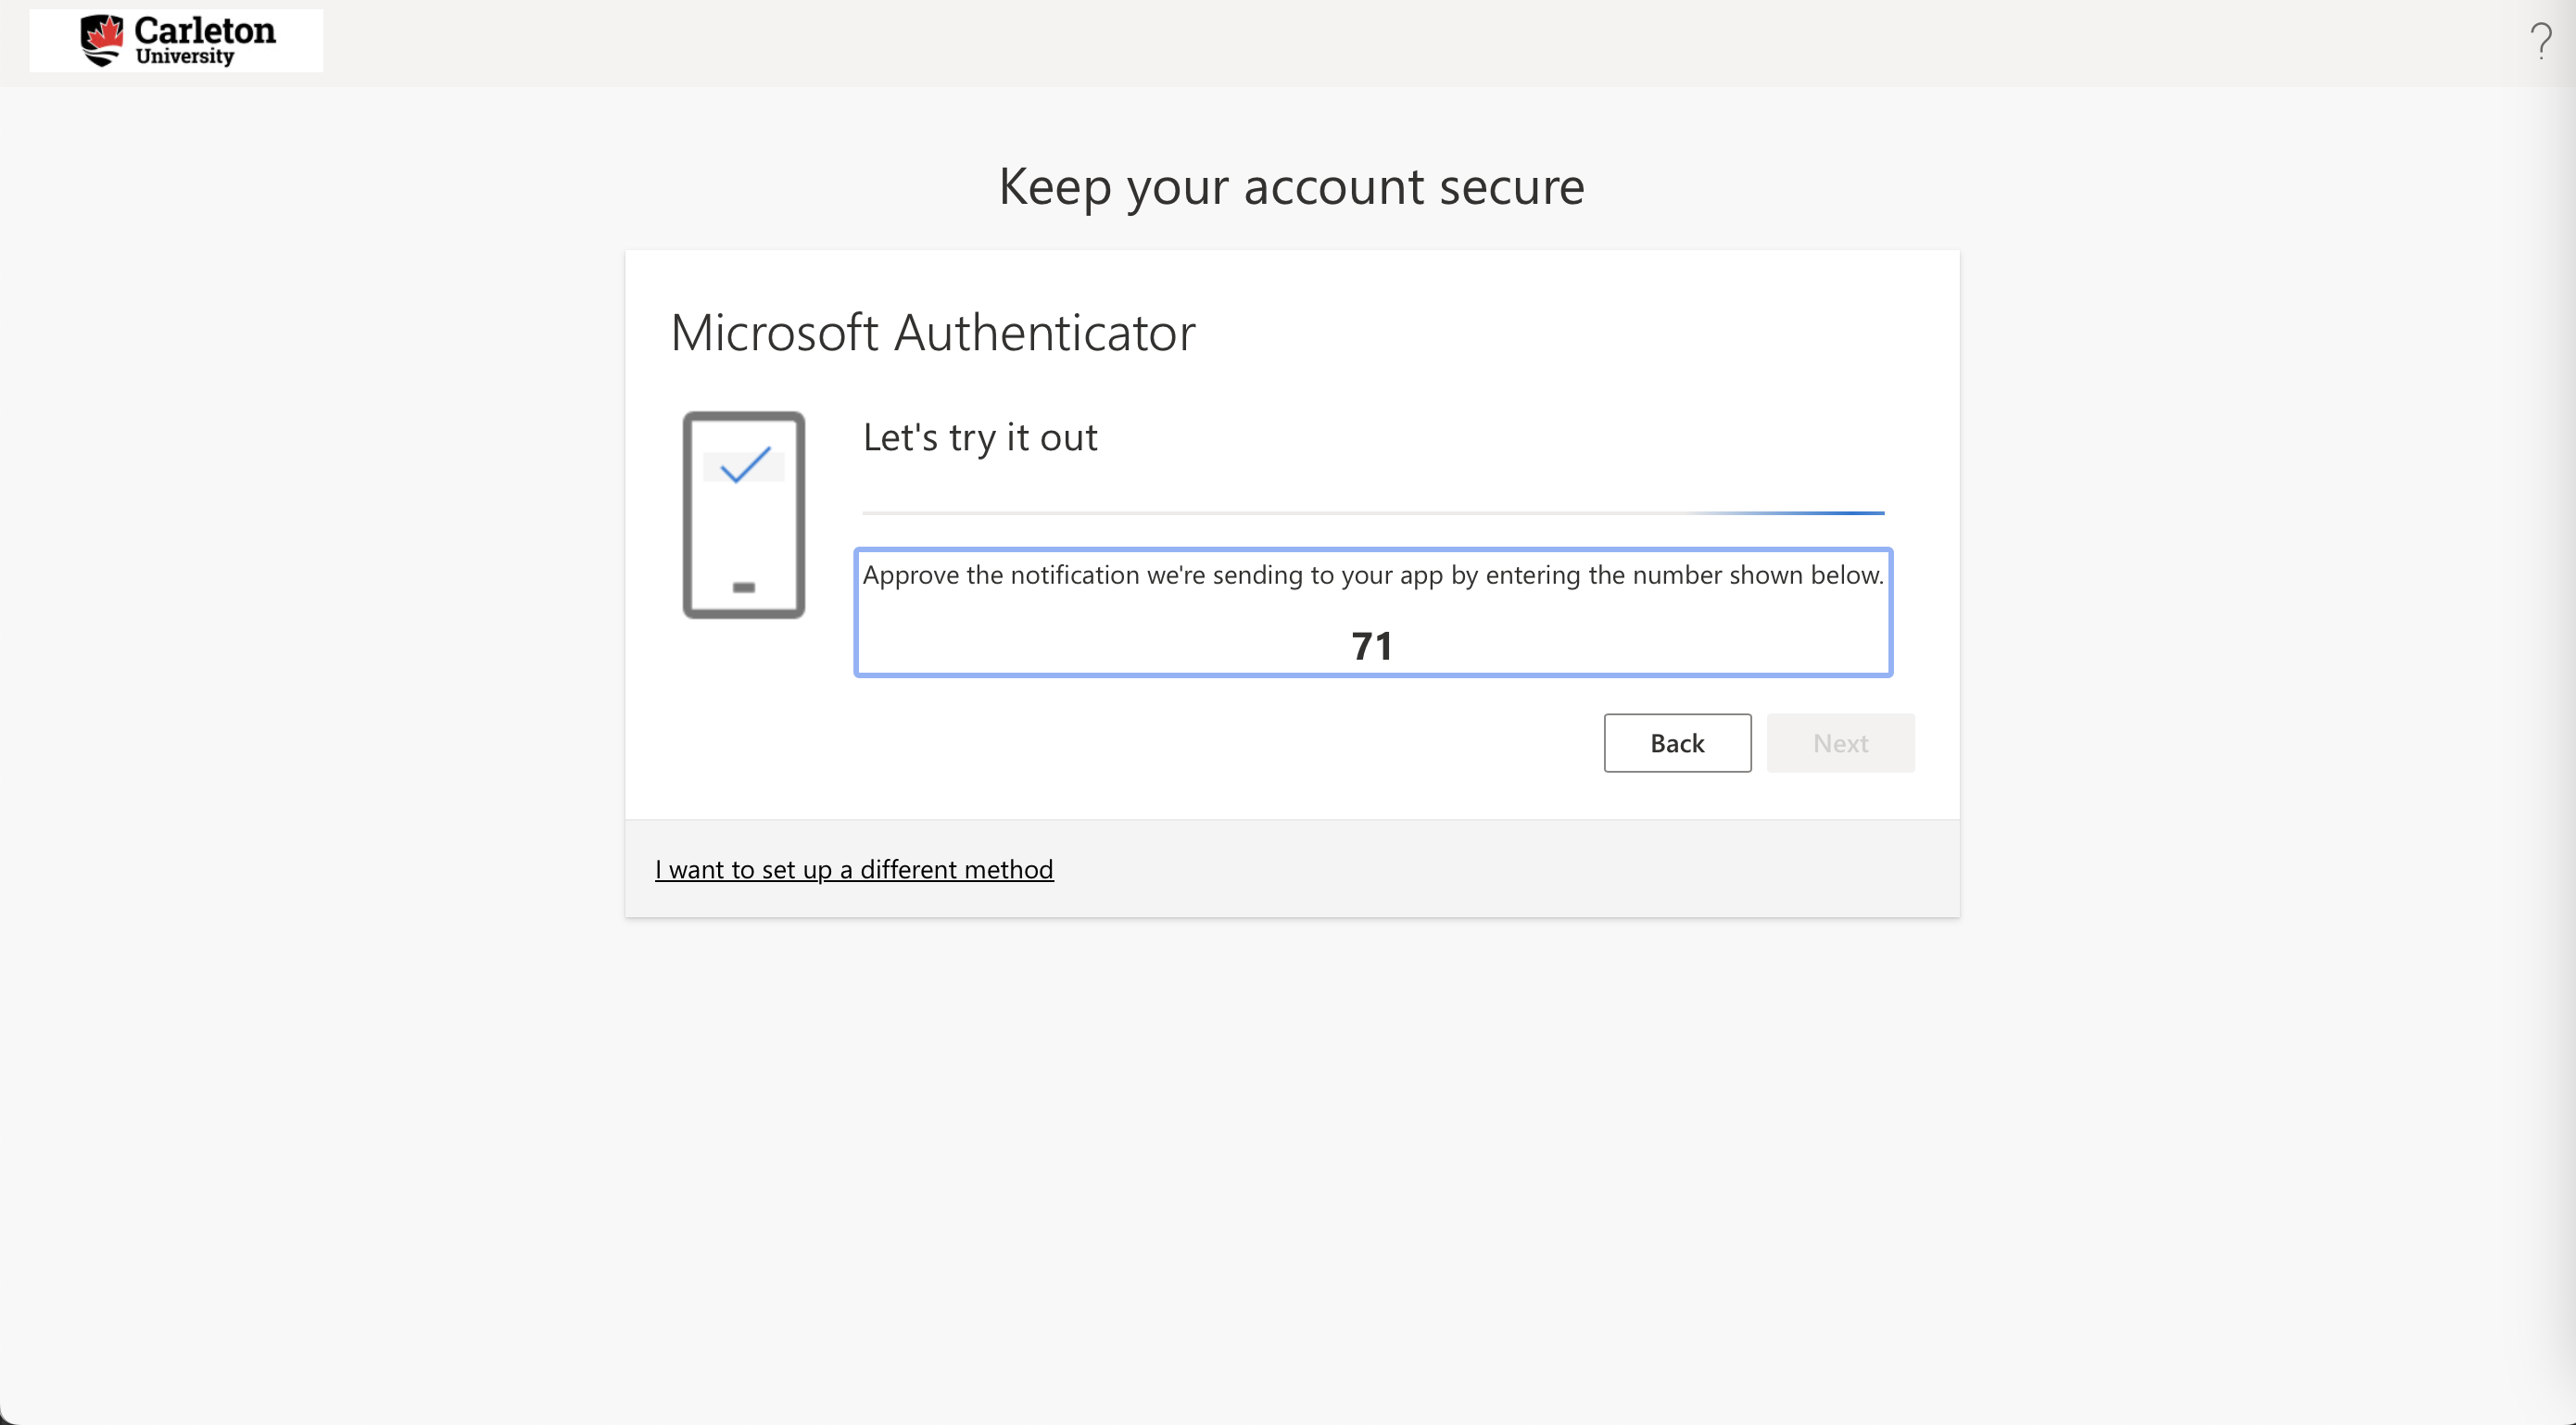
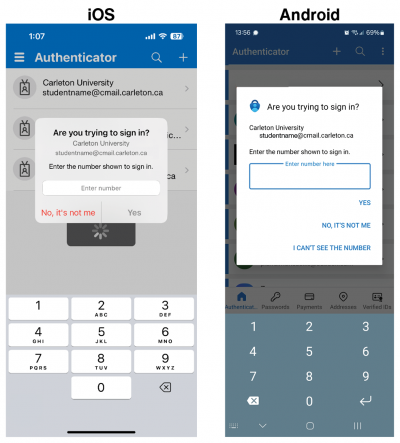
- An authentication prompt will provide a number. Type this number into the prompt that appears in the Microsoft Authenticator app on your phone and select Yes.
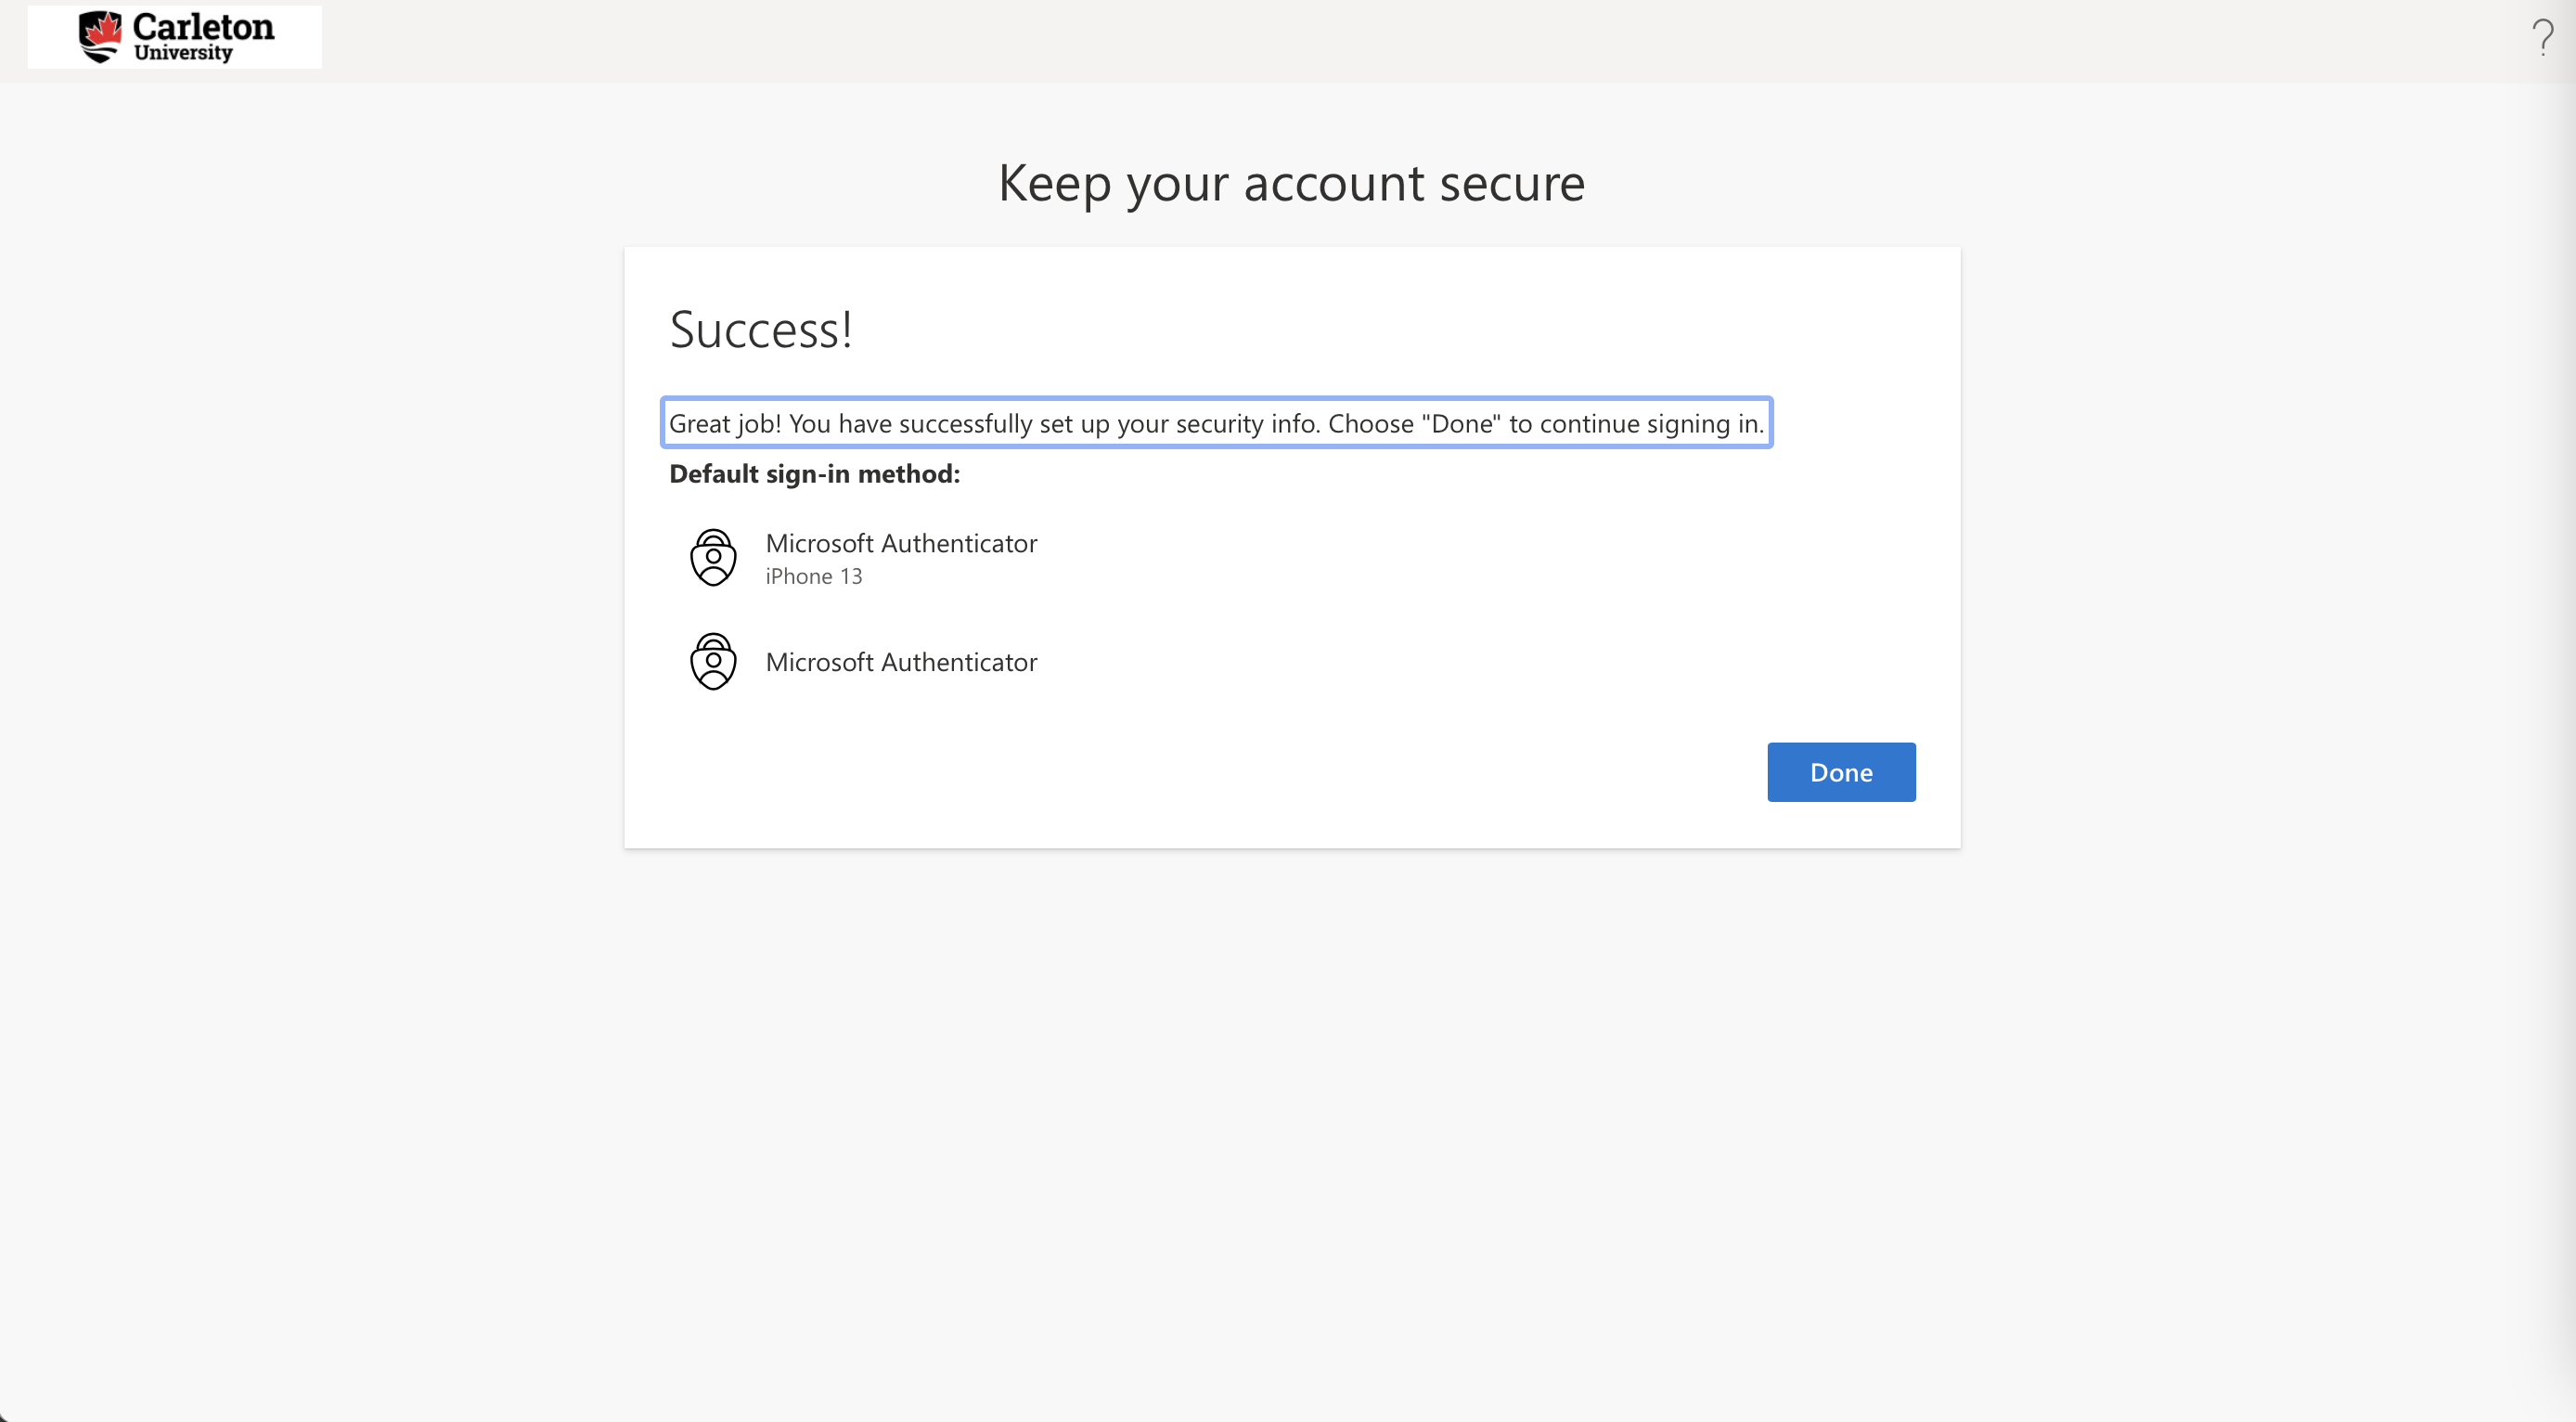
- The prompt will be approved. Click Next.
- This will conclude the steps to set up Microsoft Authenticator and MFA. Click Done.
- Click Next to proceed to the screen below
- Configure A Backup Option
-
Configure MFA Synced Passkeys as a MFA Option
A Microsoft MFA Passkey is a simple, password‑free way to sign in using something that’s already built into your device — like Face ID, Touch ID, Windows Hello, or your phone’s built‑in unlock method. Instead of typing a password or entering a code, you just use your face, fingerprint, or device PIN to confirm it’s really you.
A Private key is stored in a passkey provider’s cloud and synced across devices that the user is signed into, examples:
• Apple iCloud Keychain
• Google Password ManagerBenefits are if you have replaced your phone, if you sign into the new phone with the same iCloud/Google account that you setup your Passkey with, you would have access to the passkey and your M365 (Cmail/OneDrive) accounts.
Configure a synced Passkey
- The site to manage your sign in options is aka.ms/mysecurityinfo. Sign in with your Cmail address and password.
- Click the “Add sign-in method” .
- Choose the ‘Passkey‘ option from the window > Next > Change
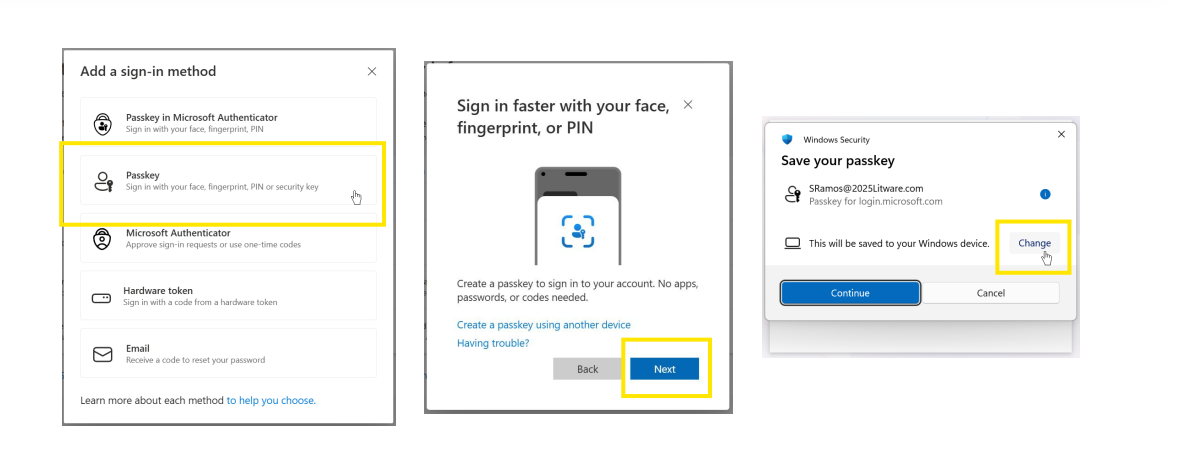
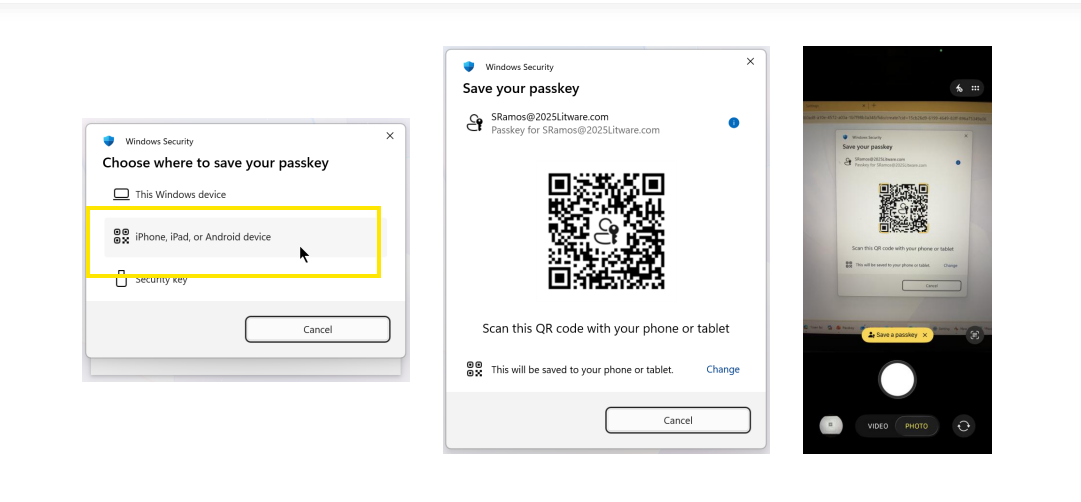
- Choose where to save your Passkey

- User experience – Authentication
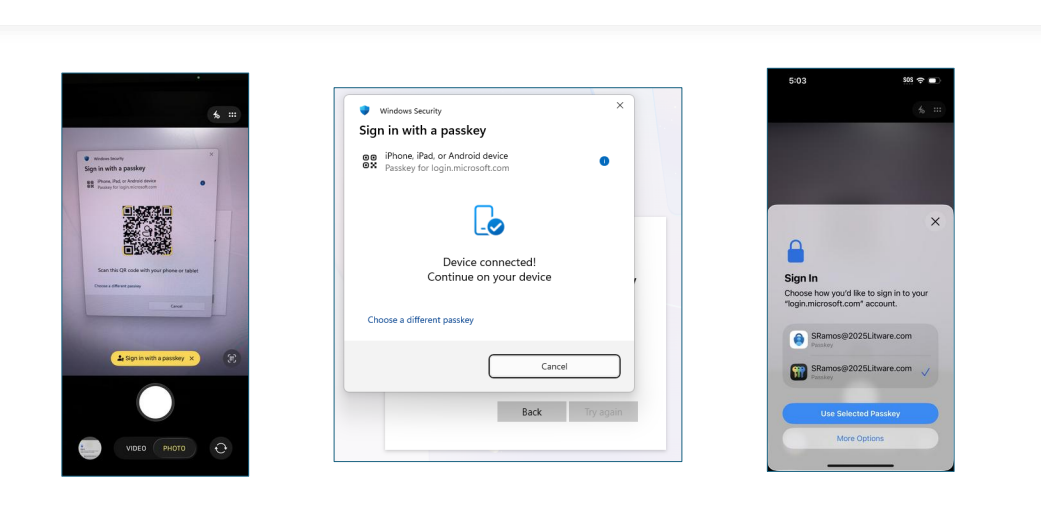
- When signing into a M365 resource you can use the Passkey option to authenticate.
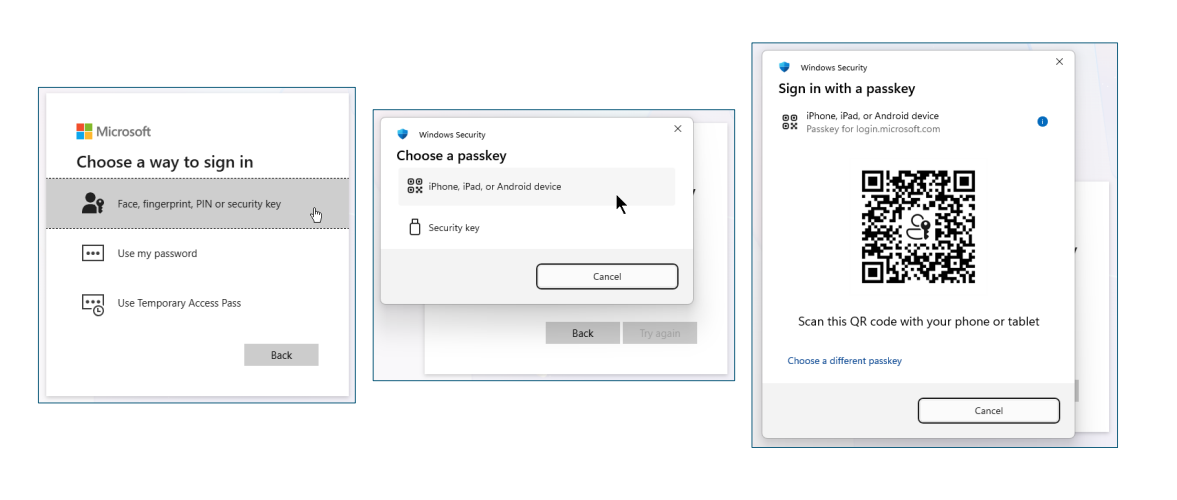
- When signing into a M365 resource you can use the Passkey option to authenticate.
- Managing your MFA Methods
-
Managing your MFA Methods
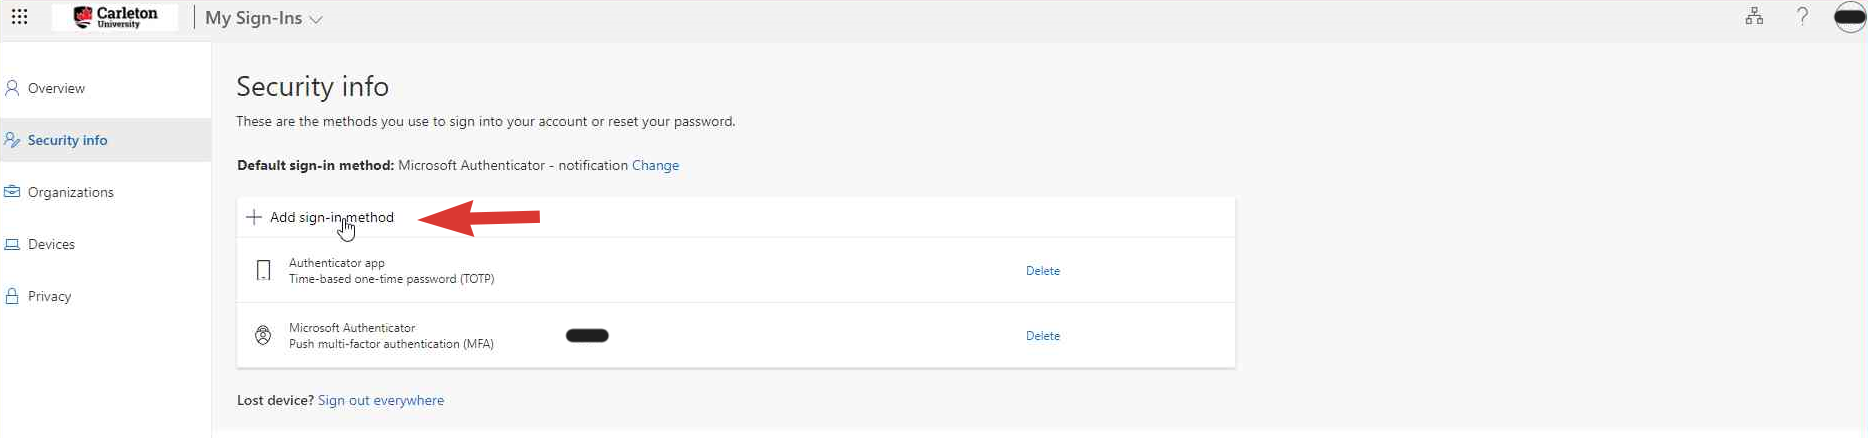
Signing into aka.ms/mysecurityinfo is where you manage your MFA sign‑in methods, including setting up the Microsoft Authenticator app and adding backup options to keep your account secure and accessible
- Visit aka.ms/mysecurityinfo. Sign in with your Cmail address and password.
- Click the “Add sign-in method” button and follow the on-screen instructions.
- How to Use MFA Once You Have Enrolled
-
How to Use MFA Once You Have Enrolled
For information on how to use MFA once you have enrolled, view our documentation page.
Note: Other authenticator services are useable, but not supported.
Posted in Microsoft MFA
Share: Twitter, Facebook
Short URL:
https://carleton.ca/its/help-centre/?p=2626