Students requiring VPN access visit this information site.
The Virtual Private Network (VPN) client software is required for access to Carleton University resources that are restricted to on-campus use. It provides a secure encrypted channel from your home to the campus and allows access to many campus resources.
Multifactor authentication (MFA) is required when using the Cisco AnyConnect Security Mobility Client. Read more.
By default Students do not get VPN access, any Student requiring VPN access will need to request access
Connection Server: cuvpn.carleton.ca/mfa
Installing VPN for MacOS
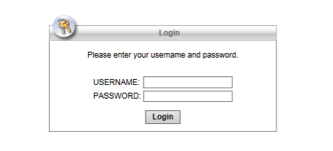
- Go to: https://cuvpn.carleton.ca/mfa and login with your MC1 Username and Password.
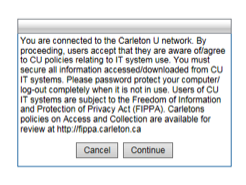
- On the following page, click Continue.
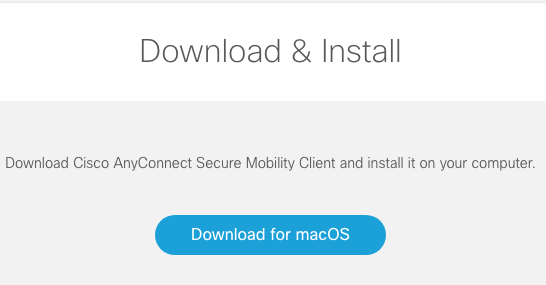
- Click on the Download for macOS button.
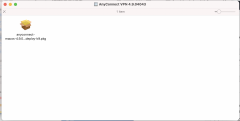
- Open the Cisco Secure Client file you just downloaded, and it will present the .dmg package:
- The Install Cisco Secure Client window will appear, click on Continue and accept the
License agreement.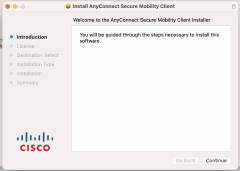
- In some circumstances depending on your computer system configuration, automatic installation may fail and you will be prompted to manually download installer package. Click AnyConnect VPN to continue. Depending on your browser:
- Google Chrome: open the downloaded .dmg file
- Microsoft Edge: click Run in the message bar at the bottom of the page
- Mozilla Firefox: select Save File in the pop-up window. Click on the blue Downloads arrow in the top bar of the browser, and click on the Downloaded File.
- Follow the prompts to run the Cisco Secure Client setup.
- In many Mac computers, security settings will prompt you to approve the Cisco Anyconnect Extension.
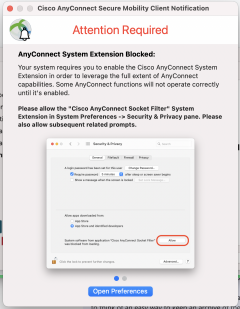 Open the System Preferences > Security and Privacy and following the usual processes, click the Allow button.
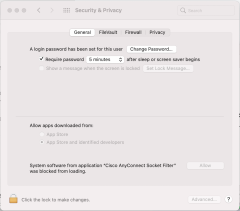
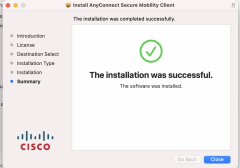
- Returning to the install screens click through until you reach this message:
Using the Cisco AnyConnect Security Mobility Client
Multifactor authentication (MFA) is required when using the Cisco AnyConnect Security Mobility Client. Instructions on using to use Cisco AnyConnect Security Mobility Client with MFA are found here.
Troubleshooting
If trying to reinstall the Cisco VPN software on a MAC and the computer is saying the software is already installed attempt the following fix:
- Click the Launchpad icon
 in the Dock, type Terminal in the search field, then click Terminal … or
 - In the Finder
 , open the /Applications/Utilities folder, then double-click Terminal.
and enter this command:
sudo /opt/cisco/anyconnect/bin/vpn_uninstall.sh
You will be prompted for the local computer password (not mc1 pw). Answer ‘Yes’ when prompted to remove all profiles and certificates.
Please contact the ITS Service Desk if you would like any assistance.