- Step 1: Install Microsoft Authenticator
- Step 2. Configure Microsoft Authenticator
- Step 3. Call the Service Desk
- Step 4. Configure Cisco AnyConnect VPN Client
- Step 5. Connect to VPN
- Step 6. Complete Your Second Factor of Authentication
Students requiring VPN access will need to follow these steps:
Note: Only current students can request VPN access, alumni do not get VPN access.
Step 1: Install Microsoft Authenticator
If you already have the Microsoft Authenticator app installed on your mobile device proceed to Step 2.
- Start by installing the Microsoft Authenticator app to your mobile device.
- There is no need to open the app at this step in the process.
Step 2. Configure Microsoft Authenticator
- Go to https://aka.ms/mysecurityinfo
- Sign in using your @cmail.carleton.ca account credentials

- Click ‘+ Add sign-in method’, then click ‘Authenticator App’ in the drop-down menu and follow the steps that are listed, then proceed to Step 3.

Step 3. Call the Service Desk
- Contact the ITS Service Desk by phone to verify your ID at 613-520-3700 to finish the setup process.
- Please note access can only be granted between 8:30 and 4:30 Mon – Fri
Step 4. Configure Cisco AnyConnect VPN Client
If you need to download & install the VPN client, go to https://cuvpn.carleton.ca/mfa. Enter your Cmail address, and you will be redirected to log in with your MC1 Username and Password. Chromebook users can go to the Google Play Store, search for and install the Cisco Secure Client (AnyConnect) app.
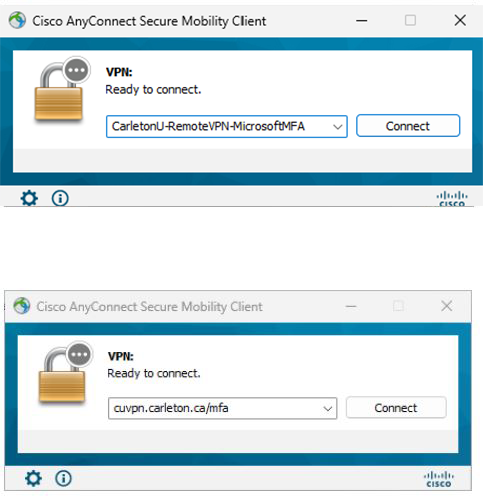
- Launch the Cisco AnyConnect client
- Manually enter
cuvpn.carleton.ca/mfaand click ‘Connect’ - Each time you connect to the VPN in the future, you will see
CarletonU-RemoteVPN-MicrosoftMFAprofile when logging in.

Once you have selected the profile, click Connect.
Step 5. Connect to VPN
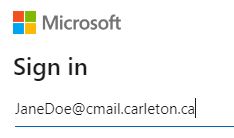
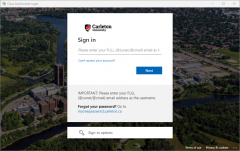
Enter your MyCarletonOne account (firstnamelastname@cmail.carleton.ca) and click next.

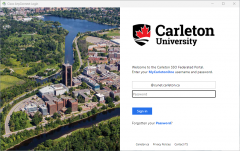
You should be redirected to the ADFS login page. Enter your password and click Sign In.

Step 6. Complete Your Second Factor of Authentication
You will be prompted to complete your second factor of authentication via the app or phone call.