Add a Departmental Shared Mailbox in Outlook (Windows)
These instructions explain how to add a departmental shared mailbox to Outlook (Microsoft 365) on a Windows desktop.
Important:
Permission to access the shared mailbox must be granted by the ITS Service Desk before it can be added to Outlook.
Add the Shared Mailbox
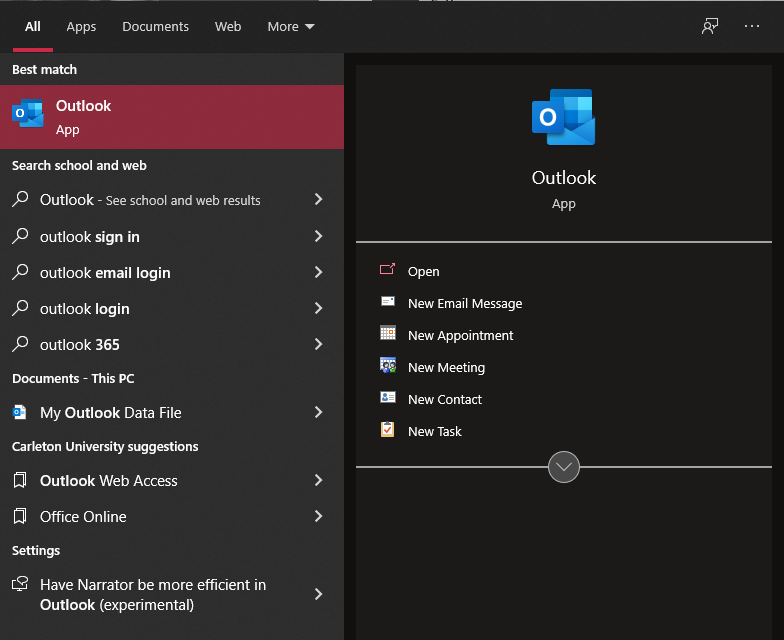
- Select the Windows Start button (bottom-left of your screen).
- Start typing Outlook, then open the Outlook application.
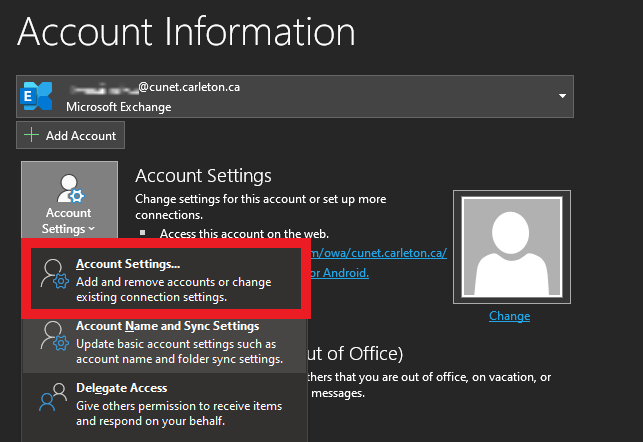
- In Outlook, select the File tab (top-left).
- Under Account Information, select Account Settings, then choose Account Settings from the drop-down menu.
- The Account Settings window will open and display your primary email account.
Select New on the Email tab.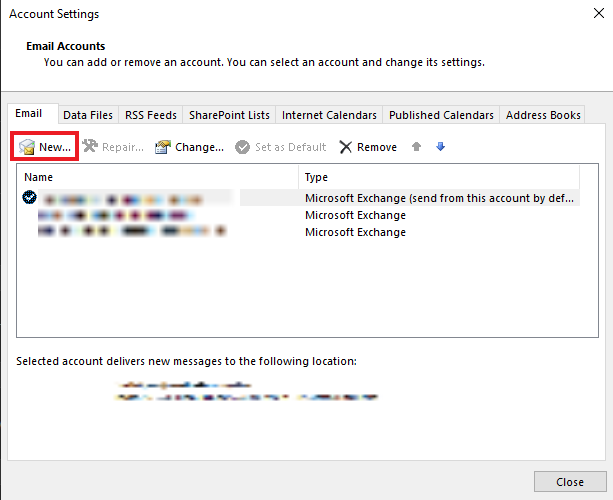
- When prompted, enter the shared mailbox address
(for example:departmentname@cunet.carleton.ca), then select Connect.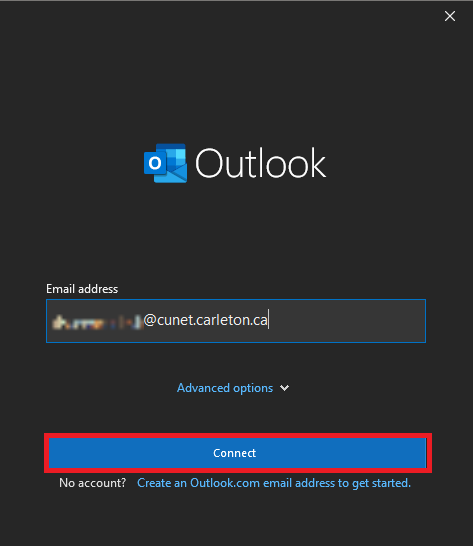
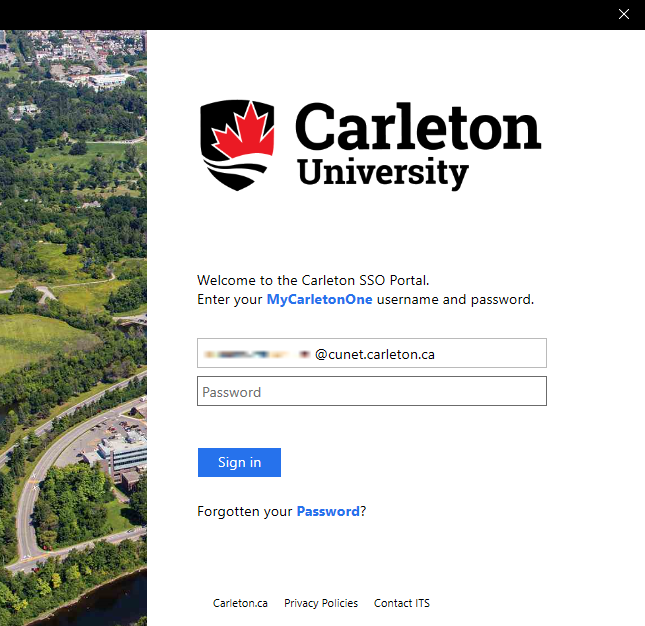
- The Carleton Single Sign-On (SSO) page will appear:
- Remove the pre-filled shared mailbox address
- Enter your full Carleton email address
(firstnamelastname@cunet.carleton.ca) - Enter your MyCarletonOne password
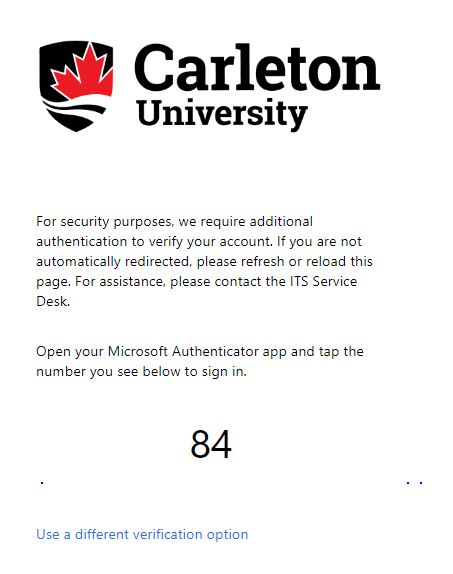
- Complete multi-factor authentication (Azure MFA) when prompted.
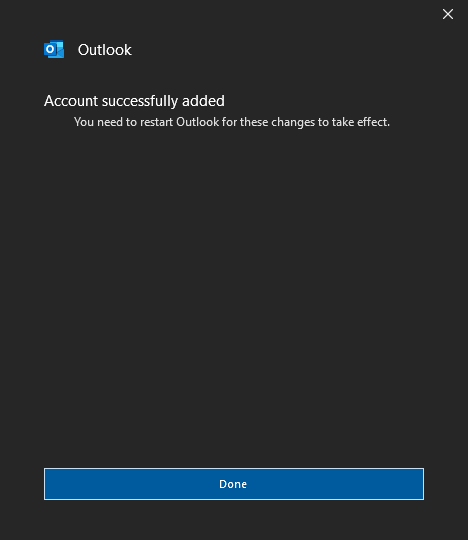
- When setup completes, select Done.
Restart Outlook
- Close Outlook completely.
- Reopen Outlook.
- Outlook may take slightly longer to open the first time while the shared mailbox is added.
- In the left folder pane, scroll to the bottom.
- Locate the shared mailbox, then expand it to view the Inbox and folders.