- Upload an Image to a Page
- Video: How to Add an Image to a Page
- Add a Caption or Alt text to an Image
- Embed Image into Text Block
- Resize an Image
- Fixing a Rotated Image
Upload an Image to a Page
- Click on the title/tab of the page you want to edit.
- Click the Edit icon (pencil) at the top right of the page to enter editing mode.
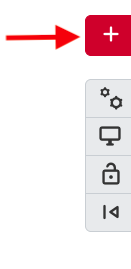
- Click and hold down the red plus button to drag a new content block to your page.
- Click Image.
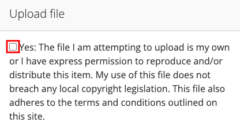
- Click on the checkbox to the left of the file agreement statement. This is the file upload agreement and needs to be checked in order for the ‘Choose Files’ button to be clickable.
7. Click ‘Choose files’ to upload an image from your computer.
8. Browse your computer for the file you would like to upload. Click Open.
Note. If you would like to create an image gallery, upload multiple images and then under Multi-image presentation, select Slideshow or Thumbnails.
9. Scroll down, click Save.
Video: How to Add an Image to a Page
Add a Caption or Alt text to an Image
Note: You must add an image to cuPortfolio before you can add a caption or alternative text. Captions are text that will appear underneath the image. Alternative text is the text that will be read by screen readers or that will appear if the image does not load.
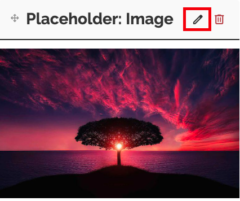
- Click on the Edit icon (pencil) in the image block to edit the block.
- Click on the Edit icon (pencil) in line with the image you want to add a description to.

- Add a caption and/or alt text. Note that there is a toggle to make the image decorative and one to use the alt text as image caption.
- Click Save changes.
- Click the toggle for Show caption to change it from ‘No’ to ‘Yes’.
- Click Save.
Embed Image into Text Block
The simplest way of adding an image to a page on cuPortfolio is to use the Image block. The instructions below show you how to embed an image within a text field on cuPortfolio.
- Click on the title/tab of the page you want to edit.
- Click on Edit icon (pencil) at the top right of the page to enter editing mode.
- Click and hold the red plus button to add a text box to your page.
- Click Text.
- Click the Insert/edit image button in the text editor.

- Click on the checkbox to the left of the file agreement statement. This is the file upload agreement and needs to be checked in order for the ‘Choose Files’ button to be clickable.
- Browse your computer for the file you would like to upload. Click Open.
- Click Submit.
- You can resize the image by pulling the arrow in the bottom right corner of the block.
Resize an Image
To resize an image, click and drag the arrow in the bottom right corner of the image. View how to edit page layout for more details.
Fixing a Rotated Image
To fix an image that has rotated after you’ve uploaded it, complete the following steps:
- Re-open the image block by clicking on the Edit icon (pencil).
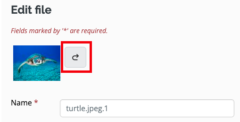
- Scroll down to the list of images below the file upload area and click on the Edit icon (pencil) to edit your image which has rotated.
- A few editing options will appear and you will see the rotate icon to the right of the image preview. Click it until your image is upright.
- Click Save changes.
- Click Save.
Was this page helpful?
7 people found this useful