Zoom meetings can be scheduled directly in Brightspace using the Zoom plug-in. The process is similar to scheduling a new meeting in zoom.us or the Zoom app.
Scheduling a Zoom Meeting within Brightspace
- Log in to Brightspace with your MyCarletonOne credentials.
- On the Brightspace homepage, locate your course in one of the following ways:
-
- Click on the course tile under the My Courses widget.
- Click the Course Selector Grid
 and select the course from the drop-down menu. If you are enrolled in more than 20 courses, you can search for the course name using the search bar.
-
- In the navbar, click Content.

- In the Table of Contents sidebar, click the module
 where you have added Zoom to your course.
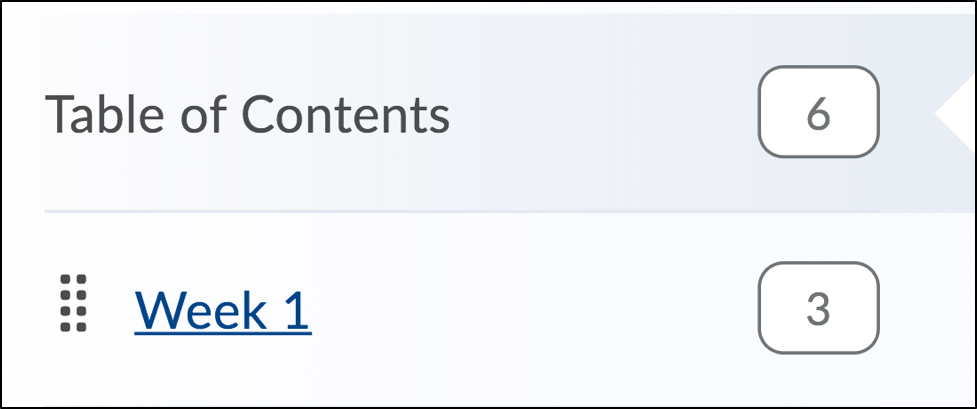
- Click the Zoom content item in your module to access the Zoom plug-in dashboard.

- Enter the following meeting details:
- Topic – Enter a meeting name.
- Description (Optional) – Enter a meeting description.
- When – Select a date and start time for your meeting
- Duration – Enter how long you estimate the meeting will take.
- Recurring (Optional) – Check this box if you plan on creating a recurring meeting. More options will appear for you to configure the date and time.
NOTE: Scheduling a Recurring Meeting with a “daily, “weekly”, or “monthly” recurrence will automatically create a corresponding entry in the Brightspace Calendar Tool. Scheduling a “recurring” meeting with “no fixed time” will NOT generate an entry in the calendar tool. Should you wish to add a “No Fixed Time” entry to the Calendar tool, you must enter it manually. - Registration (Optional) – Check the Required box if you want participants to register for the meeting in advance.
- Security – Enable or disable the following settings:
- Passcode – Select this option to enable a password for your meeting. If selected, you will be prompted to enter a meeting passcode.
- Waiting Room – Select this option to enable a waiting room for your meeting, If selected, the meeting host will need to manually admit participants into the meeting.
- Require Authentication to join – If enabled, participants who are not signed in to a Zoom account will not be able to join the meeting.
- Video – Determine whether you want the meeting to start with video automatically on or off for the host and participants.
- Audio – Determine whether participants can join via telephone, computer audio, or both. The default setting is both, which gives participants the option to join the meeting with audio connected either over the phone or their computer.
- Meeting Options – Enable or Disable the following settings:
- Enable join before host (default setting) – This settings allows participants to join the meeting before the host. Deselect the checkbox if you do not want participants to join before the you launch the meeting as the host.
- Mute participants upon entry – Selecting this box automatically mutes participants’ audio when they join the meeting. Participants can unmute themselves at any time once they have joined the meeting.
- Use Personal Meeting ID – Select this option if you want to use your Personal Meeting ID. If you do not select this option, a unique meeting ID will be generated.
- Record the meeting automatically – Select this option if you want your meeting to be automatically recorded when you start the meeting. You can then select whether you want the recording to be stored in the Cloud or on the Local Computer.
- Alternative Hosts (Optional) – Provide the email address of a participant who you will allow to serve as host in your place if you are unable to join.
TIP: If you would like to have a Teaching Assistant or alternative Zoom host to help moderate your Zoom meeting, enter their email address within the Alternative Host area. The host must have a Pro License and their email must match their Zoom account login. It is recommended to confirm the email address with your alternative host.
- Click Save.
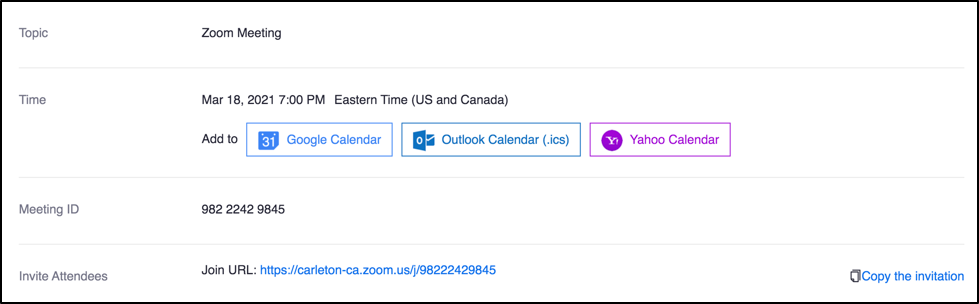
- You will see a meeting confirmation page, which includes buttons to add the meeting to a Google, Outlook, or Yahoo calendar. There is also a Join URL that can be copied and pasted into a communication to students.
Inviting an Carleton user not enrolled in your Brightspace Course to your Zoom meeting
- Create a Zoom meeting by following the steps outlined in the Scheduling a Zoom Meeting instructions.
- Once you have created your meeting, navigate to the meeting page in your Brightspace course module.
- Select the meeting link.
- Locate the Join URL.
This URL can be copied and pasted. Use this URL to invite attendees from outside the Brightspace Course.
Zoom Support
Carleton Zoom Support Contact Information
 Visit theTLS Support Portal
Hours of Operation: 8:30 am – 4:30 pm, Monday-Friday (excluding university holidays).
Student Technical Support
Student support for educational technology applications is provided by the ITS service desk. Student-specific Zoom resources can also be found on the Carleton Online website.
Zoom’s Official Support Site
 Visit support.zoom.com for instructions, video tutorials, FAQs, and more. For quick support from Zoom’s technical experts, submit a support request.
Phone: +1.888.799.9666 ext. 2.
Chat: Go to zoom.com and click the Chat icon ![]() in the lower-right corner to chat with Zoom’s virtual assistant.
in the lower-right corner to chat with Zoom’s virtual assistant.