- How to manually create Calendar entries for recurring Zoom meetings with no fixed time
- How to manually create Calendar entries for recurring Zoom meetings with no fixed time
- Updating Zoom Meeting Event Entries
When a Zoom meeting is scheduled through the Zoom tool in a Brightspace course, an entry will automatically be created for that meeting in the Brightspace Calendar. This will work whether the meeting is scheduled using the Brightspace Zoom tool itself or manually imported into a course’s Zoom tool. Follow these links for instructions on how to schedule meetings and how to import meetings using the Brightspace Zoom tool.
| NOTE: Brightspace will not create Calendar entries for recurring meetings that are set to “No fixed time.” Calendar entries for meetings of this sort need to be created manually (click here for instructions). |
The event entry that the Zoom tool creates in the Brightspace Calendar provides students with the following information:
|
When students access their Calendar via the navigation bar or view the Calendar widget on the course homepage, the “Agenda” display mode will prominently display the event entry for that day’s Zoom meeting.
If you have added a description for the Zoom meeting itself when creating it, this will not be displayed in the Calendar. However, it is possible to edit the Calendar entry to add further instructions and even links to course content.
| NOTE: In order for a change of settings to be reflected in the Brightspace Calendar entry, you must edit the meeting using the Brightspace Zoom tool.The tool is synched with your Carleton Zoom Pro account. As such, any change of settings made in the Brightspace Zoom tool will immediately be reflected in both your https://zoom.us account and your Zoom Desktop Client. |
| If you have created a passcode for your meeting, please be aware that the Brightspace Calendar entry neither displays the meeting’s passcode nor embeds it in the hyperlink by default. Should you wish, you can edit the Calendar entry to include the passcode information.
Alternately, you can change the settings for your Zoom account to embed passcodes in your Zoom meeting links automatically. To do this:
Now when you create a Zoom meeting, the passcode information will be included in the joining link. When students click on the link in their Brightspace Calendar, Zoom will automatically enter the passcode for them. |
How to manually create Calendar entries for recurring Zoom meetings with no fixed time
Recurring Zoom meetings that are set to “No fixed time” do not have a designated date/time. As such, Brightspace cannot create event entries in the Calendar for them. However, you can create event entries for these manually.
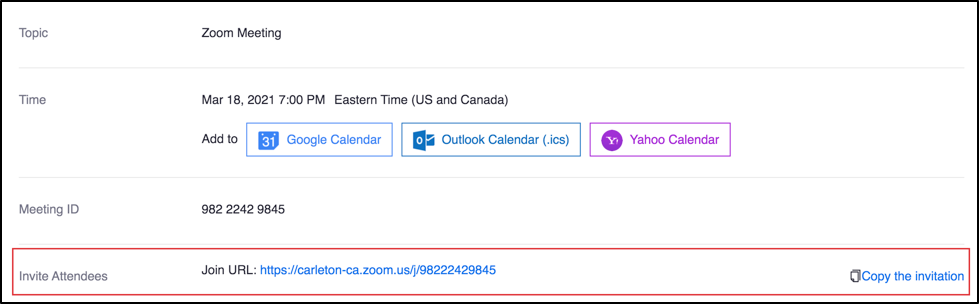
| Step 1: Retrieve the Zoom meeting information. | |
This section will explain how to add the Zoom plug-in to a module or sub-module in your Brightspace course. To learn how to add a new module in Brightspace, see Adding Modules and Sub-Modules.
|


| Step 2: Create an Event in the Calendar |
This will bring you to a new page where you can program your settings for the Calendar entry and insert content. |
| Step 3: Add your Zoom Link | |
|
You will want to insert the Zoom meeting link that you copied into the “Description” field, as well as any other instructions you may have pertaining to the meeting. There are two ways to paste the Zoom link: Direct Paste by using the command Ctrl+V or Cmd+V, or by right-clicking anywhere in the “Description” field and selecting the “paste” option. Directly pasting the Zoom weblink will display the bare URL in full. Brightspace will automatically convert this into a clickable link. Hyperlinking. If you would instead like to convert a section of text into a clickable link:
The text that you have hyperlinked should now appear underlined and in a colour other than black. When students click on the hyperlinked word(s), it will supply the Zoom meeting information in their browser and prompt them to connect to the session.
|
| Step 4: Program the Event to be “Recurring” |
It is not necessary to create a separate event entry for every session using the same Zoom meeting link. The “Create Event” settings page has the option to duplicate an event entry. To do this:
Now the event entry that you have created will automatically be replicated as a series. Individual event entries will appear for each day of the recurrence and contain identical information. If you later need to edit a single event entry or the entire series (e.g., to include a passcode, insert additional information, etc):
|

How to manually create Calendar entries for recurring Zoom meetings with no fixed time
Recurring Zoom meetings that are set to “No fixed time” do not have a designated date/time. As such, Brightspace cannot create event entries in the Calendar for them. However, you can create event entries for these manually.
| Step 1: Create an Event in the Calendar |
This will bring you to a new page where you can program your settings for the Calendar entry and insert content. |
| Step 2: Add a Content Link for the Course’s Zoom Tool |
|
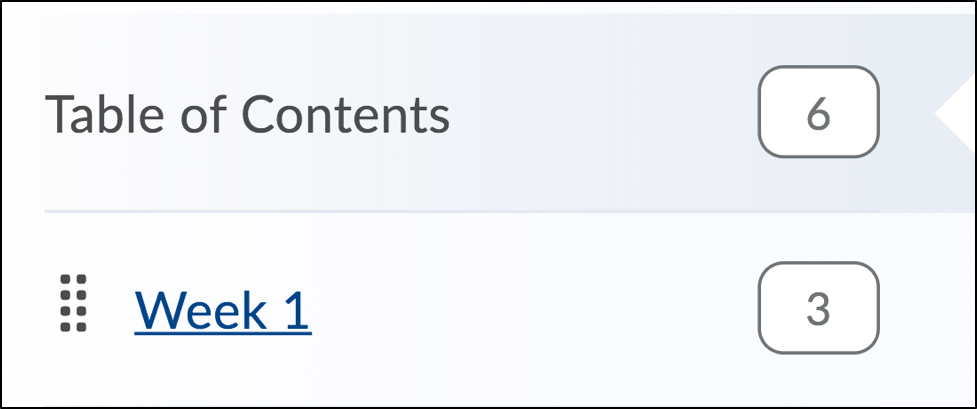
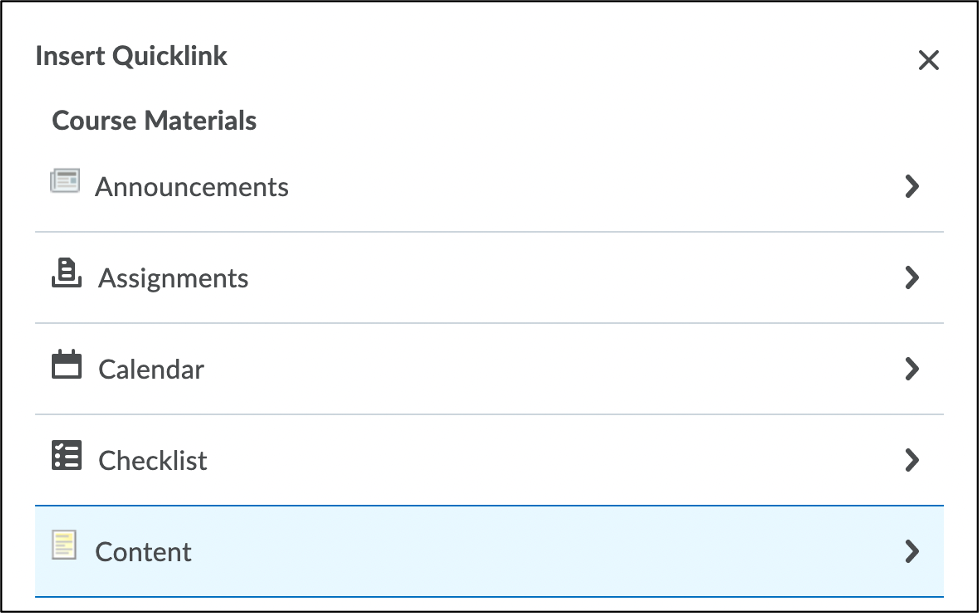
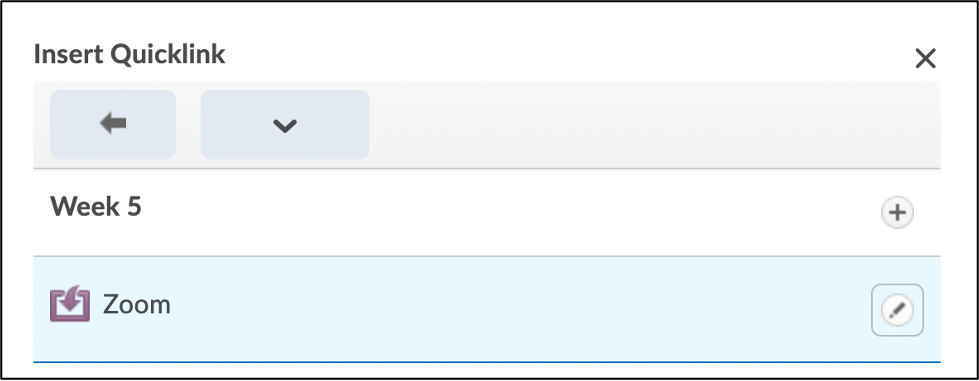
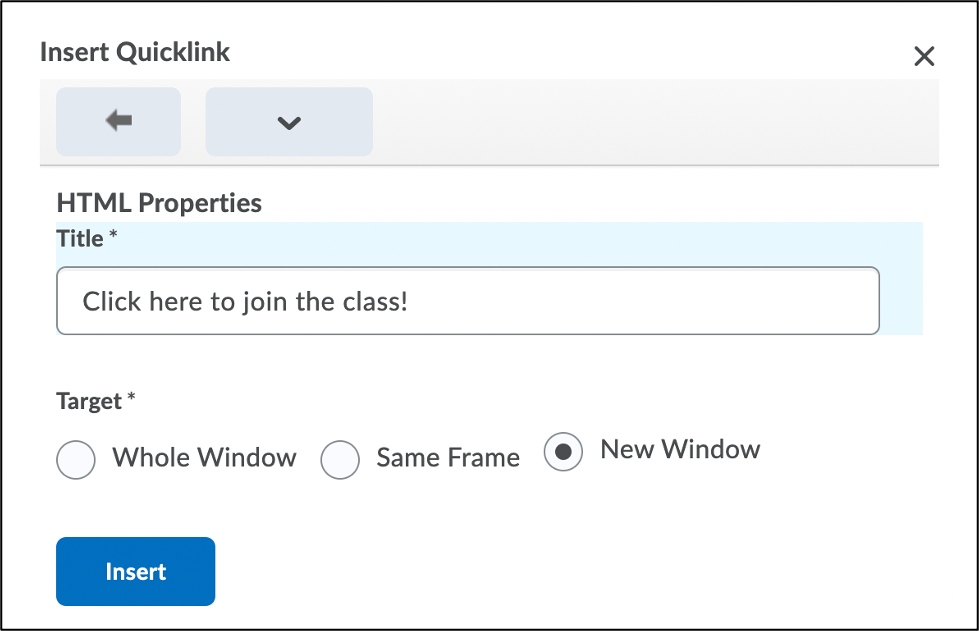
You will want to insert a quicklink to the Brightspace Zoom tool in the “Description” field, as well as any other instructions you may have pertaining to the meeting. To do this:
A clickable link will now appear in the “Description” of the event entry. When students click on this link in the Calendar, they will be taken to the course’s Zoom tool. They can join the Zoom meeting from there. |
| Step 3: Program the Link to be “Recurring” |
It is not necessary to create a separate event entry for every session using the same Zoom meeting link. The “Create Event” settings page has the option to duplicate an event entry. To do this:
Now the event entry that you have created will be replicated as a series. Individual event entries will appear for each day of the recurrence and contain identical information. But Brightspace will recognise the various events as being connected. If changes are made to one event in the series (e.g., updating settings, deleting an event), Brightspace will offer the option to apply the changes to the rest of the series. |
Updating Zoom Meeting Event Entries
If you later need to edit a single event entry or the entire series (e.g., to include a passcode, insert additional information, etc):
- Click Tools in the navigation bar at the top of the course page.

- Select Calendar from the dropdown menu.
- Select the event entry you would like to change. The event will expand to show the description.
- Click the Edit button at the bottom of the pop-up window.
- Make your adjustments to the settings, and click Save at the bottom of the screen.
If the event is part of a recurring series, a new settings pop-up window will appear asking whether you would like the changes to apply to:
- All events in the series. (I.e., every instance of this recurring event entry.)
- Selected occurrence. (I.e., just the individual event entry you have changed.)
- Selected occurrence and all future occurrences. (i.e., this event entry and every subsequent event entry in the recurring series.)
Clicking Update at the bottom of the pop-up window will apply your settings.
| NOTE: If you have created a recurring Zoom meeting with fixed dates/times, the respective event entries in the Brightspace Calendar are considered a series. As such, when making changes to one event entry for that Zoom meeting, Brightspace will offer the same prompts as above. |
Zoom Support
Carleton Zoom Support Contact Information
 Visit theTLS Support Portal
Hours of Operation: 8:30 am – 4:30 pm, Monday-Friday (excluding university holidays).
Student Technical Support
Student support for educational technology applications is provided by the ITS service desk. Student-specific Zoom resources can also be found on the Carleton Online website.
Zoom’s Official Support Site
 Visit support.zoom.com for instructions, video tutorials, FAQs, and more. For quick support from Zoom’s technical experts, submit a support request.
Phone: +1.888.799.9666 ext. 2.
Chat: Go to zoom.com and click the Chat icon ![]() in the lower-right corner to chat with Zoom’s virtual assistant.
in the lower-right corner to chat with Zoom’s virtual assistant.