- Add a Module
- Add a Sub-Module
- Add a Module or Sub-Module Description
- Edit a Module or Sub-Module
- Changing Content Display Settings
- Video Tutorials
- Related Support Topics
Modules and sub-modules help structure your D2L Brightspace course and make your course page easier to navigate for students. Modules are used to group or categorize course content and sub-modules are used to organize content within a module. Examples of module names include Week 1, Week 2, Week 3, or Unit 1, Unit 2, Unit 3.
Example of module organization in a Brightspace course:

NOTE: Modules must be created before files can be added to your course. For instructions on adding files to a module, see the Adding Files page.
Add a Module
- Log into Brightspace with your MyCarletonOne credentials.
- On the Brightspace homepage, locate your course in one of the following ways:
-
- Select the course tile under the My Courses widget.
- Select the Course Selector Grid
 and select the course from the drop-down menu. If you are enrolled in more than 20 courses, you can search for the course name using the search bar.
-
- In the navbar, select Content.

- Under Table of Contents in the sidebar, select Add a module…
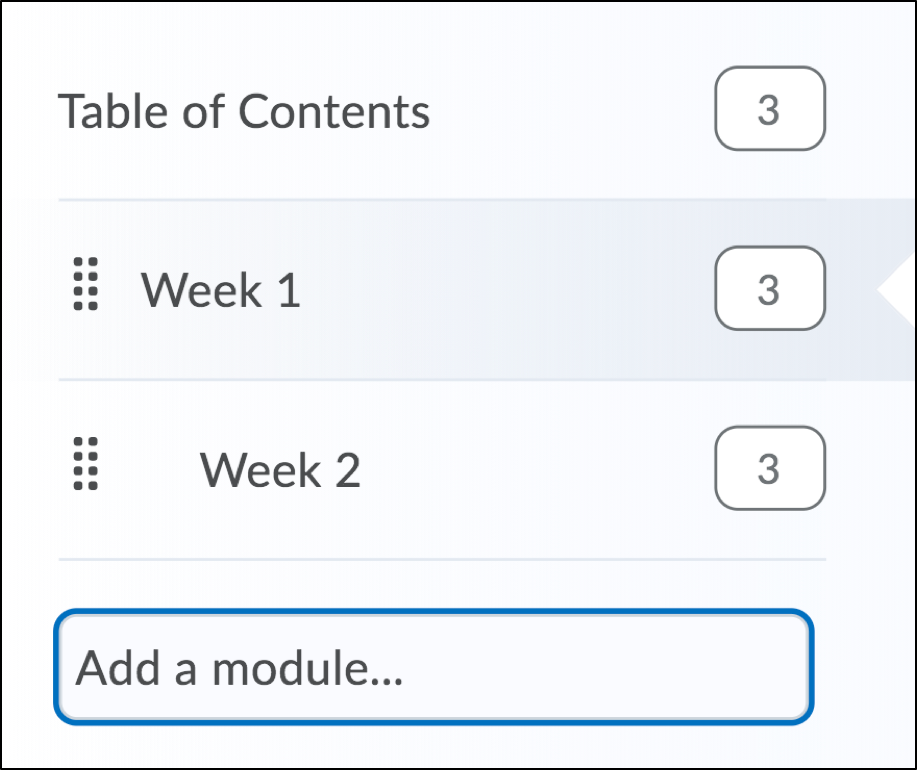
- Type the title of your module as you want it to appear on your course page, then select Enter on your keyboard.
Your module will now appear in the Table of Contents and you can start adding files.
TIP: To re-arrange your modules in the Table of Contents, select and drag the move icon ![]()
Add a Sub-Module
- Log into Brightspace with your MyCarletonOne credentials.
- On the Brightspace homepage, locate your course in one of the following ways:
-
- Select the course tile under the My Courses widget.
- Select the Course Selector Grid and select the course from the drop-down menu. If you are enrolled in more than 20 courses, you can search for the course name using the search bar.
-
- In the navbar, select Content.
- Under Table of Contents in the left sidebar, select a module

- Select Add a sub-module…
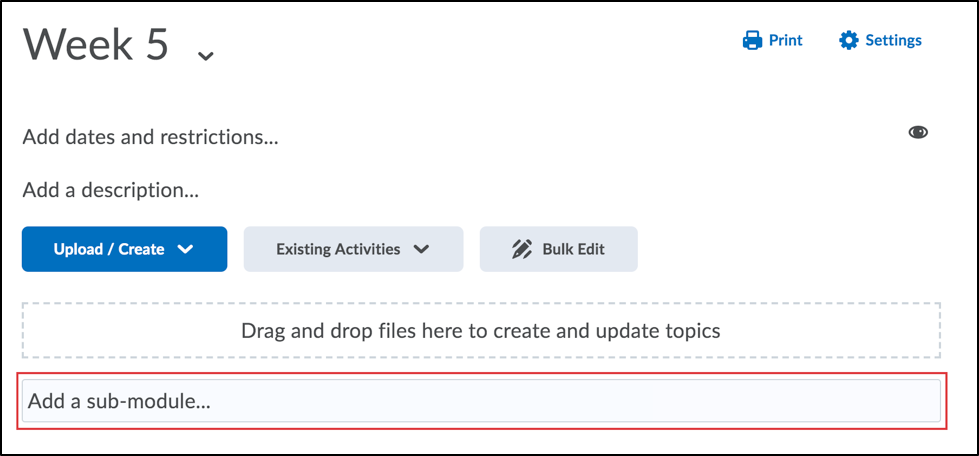
- Type the title of your sub-module as you want it to appear on your course page, then select Enter on your keyboard.
Your sub-module will now appear in the Table of Contents and you can start adding files.
Add a Module or Sub-Module Description
- Log into Brightspace with your MyCarletonOne credentials.
- On the Brightspace homepage, locate your course in one of the following ways:
-
- Select the course tile under the My Courses widget.
- Select the Course Selector Grid and select the course from the drop-down menu. If you are enrolled in more than 20 courses, you can search for the course name using the search bar.
-
- In the navbar, select Content.
- Under Table of Contents in the sidebar, select a module or submodule.
- Select Add a description… to expand the HTML Editor.
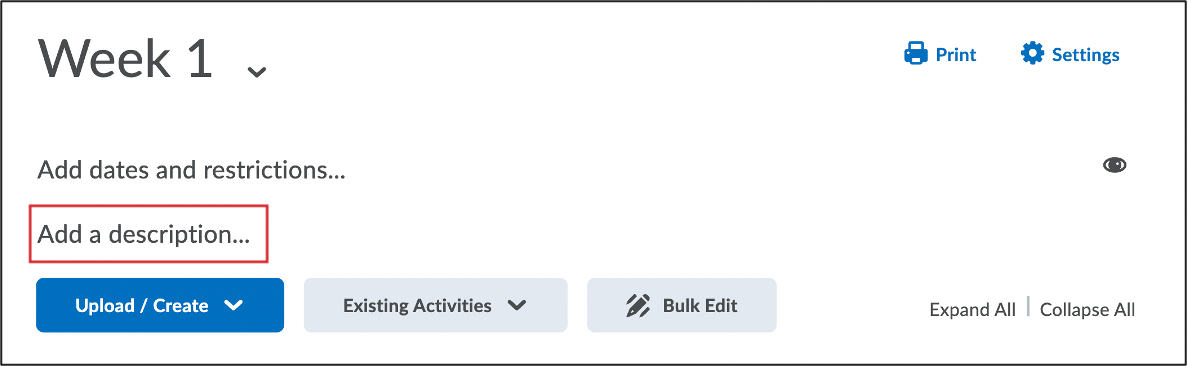
- Enter description in the HTML Editor textbox. See Using the HTML Editor for more information about formatting text and embedding media in the HTML Editor.
TIP: You can insert Quicklinks into HTML Editors to add links to existing content in your course. For example, you can create direct links to activities that students will need to complete for the selected module, such as assignments or quizzes. For instructions, see Inserting Quicklinks into an HTML Editor.
- Select Update. The description will now appear below the module or sub-module title.
Edit a Module or Sub-Module
NOTE: To make changes to a module or sub-module in your course, you first need to select Content in the navbar.
Edit a Module or Sub-Module Title
- Select Content in your course navbar.
- Under Table of Contents in the sidebar, select your module.
- Type a new title, then select Enter on your keyboard to save your changes.
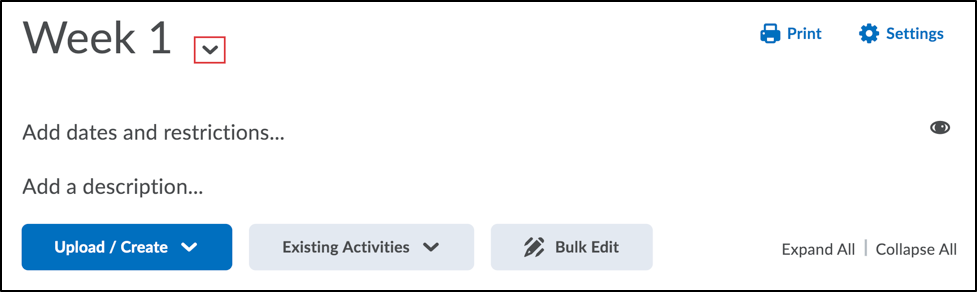
NOTE: Alternatively, you can edit a module by selecting the arrow
 next to your module title and selecting edit title in the drop-down menu.
Move or Re-Arrange a Module or Sub-Module
- Select Content in your course navbar.
- Under the Table of Contents left sidebar, select your module.
NOTE: Your sub-modules will appear in the Table of Contents once a module is selected.
- Move your module or sub-module in one of the following ways:
- Under Table of Contents in the sidebar, select and drag the module or sub-module using the move icon
- Select the arrow next to your module or sub-module title to expand the actions menu, then select one of the following options:
- Move Up – Move a module or sub-module up one place in the Table of Contents menu.
- Move Down – Move a module or sub-module down one place in the Table of Contents menu.
- Move To – Move a sub-module to a different module within your course, or move a module into another module (this will convert the module into a sub-module).
- Under Table of Contents in the sidebar, select and drag the module or sub-module using the move icon
Delete a Module or Sub-Module
- Select Content in your course navbar.
- Under Table of Contents in the left sidebar, select your module.
NOTE: Your sub-modules will appear in the Table of Contents once a module is selected.
- Select the arrow next to your module or sub-module title to expand the actions menu.
- In the drop-down menu, select Delete Module.

- You will be prompted to select one of the following options:
- Remove the module and all nested modules and topics from Content but keep all associated files and activities in the course – This option will remove your module from the Table of Contents menu but your files will remain in your Brightspace course under Manage Files.
- Permanently delete and remove all nested modules, topics, and all associated files and activities from the course – This option will permanently remove the module and all files within it from your Brightspace course.
- Select Delete.
Hide a Module or Sub-Module
- Select Content in your course navbar.
- Under Table of Contents in the left sidebar, select your module.
- Hide your module in one of the following ways:
- Select the visibility icon (eye)
 and toggle the visibility from visible
 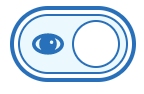 to hidden
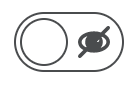
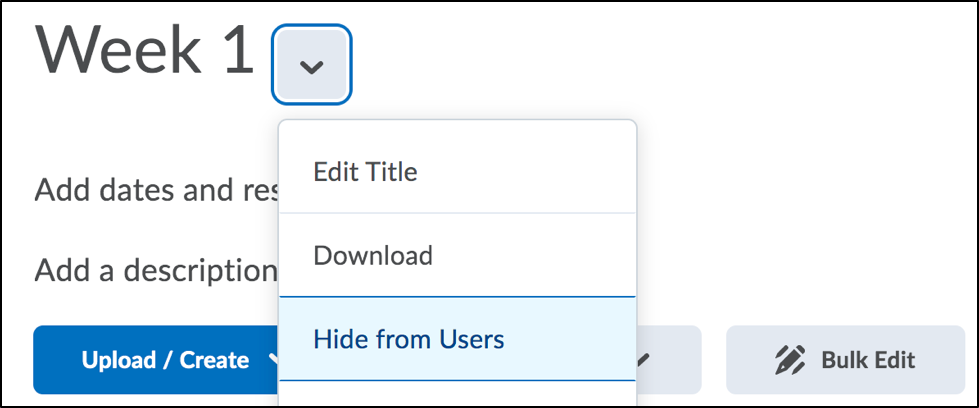
- Select the arrow next to your module or sub-module title to expand the actions menu, then select Hide from Users.
- Select the visibility icon (eye)
Changing Content Display Settings
In the Classic content experience, you can customize the display, authoring (HTML templates, paths, and font settings), and completion tracking settings to tailor your learning environment.
For more information on how you can customize your content experience, you can visit D2L’s support page Change content display settings.
Video Tutorials


Related Support Topics
Was this page helpful?
5 people found this useful
Still need help? Contact us