- Accessing the Manage Files Tool
- Creating a File
- Creating a Folder
- Uploading a File
- Updating a File (Overwriting)
- Moving a File or Folder (Cutting and Pasting)
- Downloading a File or Folder
- Zip or Unzip a File or Folder
- Deleting a File or Folder
- Related Support Topics
The Manage Files tool organizes your course files and provides an overview of your course content (PDFs, Powerpoint files, images, etc.). All files that have been uploaded or created in the Content area of your course will be automatically added to Manage Files. You can use the tool’s folder structure to view and manage the files in your course.
| TIP: Create a folder for each module in your course to organize your course files. |
Accessing the Manage Files Tool
- Log in to Brightspace with your MyCarletonOne credentials.
- On the Brightspace homepage, locate your course in one of the following ways:
-
- Click on the course tile under the My Courses widget.
- Click the Course Selector Grid
 and select the course from the drop-down menu. If you are enrolled in more than 20 courses, you can search for the course name using the search bar.
-
- In the navbar, click Course Admin.

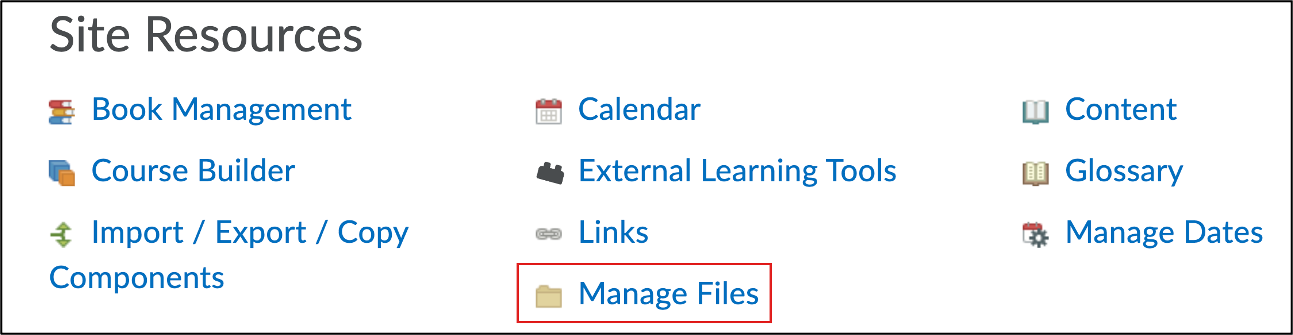
- Under Site Resources, click Manage Files.
Creating a File
- Log in to Brightspace with your MyCarletonOne credentials.
- On the Brightspace homepage, locate your course in one of the following ways:
-
- Click on the course tile under the My Courses widget.
- Click the Course Selector Grid and select the course from the drop-down menu. If you are enrolled in more than 20 courses, you can search for the course name using the search bar.
-
- In the navbar, click Course Admin.
- Under Site Resources, click Manage Files.
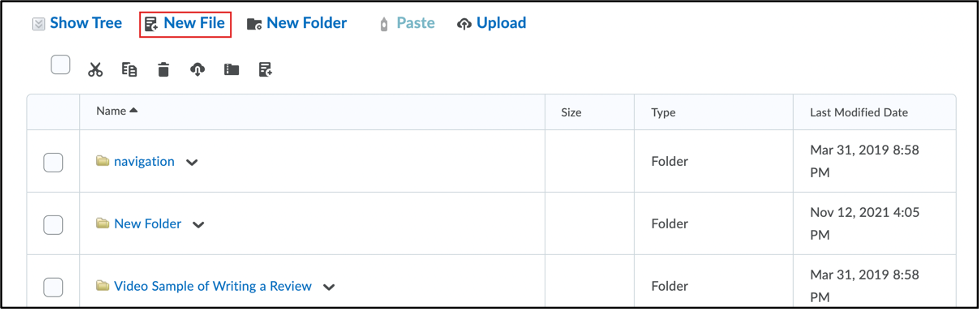
- Click New File.
- Enter a file name.
- Enter the content for your file.
- Click Save.
Creating a Folder
- Log in to Brightspace with your MyCarletonOne credentials.
- On the Brightspace homepage, locate your course in one of the following ways:
- Click on the course tile under the My Courses widget.
- Click the Course Selector Grid and select the course from the drop-down menu. If you are enrolled in more than 20 courses, you can search for the course name using the search bar.
- In the navbar, click Course Admin.
- Under Site Resources, click Manage Files.
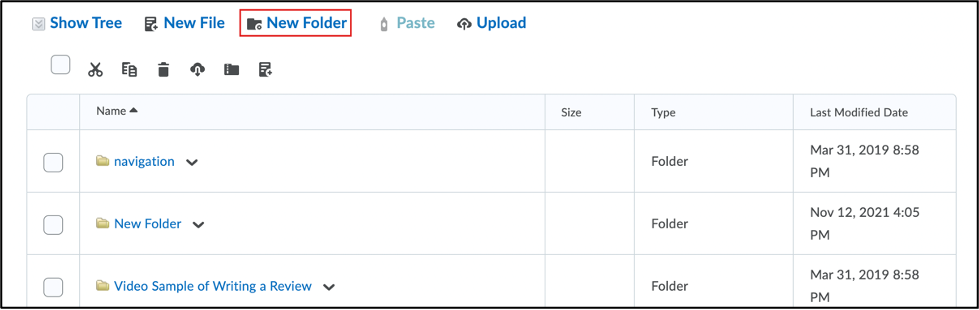
- Click New Folder.
- Enter a name for the folder.
- Click Save.
The folder will now appear in the tree in the left side bar and alphabetically in the list of files.
Uploading a File
- Log in to Brightspace with your MyCarletonOne credentials.
- On the Brightspace homepage, locate your course in one of the following ways:
-
- Click on the course tile under the My Courses widget.
- Click the Course Selector Grid and select the course from the drop-down menu. If you are enrolled in more than 20 courses, you can search for the course name using the search bar.
-
- In the navbar, click Course Admin.
- Under Site Resources, click Manage Files.
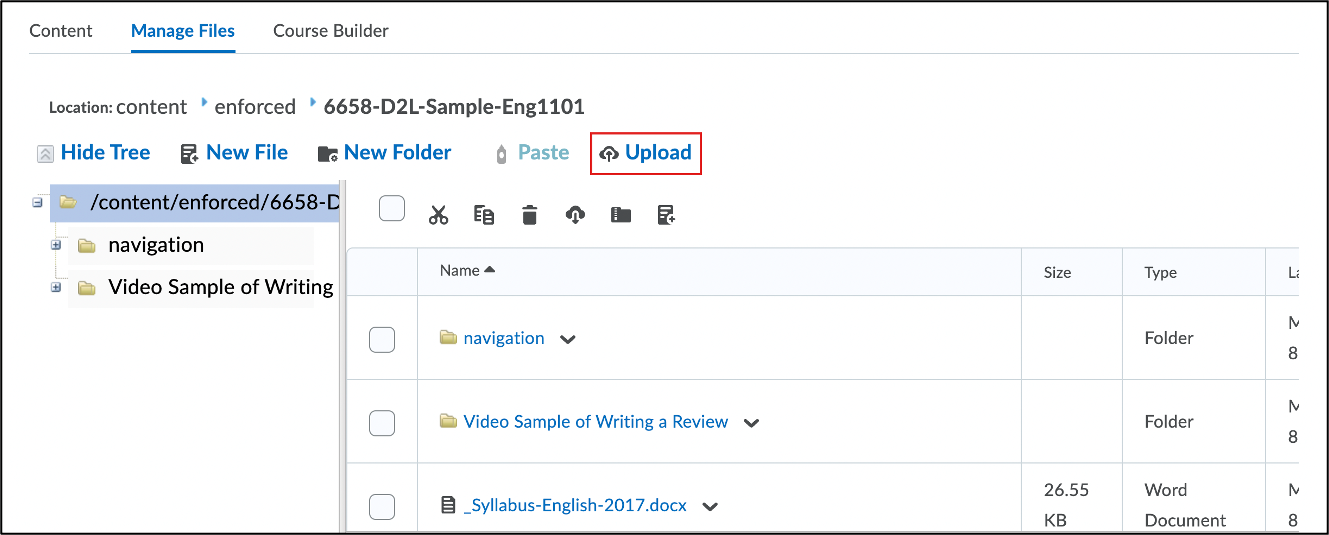
- Click Upload.
- Click Upload and select the file or drag and drop the file into the upload area.
- Click Save.
Updating a File (Overwriting)
Updating a file using the Manage Files tool (rather than replacing the file directly on your content page) will keep any content links to the file up to date. For example, if you have your course outline uploaded in the Course Details section and also have it linked in the first module of your course, you can replace the file in Manage Files to have it update on the Course Details page and in the content link.
To update a file:
- Log in to Brightspace with your MyCarletonOne credentials.
- On the Brightspace homepage, locate your course in one of the following ways:
-
- Click on the course tile under the My Courses widget.
- Click the Course Selector Grid and select the course from the drop-down menu. If you are enrolled in more than 20 courses, you can search for the course name using the search bar.
-
- In the navbar, click Course Admin.
- Under Site Resources, click Manage Files.
- Click Upload and select the updated file from your computer. The updated file must have the same name as the original file that was uploaded to Brightspace.
TIP: Check the name of the original file by finding it on the Manage Files page. - Click Save.
- Select the original file you are looking to update from the pop-up table.
- Click Overwrite.
WARNING: By clicking Overwrite you are deleting the original version of the file from Brightspace. Ensure that you have a backup of the original saved elsewhere in case you need to refer back to it. - Click on Content in the navbar to return to the course content page.
The file and any links to it will now open the updated version.
Moving a File or Folder (Cutting and Pasting)
| WARNING: Moving a file that is currently in use in the Content area of your course might result in a broken link. |
- Log in to Brightspace with your MyCarletonOne credentials.
- On the Brightspace homepage, locate your course in one of the following ways:
-
- Click on the course tile under the My Courses widget.
- Click the Course Selector Grid and select the course from the drop-down menu. If you are enrolled in more than 20 courses, you can search for the course name using the search bar.
-
- In the navbar, click Course Admin.
- Under Site Resources, click Manage Files.
- Select the checkbox next to the file(s) or folder(s) you want to move.
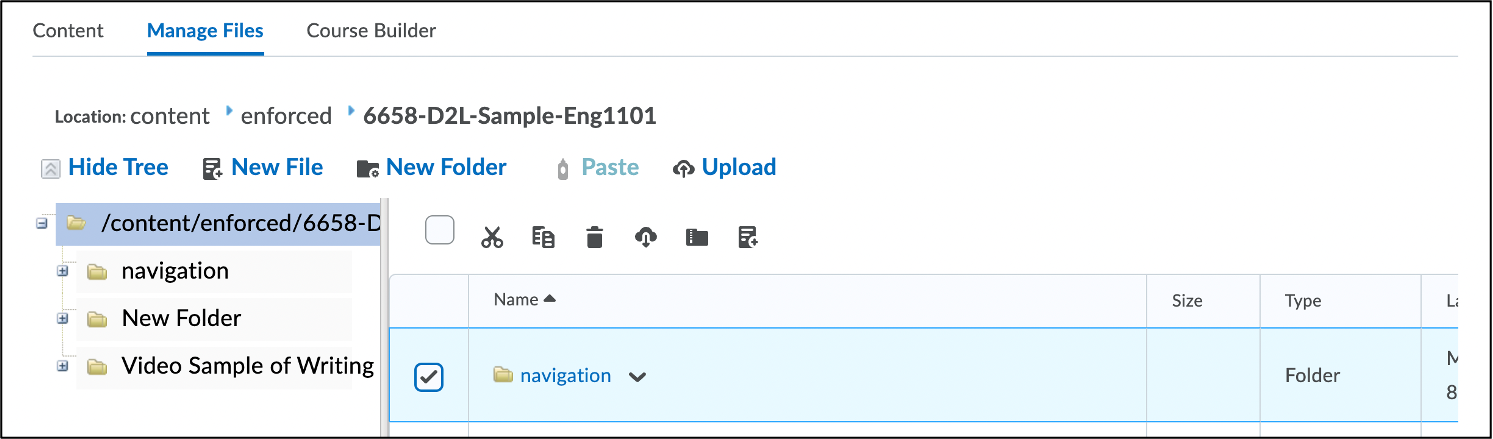
- Click the Cut Icon
 in the toolbar.
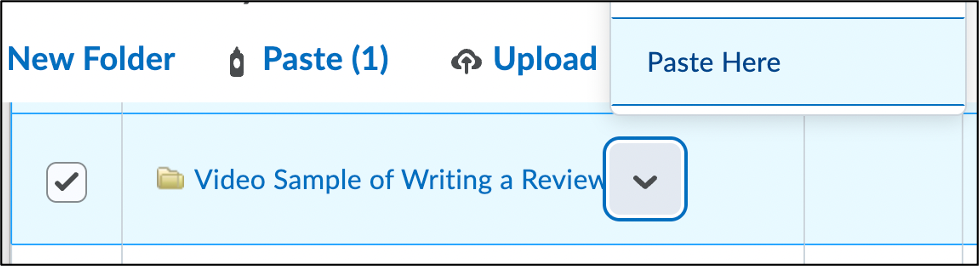
 - Click the arrow
 next to the folder you want to move the content to.
 - Select Paste Here from the drop-down menu.
Downloading a File or Folder
- Log in to Brightspace with your MyCarletonOne credentials.
- On the Brightspace homepage, locate your course in one of the following ways:
-
- Click on the course tile under the My Courses widget.
- Click the Course Selector Grid and select the course from the drop-down menu. If you are enrolled in more than 20 courses, you can search for the course name using the search bar.
-
- In the navbar, click Course Admin.
- Under Site Resources, click Manage Files.
- Select the checkbox next to the file(s) or folder(s) you want to download.
- Click the Download icon
 in the toolbar.
 - In the Downloading Files pop-up window, click the Zip file.

- The file will automatically begin downloading to your computer. The location of the downloaded file is dependent on your Operating System and Browser.
Zip or Unzip a File or Folder
To Zip a File or Folder:
| TIP: Zipping a file/folder is useful for archiving files in Brightspace. |
- Log in to Brightspace with your MyCarletonOne credentials.
- On the Brightspace homepage, locate your course in one of the following ways:
-
- Click on the course tile under the My Courses widget.
- Click the Course Selector Grid and select the course from the drop-down menu. If you are enrolled in more than 20 courses, you can search for the course name using the search bar.
-
- In the navbar, click Course Admin.
- Under Site Resources, click Manage Files.
- Select the checkbox next to the file(s) or folder(s) you want to zip.
- Click the Zip icon.
- The files will now be compressed in the current folder and you will see a zip icon next to the file/folder name.
To Unzip a File or Folder:
| TIP: Uploading a ZIP file and then unzipping the file is a great way to upload multiple files to Brightspace at once. |
- Log in to Brightspace with your MyCarletonOne credentials.
- On the Brightspace homepage, locate your course in one of the following ways:
-
- Click on the course tile under the My Courses widget.
- Click the Course Selector Grid and select the course from the drop-down menu. If you are enrolled in more than 20 courses, you can search for the course name using the search bar.
-
- In the navbar, click Course Admin.
- Under Site Resources, click Manage Files.
- Navigate to the ZIP file or folder that you want to unzip or upload your ZIP file (See Uploading a File for instructions).
- Click the arrow next to the file or folder you want to unzip.
- Select Unzip from the drop-down menu.
- When the file successfully unzips, a notification will appears as a subscription alert in your minibar.

Deleting a File or Folder
- Log in to Brightspace with your MyCarletonOne credentials.
- On the Brightspace homepage, locate your course in one of the following ways:
-
- Click on the course tile under the My Courses widget.
- Click the Course Selector Grid and select the course from the drop-down menu. If you are enrolled in more than 20 courses, you can search for the course name using the search bar.
-
- In the navbar, click Course Admin.
- Under Site Resources, click Manage Files.
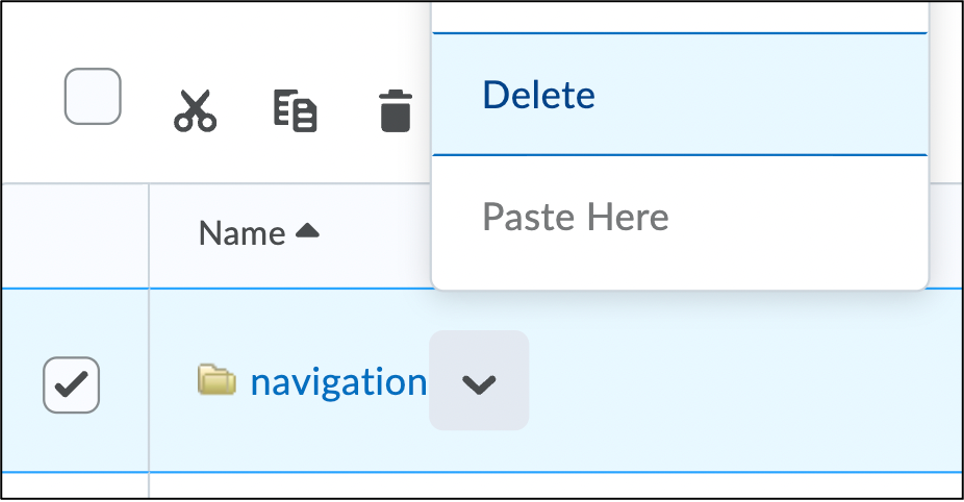
- Click the arrow next to the file or folder you want to delete.
- Select Delete from the drop-down menu.
- You will be prompted to confirm that you want to permanently delete the file in a pop-up window. Click Yes.
Related Support Topics
Was this page helpful?
no one has found this useful yet.
Still need help? Contact us