- Creating an Assignment
- Creating an Assignment with Limited File Types
- Adding an Existing Assignment to a Module/Submodule
- Assignment Settings
- Viewing Assignment Submissions
An assignment can be added to a D2L Brightspace course for online or offline student submissions. By adding an assignment to a course page, the instructor creates a submission link that students select to submit electronic files (File Submission) or to type text in a text editor (Text Submission).
NOTE: Student assignment submissions can be graded through the Progress link in the navbar. You have the choice of grading through either Grades or the Quick Eval tool. For more information on how to grade assignments, visit the Grading pages.
Creating an Assignment
- Log in to Brightspace using your MyCarletonOne credentials.
- On the Brightspace homepage, locate your course in one of the following ways:
- Select the course tile under the My Courses widget.
- Select the Course Selector Grid
 and select the course from the drop-down menu. If you are enrolled in more than 20 courses, you can search for the course name using the search bar.
- In the navbar, select Content.
NOTE: You can also access the assignment tool through the Tools menu. When you create an assignment via Tools, students will only be able to access the assignment through the Tools menu in your course navbar. The assignment will not be visible in the content area of your course page unless you add it to a module/submodule using the existing activities menu.
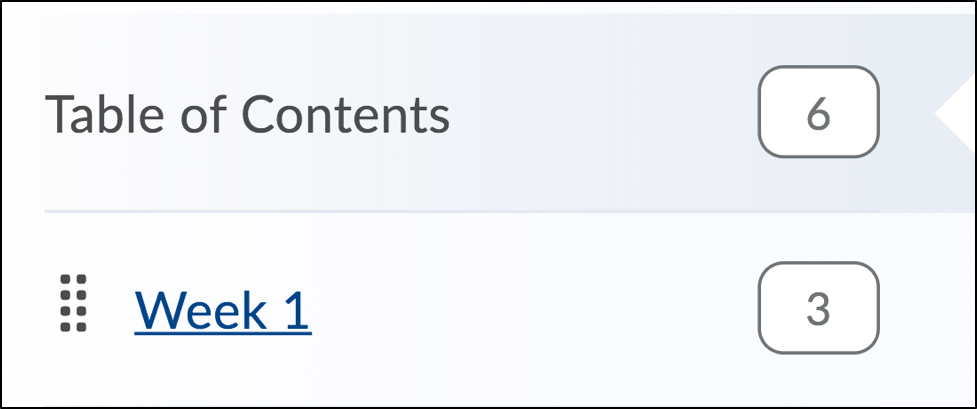
- In the left sidebar under Table of Contents, select the module/week section where you’d like to add the assignment (Week 1 is an example of a module in the image below). Alternatively, you can scroll down the Table of Contents page to locate the module/sub-module you want to add an assignment to. For instructions on how to add a new module or sub-module to your course, see the Adding Modules and Sub-modules page.
- Select the Upload/Create button.
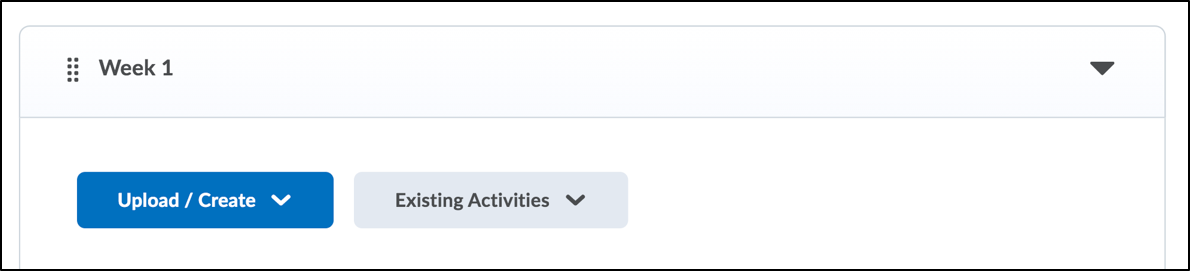
- In the drop-down menu, select New Assignment.
- You will be taken to the New Assignment page where you can customize your assignment settings.
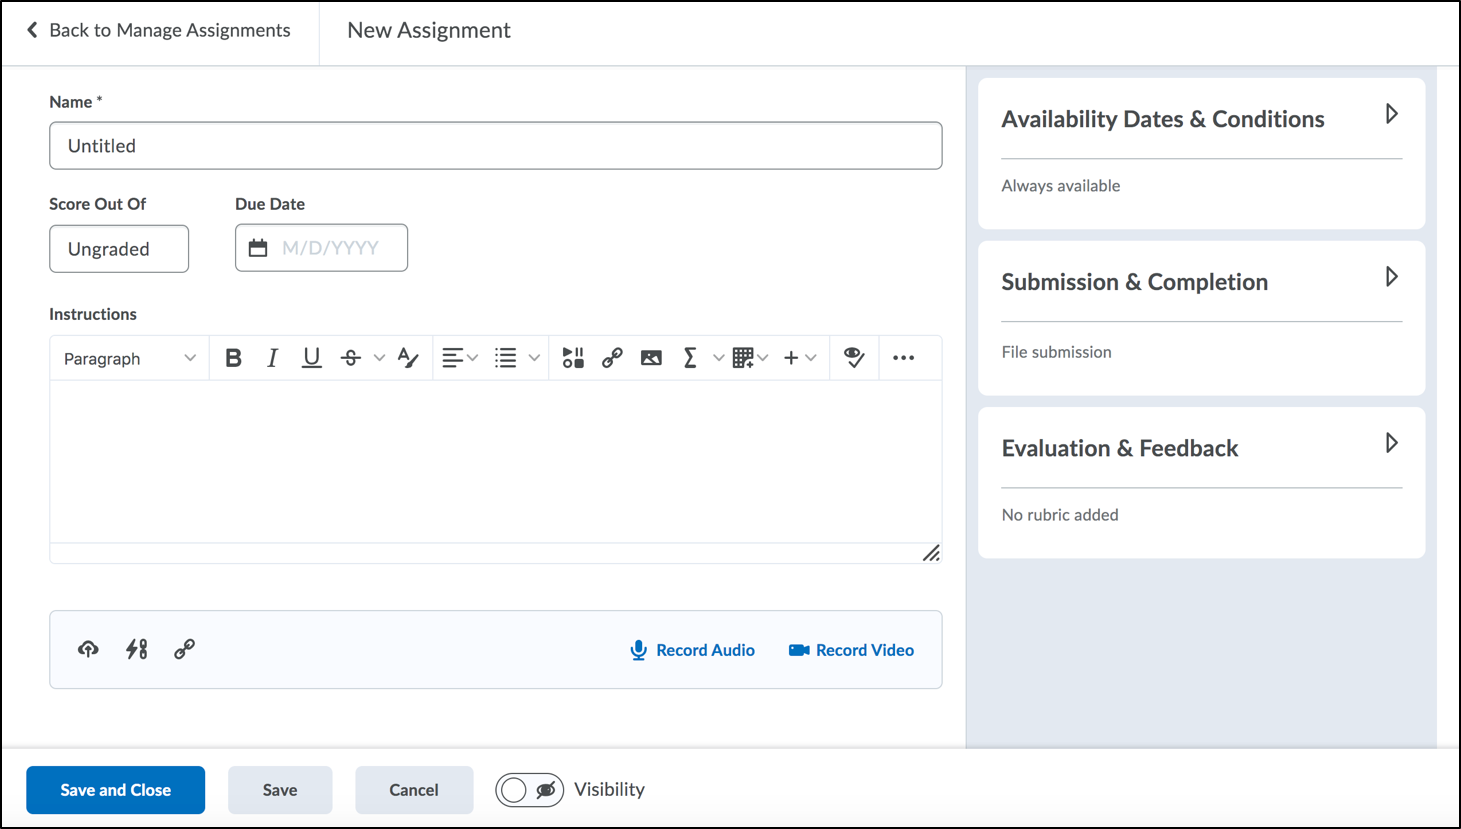
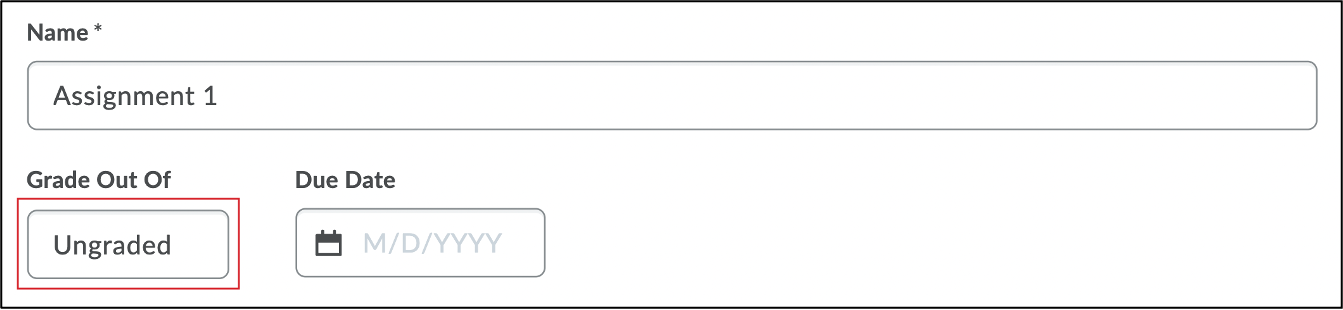
- Enter a Name for the assignment.
- Select Ungraded to expand the grading settings.
- Enter a grade value in the points field.
- An In Grades drop-down menu will appear where you can select Choose from Grades to add an item to the course gradebook. In the Choose from grades pop-up window, you have the following options:
- In Gradebook will be selected by default, meaning a new assignment grade item will be added to your gradebook. If you have set up categories in the gradebook, you will be able to select it from the Grade Category dropdown menu.
- Edit or link to Existing allows you to link your assignment to a grade item you have already added to your gradebook. If you have already created a grade item for your assignment, you can select it from the drop-down menu.
- Not in Gradebook – Choose this option if you do not want your assignment to appear in the gradebook.
- Reset to Ungraded – If you do not want to create a graded assignment, you can reset to ungraded using this option.
- Enter a Due Date for the assignment. This date will automatically be added to your course Calendar.
- Add assignment instructions (optional). In the HTML Editor, you can format or attach/embed files or media to your assignment instructions using the insert stuff
 , insert quicklink
  , and insert image
  buttons.
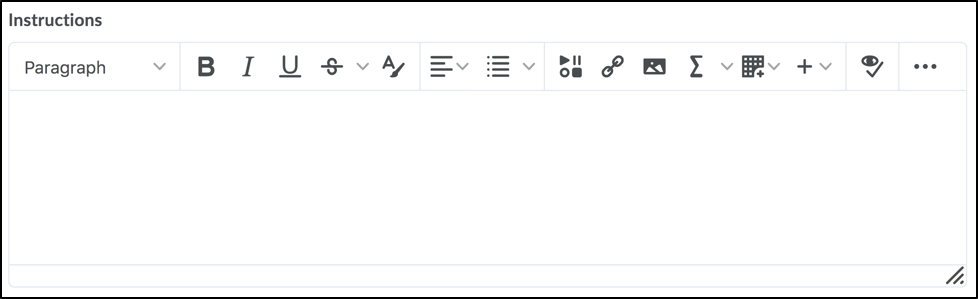
- To add attachments, select the icons below to add File Uploads (attachments).

TIP: You can hover your cursor over the attachment icons to view what each option attaches.
- Record audio or video, if needed.
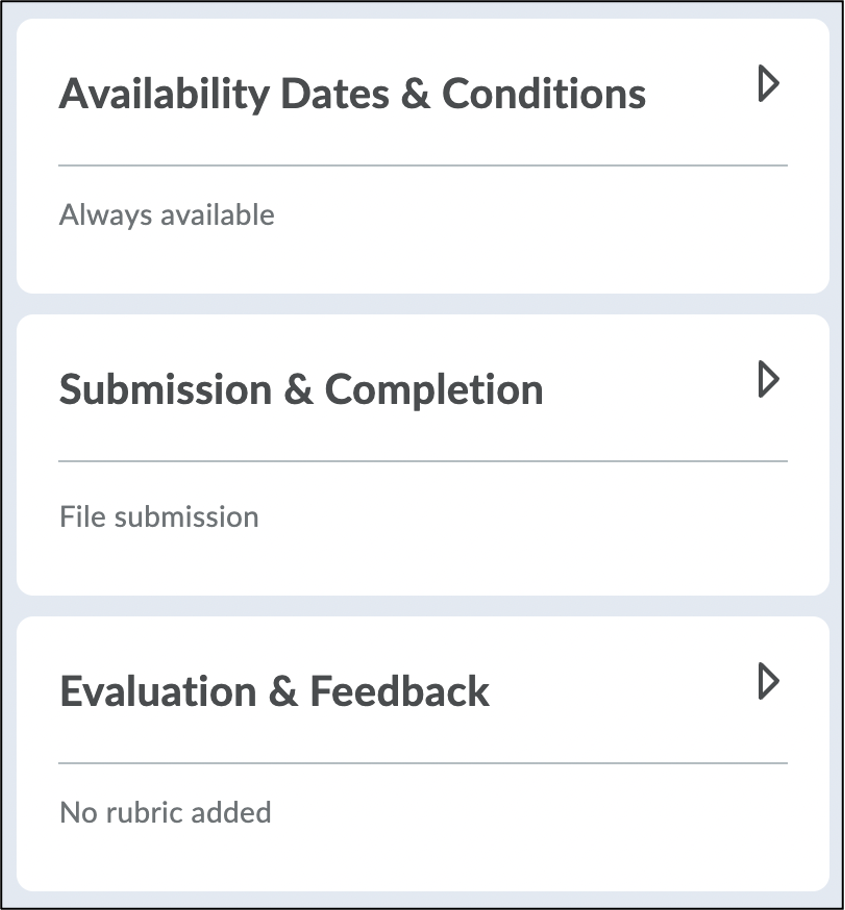
- On the right side of the page, you can select the arrows to expand the Availability Dates & Conditions, Submission & Completion or Evaluation & Feedback settings. Select the links below for more information on the settings options for each section.
- Availability Dates and Conditions – This section includes Start and End Dates, Release Conditions, and Special Access.
- Submission & Completion – This section includes settings for the assignment type (individual or groups) and file submission type (file, text, on paper, observed in person). You can also customize how many files are allowed per submission and restrict file extensions for submissions.
- Evaluation & Feedback – This section includes options for adding rubrics and learning objectives. You can also enable/disable annotation tools and anonymous marking.
- Select the Visibility toggle to make the assignment visible, otherwise it will remain hidden from students. The toggle will appear greyed out with a crossed out eye icon when hidden
 , and blue with an open eye icon when visible

- Select Save and Close. You will be taken back to the Assignments page.
Creating an Assignment with Limited File Types
You can restrict which file extensions (i.e. .pdf) can be uploaded as assignment submissions. When this restriction is enabled, students are presented with a list of acceptable file extensions for their assignments. If a student uploads a file that does not have the specified file extension selected by the instructor, an error message will appear indicating that the file type is invalid.
To Create an Assignment with Limited File Types
- Follow steps 1-6 above.
- You will see the New Assignment page where you can customize your assignment settings.
- Enter a Name for the assignment.
- Enter a grade value in the Score Out Of field.
- Select Due Date to add a due date for the assignment. This date will automatically be added to your course Calendar.
- Add assignment instructions (optional). In the HTML Editor, you can format or attach/embed files or media to your assignment instructions using the insert stuff , insert quicklink , and insert image buttons.
- Select Submission and Completion to expand the submission settings in the side panel.
- Under Allowable File Extensions, select No Restrictions to expand the drop-down menu.

- Select one of the following file types:
- Annotatable files: This option includes all file types that are supported by the Annotation tool in Assignments. For more information, see File types supported by Annotations.
- .PDF only
- Files that can be previewed without any conversion: This option includes file types such as .HTM, .HTML, .MHT, .MHTML, and .BMP
- Images and videos
- Custom file types: If this option is selected, you will be prompted to enter one or more allowable file extensions.
- Customize your assignment settings by selecting the arrows
 to expand the Availability Dates & Conditions, Submission & Completion or Evaluation & Feedback settings. Select the links below for more information on the settings options for each section.
- Availability Dates and Conditions – This section includes Start and End Dates, Release Conditions, and Special Access.
- Submission & Completion – This section includes settings for the assignment type (individual or groups) and file submission type (file, text, on paper, observed in person). You can also customize how many files are allowed per submission and restrict file extensions for submissions.
- Evaluation & Feedback – This section includes options for adding rubrics and learning objectives. You can also enable/disable annotation tools and anonymous marking.
- Select the Visibility toggle to make the assignment visible, otherwise it will remain hidden from students. The toggle will appear greyed out with a crossed out eye icon when hidden, and blue with an open eye icon when visible
- Select Save and Close. You will be taken back to the Assignments page.
Adding an Existing Assignment to a Module/Submodule
If you have created an assignment via the Tools menu in your course navbar, it will not appear in the content area of your course unless you add the existing assignment to a module or submodule.
To Add an Existing Assignment to a Module/Submodule
- Log in to Brightspace using your MyCarletonOne credentials.
- On the Brightspace homepage, locate your course in one of the following ways:
- Select the course tile under the My Courses widget.
- Select the Course Selector Grid and select the course from the drop-down menu. If you are enrolled in more than 20 courses, you can search for the course name using the search bar.
- In the navbar, select Content.

- In the left sidebar under Table of Contents, select the module/week section where you’d like to add the Assignment (Week 1 is an example of a module in the image below). Alternatively, you can scroll down the Table of Contents page to locate the module/sub-module you want to add an assignment to. For instructions on how to add a new module or sub-module to your course, see the Adding Modules and Sub-modules page.
- Select Existing Activities, then select Assignments in the drop-down menu.
- In the Add Activity pop-up window, select the assignment you want to add to the module/submodule.
The assignment will now appear as a link in your module or sub-module (see example below).

Assignment Settings
Adding Availability Dates and Conditions
- Start Date: The date from which students can start submitting their assignment.
- End Date: The date when assignment submissions will no longer be accepted.
When a Start/End Date is set, a description of the visibility setting will appear below. Select the description to select from the following options:
- Visible with access restricted. Students can see that the assignment exists. But they cannot view the instructions, rubrics, and attached files or make a submission.
- Visible with submission restricted. Students can open the assignment to view the instructions, rubrics, and attached files. But they cannot make a submission.
- Hidden. Students cannot see the assignment listed at all.
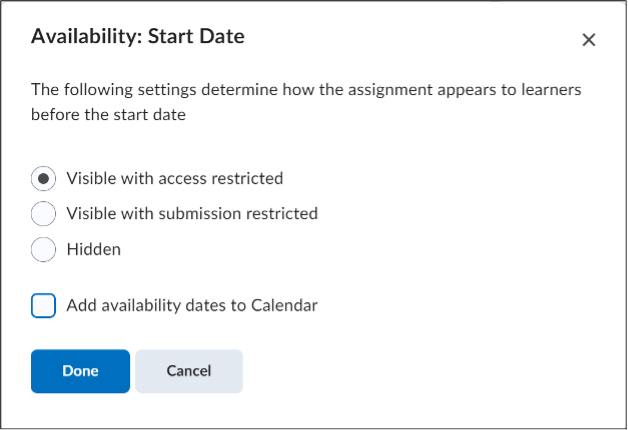
Place a checkmark in the Add availability dates to Calendar to automatically create events for the Start/End Date in the Brightspace Calendar.
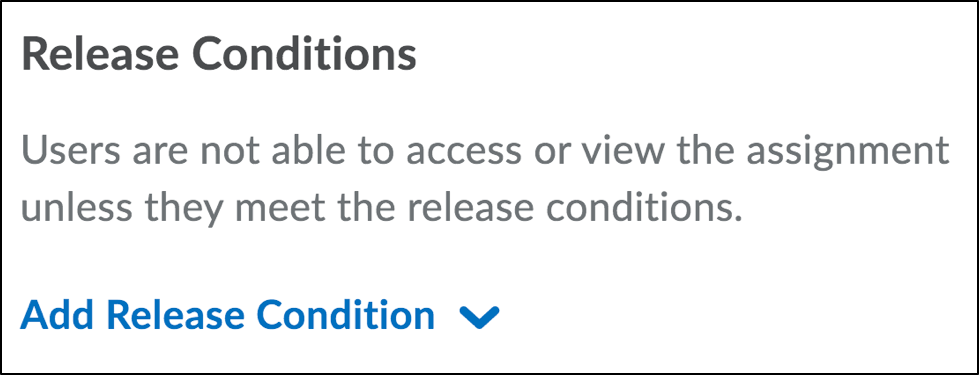
- Release Conditions: Creating or adding release conditions to assignments means students will not be able to view the assignment unless they meet the release conditions. For more instructions on creating release conditions in Brightspace, see the Creating Release Conditions page.
- To add a release condition
- Select Add Release Condition.
- Choose either Add Existing or Create New.
- Select Create New and a pop-up window will open.
- Select the Condition Type from the dropdown menu.
- Select the Condition Details from the dropdown menu. Additional steps will vary depending on the Condition Type selected.
- Select Create.
- To add a release condition
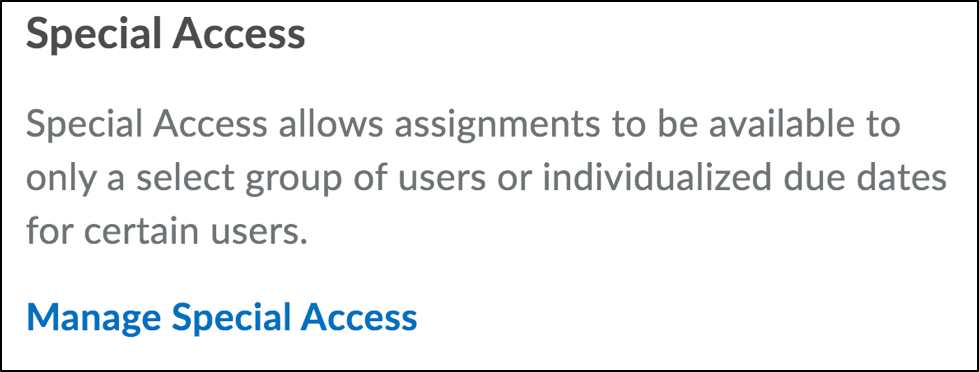
- Special Access: Creating special conditions for users such as user overrides means assignments will be available to only a select group of users or individualized due dates for certain users. These conditions are equivalent to Overrides in cuLearn and they are needed for students with PMC accommodations.
Managing Special Access
- Locate the assignment you want to edit and select the arrow
 to expand the assignment actions menu.
 - In the drop-down menu, select Edit Assignment.
- Select Availability Dates & Conditions.

- Select Manage Special Access.
- Choose either Allow users with special access to submit outside of the normal availability dates for this folder or Allow only users with special access to see this folder.
- Select Add Users to Special Access. A pop-up window will open.
- Add specific dates as needed (due date, start date, end date)
- Go down to Users.
- Select specific users.
- Select Save to close the pop-up window.
- Locate the assignment you want to edit and select the arrow
Adding Submission and Completion
- Assignment Type: The default is Individual Assignment. If groups have been created, then Group Assignment will become the second option. Selecting this option leads to a choice of Group Category with a dropdown menu to select the group.

- Submission Type: There are four options:
-
- File submission: Students submit a file or files which includes any digital content, such as word-processed documents, spreadsheets, images, or audio and video clips through the Brightspace system.
- Text submission: Students type text directly into the text editor inside of Brightspace.
- On paper submission: Students submit a paper copy in person.
- Observed in person: Students will be graded for work that is observed in person.
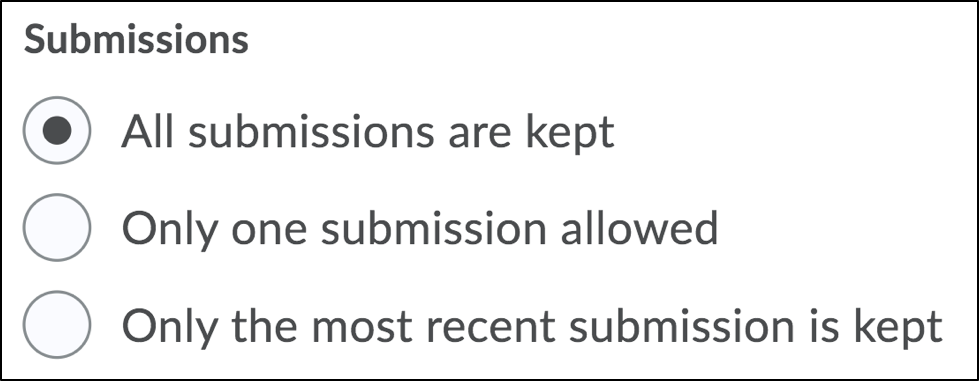
- Submissions: The default is to keep all submissions, but you can also choose to allow only one submission, or to keep only the most recent submission.
- Allowable File Extensions: You can restrict which file extensions (i.e. .pdf) can be uploaded as assignment submissions. When this restriction is enabled, students are presented with a list of acceptable file extensions for their assignments. If a student uploads a file that does not have the specified file extension selected by the instructor, an error message will appear indicating that the file type is invalid. You can choose from the following file restriction options:
- Annotatable files:This option includes all file types that are supported by the Annotation tool in Assignments. For more information, see File types supported by Annotations..
- .PDF only
- Files that can be previewed without any conversion:This option includes file types such as .HTM, .HTML, .MHT, .MHTML, and .BMP
- Images and videos
- Custom filetypes: If this option is selected, you will be prompted to enter one or more allowable file extensions.
- Notification Email: There is an option to receive an email notification when an assignment is submitted. Enter an email or multiple emails separated by a comma, to receive notifications when an assignment is submitted.

Adding Evaluation and Feedback
- Rubrics: You have the option to add a rubric to your assignment. Two types of rubric are available: Analytic or Holistic
- Learning Objectives:
- Annotation Tools: The default is for the annotation tools to be available for grading. You can deselect the checkbox to disable annotation tools.
- Anonymous Marking: The default is for this to be unchecked but checking the box will hide student names during assessment.
Previewing an Assignment
You can preview an assignment to view how students see your assignment submission page. When previewing an assignment, you can upload a test file and grade your test submission. If you are using a rubric for your assignment, you can view how the rubric appears to students.
To Preview an Assignment
- Log in to Brightspace using your MyCarletonOne credentials.
- On the Brightspace homepage, locate your course in one of the following ways:
- Select the course tile under the My Courses widget.
- Select the Course Selector Grid and select the course from the drop-down menu. If you are enrolled in more than 20 courses, you can search for the course name using the search bar.
- In the navbar, select Tools.

- In the drop-down menu, select Assignments.
- Select the More Actions button.
- Select Preview from the drop-down menu.

- Select the assignment you wish to preview. You will now see a preview of the assignment submission page.
- To submit an assignment, select Add a File and select the file you wish to upload.
- Select the Allow this preview submission to be available in the folder checkbox.
- Select Submit. You will receive an email notification confirming that your submission was successful.
- To exit preview mode, select Exit Preview.

To Preview a Submission
- Select the arrow next to the assignment.
- Select View Submissions.
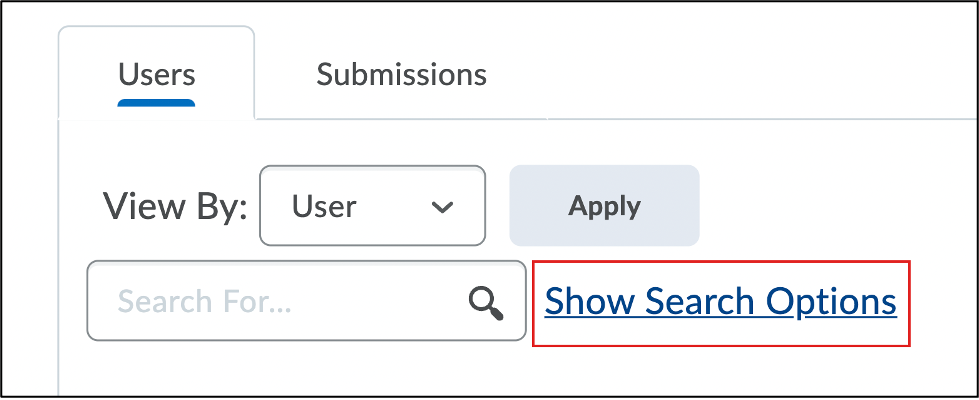
- Select Show Search Options.
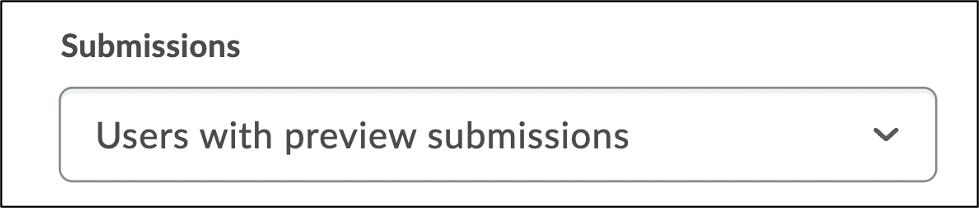
- Select the drop-down menu under Submissions and select Users with Submissions.
- Select the magnifying glass icon
 to update your search results.
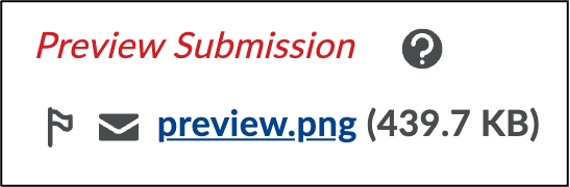
 - You will now see a list of preview submissions. Select a submission to view the file.
To Edit Assignment Settings
- Log in to Brightspace using your MyCarletonOne credentials.
- On the Brightspace homepage, locate your course in one of the following ways:
- Select the course tile under the My Courses widget.
- Select the Course Selector Grid and select the course from the drop-down menu. If you are enrolled in more than 20 courses, you can search for the course name using the search bar.
- In the navbar, select Tools.
- In the drop-down menu, select Assignments.
- Locate the assignment you want to edit in the Assignments table and select the downwards arrow to expand the assignment actions menu.
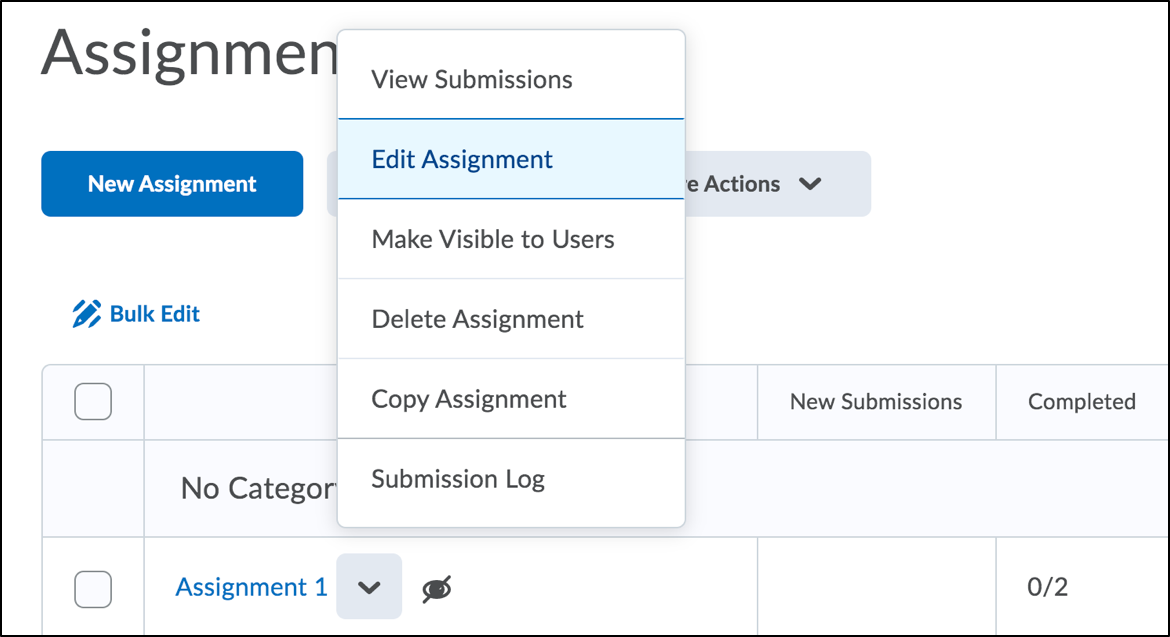
- In the drop-down menu, select Edit Assignment.
- You will be taken to the Assignment page where you can adjust your assignment settings. See the Assignment Settings section above for more information about Availability Dates and Conditions, Adding Submission and Completion, and Evaluation and Feedback.
- When you are finished editing your settings, select Save and Close.
To Delete an Assignment
- Log in to Brightspace using your MyCarletonOne credentials.
- On the Brightspace homepage, locate your course in one of the following ways:
- Select the course tile under the My Courses widget.
- Select the Course Selector Grid and select the course from the drop-down menu. If you are enrolled in more than 20 courses, you can search for the course name using the search bar.
- In the navbar, select Tools.
- In the drop-down menu, select Assignments.
- Locate the assignment you want to edit in the Assignments table and select the downwards arrow to expand the assignment actions menu.
- In the drop-down menu, select Delete Assignment.
- You will be prompted to confirm that you want to delete the selected assignment and all associated files. Select Delete.
To Restore a Deleted Assignment
- Log in to Brightspace using your MyCarletonOne credentials.
- On the Brightspace homepage, locate your course in one of the following ways:
- Select the course tile under the My Courses widget.
- Select the Course Selector Grid and select the course from the drop-down menu. If you are enrolled in more than 20 courses, you can search for the course name using the search bar.
- In the navbar, select Tools.
- In the drop-down menu, select Assignments.
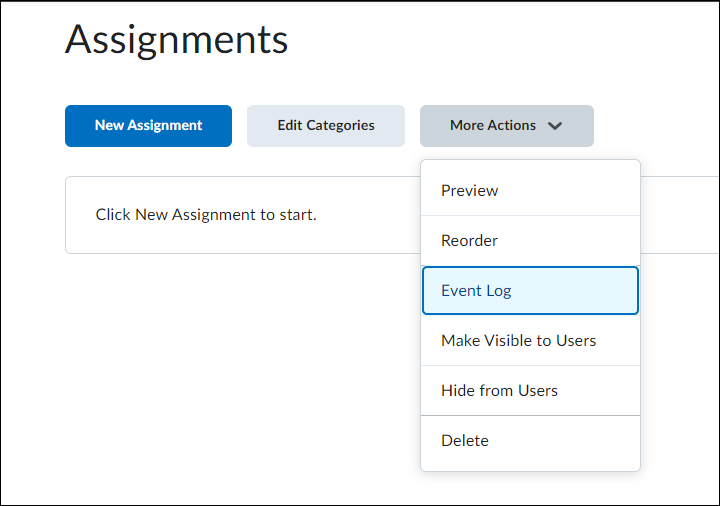
- On the assignments page, select the More Actions drop-down menu.
- Select Event Log.
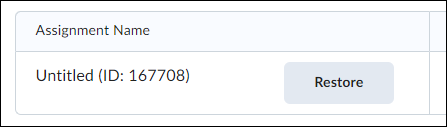
- On the Event Log page, locate the Assignment you wish to restore.
- Select the Restore button to restore the Assignment.
To Copy an Assignment
- Log into Brightspace using your MyCarletonOne credentials.
- On the Brightspace homepage, locate your course in one of the following ways:
- Select the course tile under the My Courses widget.
- Select the Course Selector Grid and select the course from the drop-down menu. If you are enrolled in more than 20 courses, you can search for the course name using the search bar.
- In the navbar, select Tools in the course navbar.

- In the drop-down menu, select Assignments.
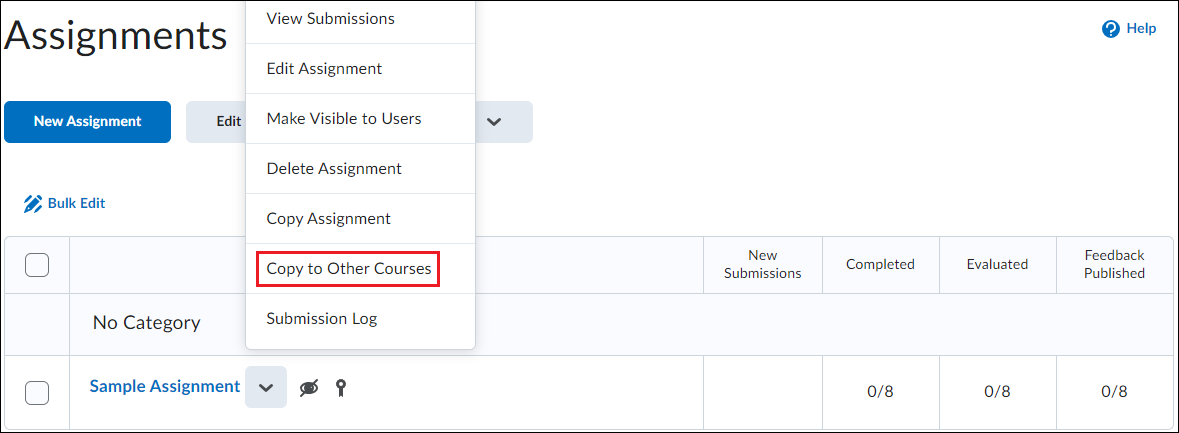
- Locate the assignment you want to copy in the Assignments table and select the downwards arrow to expand the assignment actions menu.
- In the assignment actions menu, select the Copy to Other Courses option. This will cause a Copy Assignment module to pop up.
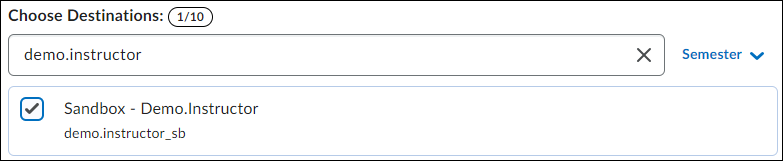
- Enter your course name in the Choose Destinations field.
- Select the checkbox beside your course.
- Select Next.
- Select Copy.
- Select Done. This will close the Copy Assignment module.
To Hide an Assignment
- Log in to Brightspace using your MyCarletonOne credentials.
- On the Brightspace homepage, locate your course in one of the following ways:
- Select the course tile under the My Courses widget.
- Select the Course Selector Grid and select the course from the drop-down menu. If you are enrolled in more than 20 courses, you can search for the course name using the search bar.
- In the navbar, select Tools.
- In the drop-down menu, select Assignments.
- Locate the assignment you want to edit in the Assignments table and select the arrow to expand the assignment actions menu.
- In the drop-down menu, select Hide from Users.
- A crossed out eye icon will appear next to your assignment name indicating the you assignment is hidden from students (see example below).

NOTE: You can make your assignment visible by selecting the arrow
next to your assignment name and selecting Make visible to Users.
Viewing Assignment Submissions
The Viewing Assignment Submissions section is composed of four sub-sections:
- To View Student Submissions
- To View Submission Logs
- To Restore a Deleted Submission
- To Grant an Assignment Extension (Special Access)
To View Student Submissions
- Log in to Brightspace using your MyCarletonOne credentials.
- On the Brightspace homepage, locate your course in one of the following ways:
- Select the course tile under the My Courses widget.
- Select the Course Selector Grid and select the course from the drop-down menu. If you are enrolled in more than 20 courses, you can search for the course name using the search bar.
- In the navbar, select Tools.
- In the drop-down menu, select Assignments.
- Locate the assignment in the Assignments table and select the arrow to expand the assignment actions menu.
- In the drop-down menu, select View Submissions
- Under the Users Tab or Submissions Tab, you can search for a student’s name or view a table listing all students in the course.
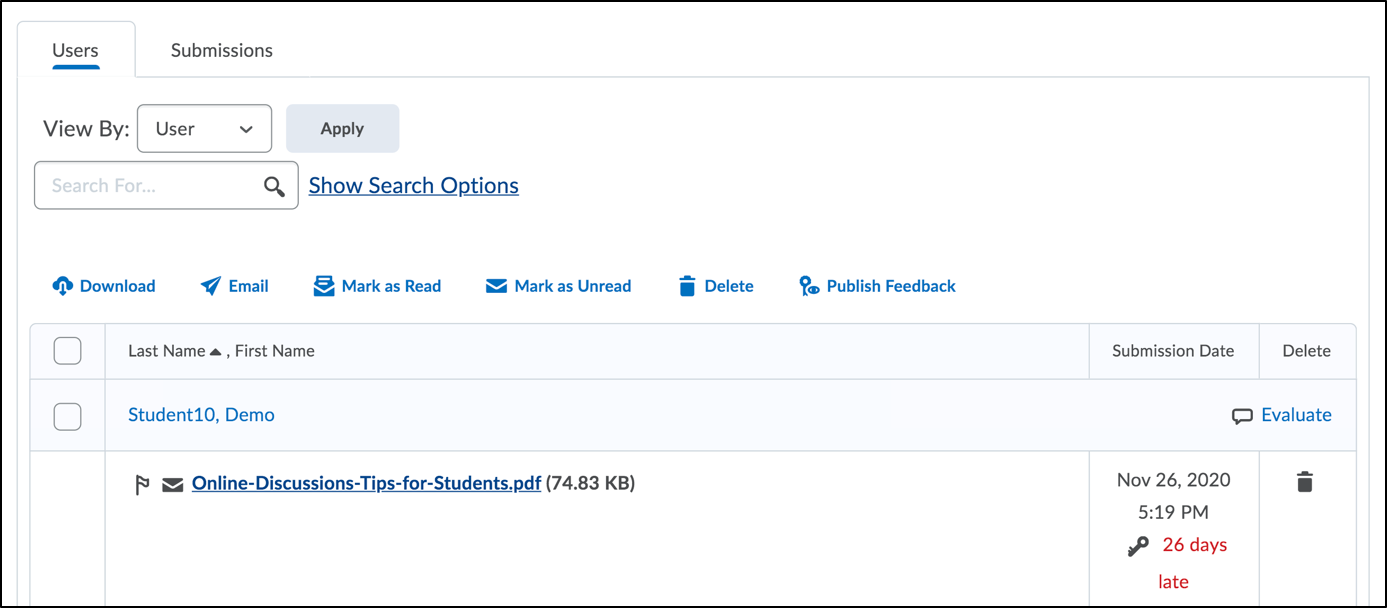
TIP: You can filter your search options (i.e. view only those students or groups who have submitted an assignment, view only late submissions, etc)) by selecting Show Search Options to the right of the search field.
To View the Submission Log
- Log in to Brightspace using your MyCarletonOne credentials.
- On the Brightspace homepage, locate your course in one of the following ways:
- Select the course tile under the My Courses widget.
- Select the Course Selector Grid and select the course from the drop-down menu. If you are enrolled in more than 20 courses, you can search for the course name using the search bar.
- In the navbar, select Tools.
- In the drop-down menu, select Assignments.
- Locate the assignment in the Assignments table and select the arrow to expand the assignment actions menu.
- In the drop-down menu, select Submission Log.
- You will see a Table displaying submission details for all submitted assignments.
To Restore a Deleted Submission
- Log in to Brightspace using your MyCarletonOne credentials.
- On the Brightspace homepage, locate your course in one of the following ways:
- Select the course tile under the My Courses widget.
- Select the Course Selector Grid and select the course from the drop-down menu. If you are enrolled in more than 20 courses, you can search for the course name using the search bar.
- In the navbar, select Tools.
- In the drop-down menu, select Assignments.
- Locate the assignment in the Assignments table and select the arrow to expand the assignment actions menu.
- In the drop-down menu, select Submission Log.
- Select the Deleted link.
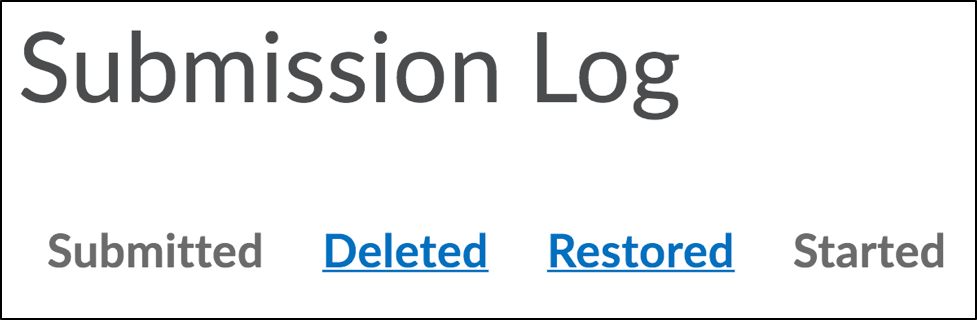
- Select Restore for the deleted submission you wish to restore. The submission will automatically appear in the assignment submission overview.
To Grant an Assignment Extension (Special Access)
- Log in to Brightspace using your MyCarletonOne credentials.
- On the Brightspace homepage, locate your course in one of the following ways:
- Select the course tile under the My Courses widget.
- Select the Course Selector Grid and select the course from the drop-down menu. If you have enrolled in more than 20 courses, you can search for the course name using the search bar.
- In the navbar, select Tools.
- In the drop-down menu, select Assignments.
- Select the arrow next to the assignment name and select Edit Assignment.
- Select Availability Dates and Conditions.
- Select Manage Special Access.
- Select the Allow users with special access to submit outside the normal availability dates for this folder option.
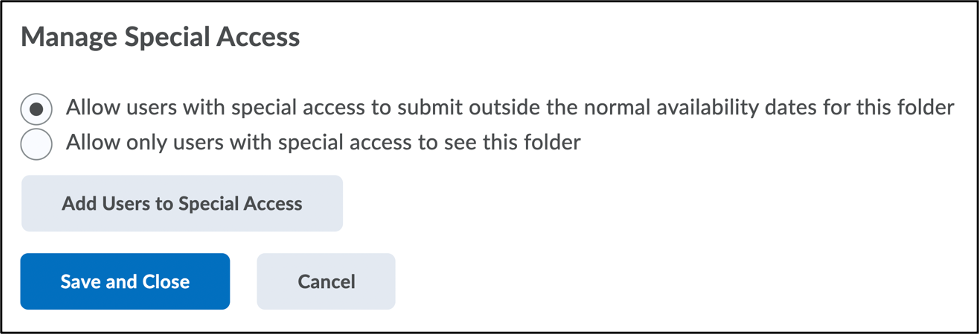
- Select Add Users to Special Access.
- In the Special Access pop-up window, enter the following:
- Adjust the due date for the assignment extension.
- Select the name of the student you want to grant an extension for.
- Select Save.
- You will see name of the student and the due date listed on the Manage Special Access page. Select Save and Close to return to the Edit Assignment page.
The number of users who can submit outside normal availability dates will be indicated next to the Key icon
 under Special Access (see example below).
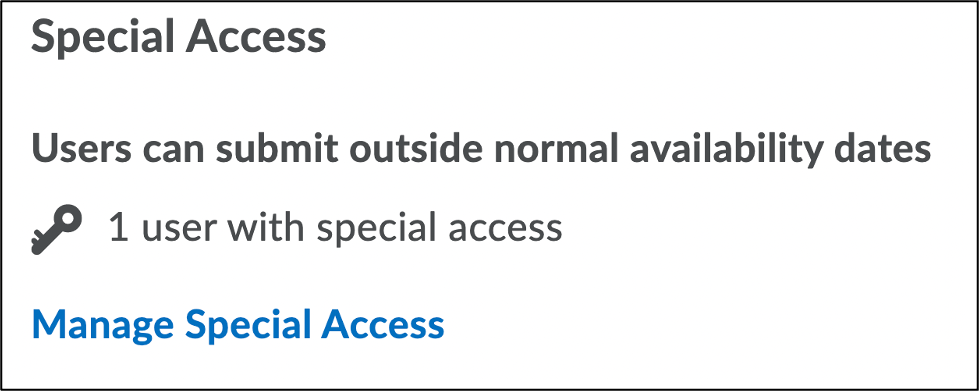
Watch the video tutorial below for an overview of how to create assignments in Brightspace.
Was this page helpful?
108 4a5c13f0275 people found this useful
Still need help? Contact us
- In the left sidebar under Table of Contents, select the module/week section where you’d like to add the assignment (Week 1 is an example of a module in the image below). Alternatively, you can scroll down the Table of Contents page to locate the module/sub-module you want to add an assignment to. For instructions on how to add a new module or sub-module to your course, see the Adding Modules and Sub-modules page.