There are a variety of file types you can upload to your course to post important course content and increase student engagement, including:
- Word documents
- PDFs
- PowerPoint presentations
- Video or Audio files
D2L Brightspace allows for a range of accepted file types. You can view the full list of accepted file types on the Brightspace Community Site: “What kinds of files can I use for course content?”
WARNING!: Brightspace may allow you to upload alternative file types from those indicated in D2L support documentation. However, uploading non-accepted file types may result in unpredictable, undesirable results. For example, unsupported media file types may results in media files that are not playable or that play with no audio. For best performance in Brightspace, only use accepted file types.
Add Files
Files are added/created under the Module sections of your course page. To access your course modules, follow the instructions below or see the Adding Modules and Submodules for instructions on how to add a new module or sub-module to your course.
There are two ways to upload files to a module:
Access Your Course Modules
NOTE: To add a file to your course page, you will first need to add a new module. See Adding Modules and Submodules for instructions.
- Log in to Brightspace with your MyCarletonOne credentials.
- On your Brightspace homepage, locate your course in one of the following ways:
- Select your course under My Courses.
- Select the Course Selector Grid
 and select the course from the drop-down menu. If you are enrolled in more than 20 courses, you can search for the course name using the search bar.
- In the navbar, select Content. The content area will open on the left side of your course page.

- Under Table of Contents in the left sidebar, select a module

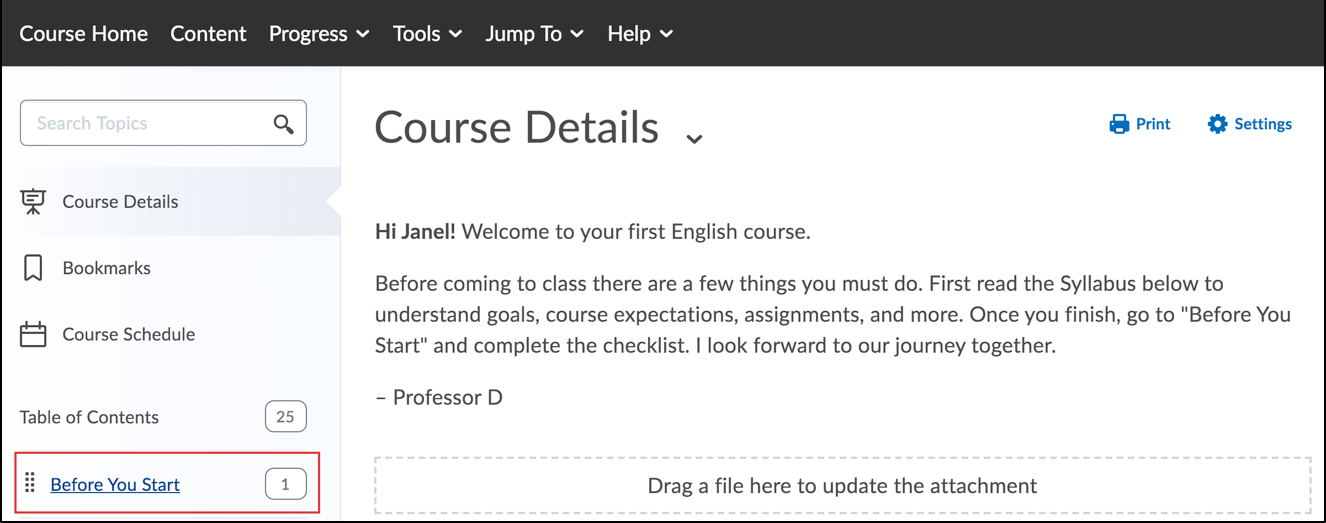
NOTE: You can drag and drop or upload files to your module page.
To Drag and Drop the Files Into the Content Area
NOTE: To drag and drop your files, you first need to access your course modules.
- Locate your file on your computer.
- Select, hold, and drag your file into the Drag and drop files here to create and update topics field. You will see a Content uploaded successfully message.
NOTE: Your file will appear as a blue topic link on your Module page in Brightspace.

To Upload Files in the Content Area
WARNING!: Confidential information, such as student names and email addresses, should not be placed within course Content areas. Doing so may conflict with data privacy laws.
- Log in to Brightspace with your MyCarletonOne credentials.
- On your Brightspace homepage, locate your course in one of the following ways:
- Select your course under My Courses.
- Select the Course Selector Grid and select the course from the drop-down menu. If you are enrolled in more than 20 courses, you can search for the course name using the search bar.
- In the navbar, select Content. The content area will open on the left side of your course page.
- Under Table of Contents in the left sidebar, select a module
- Select Upload/Create.

- Select Upload Files.
- In the Add a File window, select My Computer.
- Select Upload

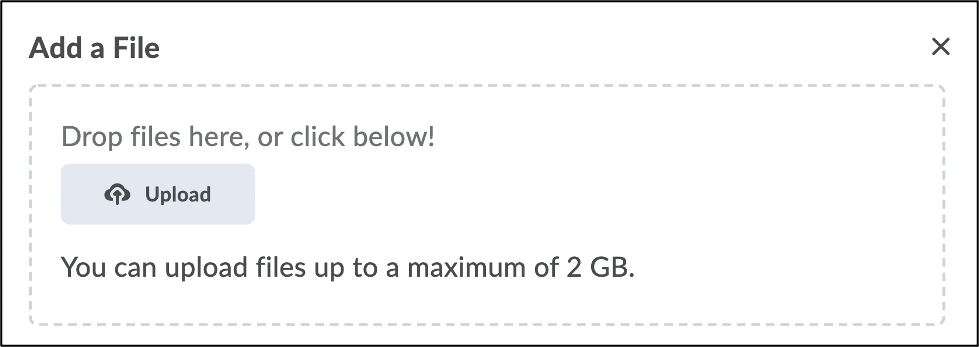
- Select a file from your computer, then select Open.
NOTE: You cannot upload a file larger than 2GB.
- Select Add. You will see a Content uploaded successfully message.
NOTE: Your file will appear as a blue topic link on your Module page in Brightspace.
Adding Audio or Video Files
Files are added/created under each Module section of your course content page. Select Content in your navbar to access your course content area and upload files.
To Add Audio or Video Files
- Log in to Brightspace with your MyCarletonOne credentials.
- On your Brightspace homepage, locate your course in one of the following ways:
- Select your course under My Courses.
- Select the Course Selector Grid and select the course from the drop-down menu. If you are enrolled in more than 20 courses, you can search for the course name using the search bar.
- In the navbar, select Content. The content area will open on the left side of your course page.
- Under Table of Contents in the left sidebar, select a module
- Select Upload/Create.
- Select Video or Audio from the menu options.
- A new window will open with two tabs titled Web Video or Audio and Upload. You can use either of these options, depending on whether you want to use a URL to place the video in your course or the file is coming from your computer.
- Web Video or Audio
- Copy and paste the URL of your video or audio into the Enter URL or Embed Code box.
- The video should automatically preview and prompt you to enter a title.
- Once you have entered a title, select the Save button at the bottom left of the window.
- Upload
- Select Browse to access your computer files.
- Select the video or audio file from your computer files, then select Open. A progress bar will appear displaying the percentage of upload completion.
NOTE: You cannot upload a file larger than 2GB.
- The video should automatically preview and prompt you to provide a title.
- Once you have entered a title, select the Save button at the bottom left of the window.
- Web Video or Audio
NOTE: Your video will appear as a blue topic link on your Module page in Brightspace.

Adding a File from OneDrive
You can upload files from Microsoft OneDrive to a module in Brightspace
To add a file from OneDrive:
- Log in to Brightspace with your MyCarletonOne credentials.
- On your Brightspace homepage, locate your course in one of the following ways:
- Select your course under My Courses.
- Select the Course Selector Grid and select the course from the drop-down menu. If you are enrolled in more than 20 courses, you can search for the course name using the search bar.
- In the navbar, select Content. The content area will open on the left side of your course page.
- Under Table of Contents in the left sidebar, select a module
- Select Upload/Create.
- Select Upload Files.
- In the Add a File pop-up window, select One Drive Files.
- Select Sign in to your Office 365 Account. If you are already signed in to your account, your OneDrive files will automatically appear in the pop-up window. When signing in, you will be prompted to accept Permissions Requested from the Brightspace Learning Environment. Select Accept.
- Select the checkboxes to select the file(s) you want to add.
- Select Add.
NOTE: Your OneDrive file will appear as a blue topic link in your module.
Related Support Topics
Was this page helpful?
1 Person found this useful
Still need help? Contact us