D2L Brightspace allows you to send emails from within the Brightspace interface. The emails will be sent from the email address associated with accessing your Brightspace account. Brightspace emails can only be received and accessed through Carleton Outlook email via the MyCarleton Portal. There is no email inbox within Brightspace itself. Carleton delivers email for faculty, students, and staff using the Microsoft Office 365 suite.
→Find out more about Office 365 email at Carleton
| NOTE: For help accessing your Carleton email or Microsoft Office 365, contact the ITS Service Desk. |
To send an email in Brightspace
- Log in to Brightspace with your MyCarletonOne credentials.
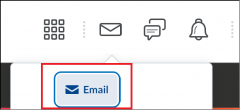
- Click the Messages logo in the tool bar.

- Click the Email Icon.

- Enter the name of the intended recipients in the field labelled To.
NOTE: Brightspace will attempt to look up relevant emails as you type. You are still able to send your email if the address is not found in the registry. - Compose the email message in the box labelled Body.
- Select your message priority label in the box labelled Priority in the bottom right of the page.

- Click Send.
- Your email has been sent.
To check your email in Brightspace
There is no email inbox within Brightspace. However, you can use the Brightspace interface to open your Carleton email inbox in an Outlook Web application.
To check your email:
- Log in to Brightspace with your MyCarletonOne credentials.
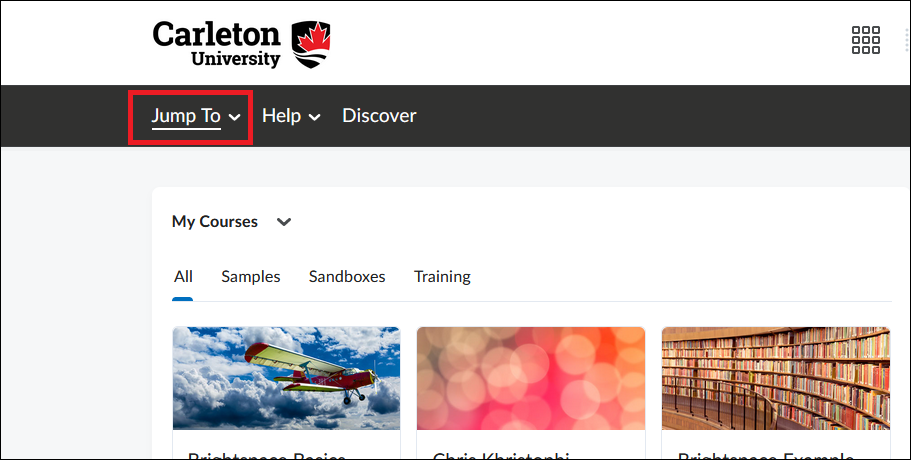
- Click Jump To in the banner menu.

NOTE: The Jump To button is always present on this banner menu, however it’s position on this banner menu may change slightly depending on your location in the Brightspace interface. if you are in a course page, the Jump to button will be moved to the right side of the banner menu.
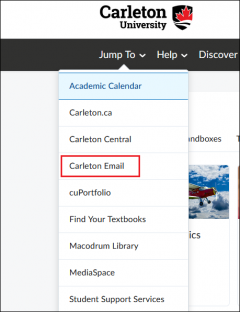
- Select Carleton Email.

- Your email inbox will now open in an Outlook Web App page as a new browser tab.
To customize your email settings
- Log in to Brightspace with your MyCarletonOne credentials.
- Click the Messages logo in the tool bar.

- Click the Email Icon.

- Click the Settings Icon in the top right of the page.

- Check the box labelled Send a copy of each outgoing message if you wish to enable email receipts.
- Enter your email signature in the box labelled Email Signature.
- Click Save.
- Your settings are now saved.
Was this page helpful?
1 Person found this useful