SSH Connection with x2go Remote Desktop Client
DEPRECATED – x2go is not used on newer images created since the Fall of 2024 – Instead use TurboVNC with our newer images
Download x2go: here
You can find a video demo of these instructions here: Connect to Remote Desktop via x2go (Video)
-
Login Credentials: Most of our OpenStack images share the same default credentials:
username: student
password: studentIMPORTANT: New images since (2022/2023) force a password change on the first login.
First Login Scenarios:- TurboVNC WARNING: TurboVNC does NOT support first login password changes, so your first login must use another login tool below
- vscode WARNING: vscode does NOT support first login password changes, so your first login must use another login tool below
- ssh terminal (putty, etc) first login: When you login, you will be redirect to a change password prompt. You will then have to enter the current password (student) again, and then enter your new password twice. When you change your password, it will then log you out and you have to login again with that new password
- x2go first login: When you login, you will be redirect to a change password prompt. You will then have to enter the current password (student) again, and then enter your new password twice. When you change your password, it will then prompt you to click reconnect, at which point you can login again using the new password
- openstack web console first login: When you login, you will be redirect to a change password prompt. You will then have to enter the current password (student) again, and then enter your new password twice. In this case, you stay connected. The next time you login, you will need the new password
WARNING: If you are using an older image (pre-2022) that does not enforce an ssh key or a password change, then we strongly encourage you to immediately change your password or setup an ssh key!
Install x2go, following the application’s instructions
Open x2go
- On Windows you may get a warning to allow x2go to access the network (firewall rule change); approve the request. This may also pop-up each time you create a new session (described below), so you may have to approve the request more than once.
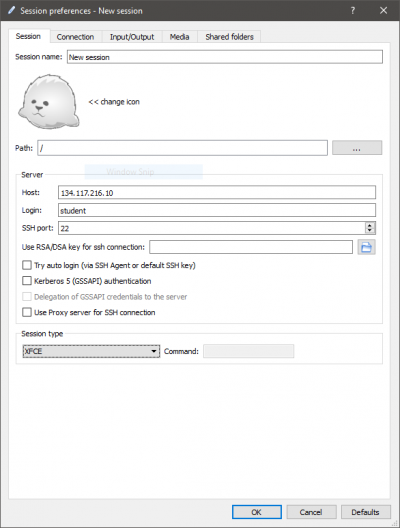
Create a new session in x2go by clicking Session -> New Session
The key settings that must be entered in the x2go session settings window that pops up are:
- Host: 134.117.216.10
- Login: student
- Session Type: XFCE – This is used for many of our course images, but your course may have a different preferred desktop. Another common one we use is LXDE
Once the settings are entered, click OK
In x2go you will see a new session connection:
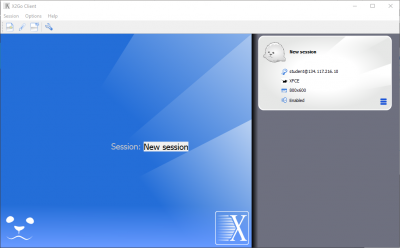
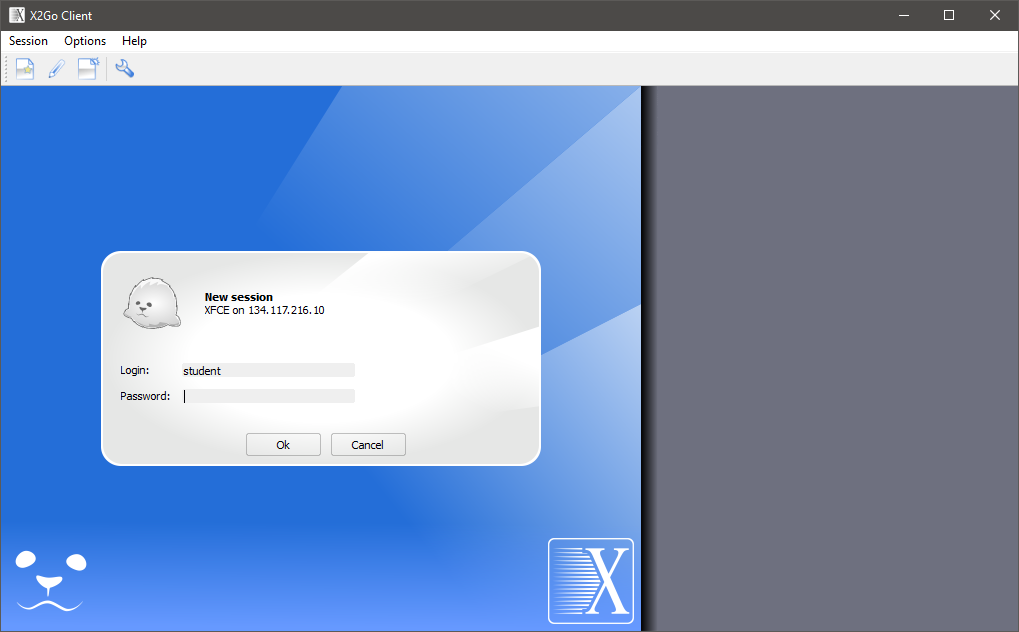
Click on the session to initiate the connection:
- You will be asked to enter the instance’s password
- If it is the first time you are connecting to the instance with x2go, you will be asked if you trust and approve connecting to the host. Again, approve the connection
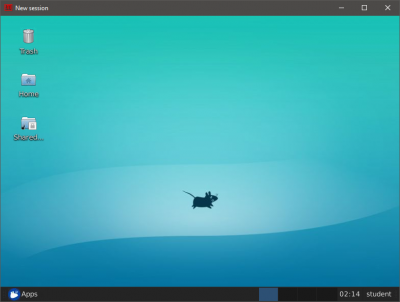
Finally, a window should pop-up connected to the desktop: