A form confirmation is the message that displays on the page after the user has submitted the form. The default message is “Thanks for contacting us! We will get in touch with you shortly” but you can customize this to say whatever you like, or to redirect the user to another page.
Step-by-Step
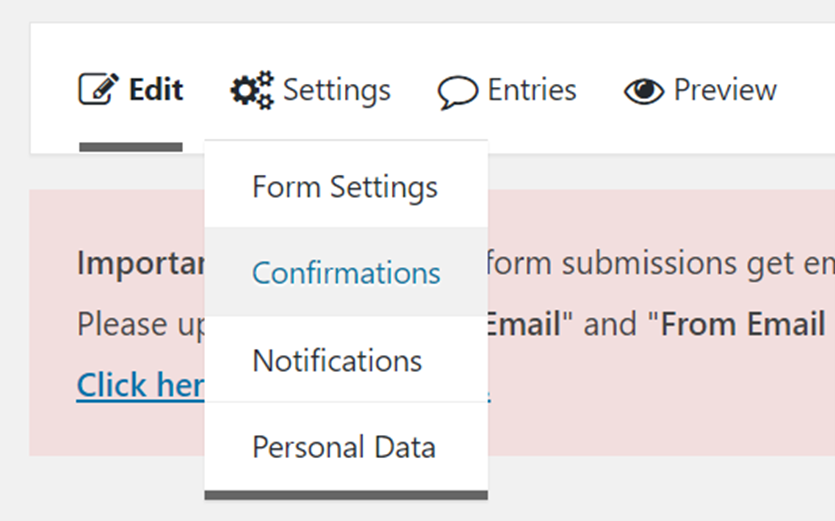
- From the form’s Edit screen, hover over Settings in the form’s menu and click on Confirmations.
- From here, you can either edit the Default confirmation by clicking on it or click Add New to create a new confirmation.
- Next to Confirmation Type, you can choose where the user is sent after submitting your form.
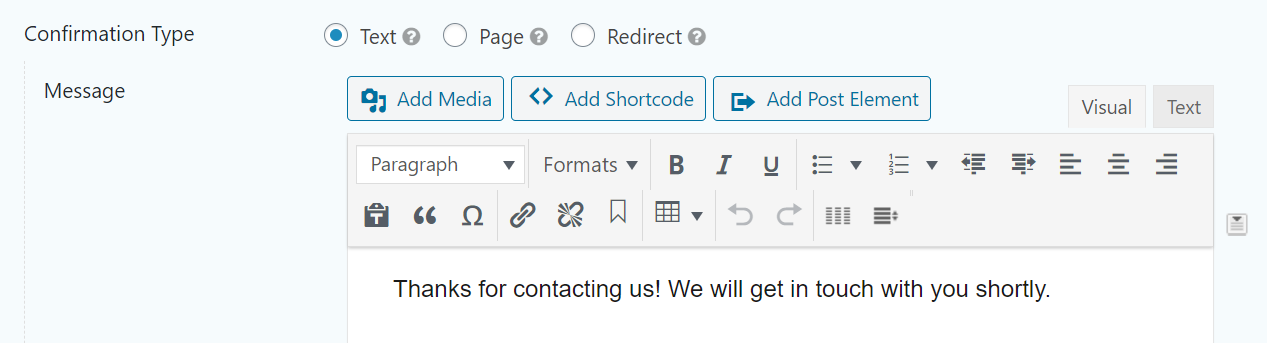
- Text is the default, and will present them with a message which you can edit using the content editor under Message. Within this content editor, you can also Add Media, insert hyperlinks, post elements, and use many of the content editor features that you typically use when editing a page or post
- Page will redirect the user to a page within your website which you can select using the Page dropdown.
- Redirect will redirect the user to a URL which you can insert into the Redirect URL field.
- When you’re done customizing your confirmation, click Save Confirmation
- If you have created multiple form confirmations, make sure the correct one is toggled on, using the Active / Inactive toggle next to the confirmation name.

Video Tutorial
Transcript
Try It Out!
This series of trainings will follow a single form from creation to downloading responses. This practice activity requires you to have already created a form. If you do not know how to do that, you can return to the previous training exercise.
- Open your test form and navigate to confirmations.
- Edit the default confirmation and change the message to something that fits your form. Add a special post element like a link, media, or button.
- Save your confirmation.
- Create a new confirmation and make it redirect to this tutorial page.
- Save this confirmation
- Toggle off the default confirmation and toggle on the new confirmation you just created.