Step-by-Step
Basic editing
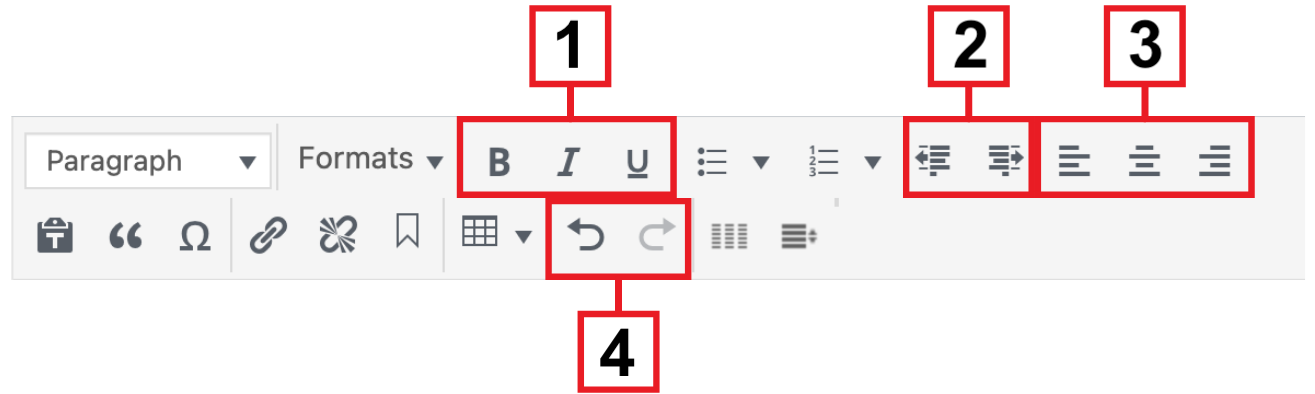
The text editor bar in WordPress’s content editor is similar to other word processors, with options to:
- Bold, italicize and underline text
- Increase/decrease indent
- Align text (left, centre, right)
- Undo/redo
Headings
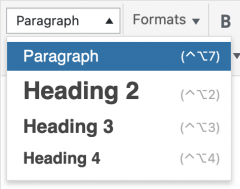
Headings are used to structure your page or post into sections, which allows it to be easily navigated by readers and increases the page’s accessibility. Headings are also essential to generate a table of contents for your page.
Keep in mind:
- Heading 2 is the highest heading level.
- Every heading must be nested in a heading of one level higher than it. For example, a Heading 3 must be nested in a Heading 2, but a Heading 4 must not be nested in a Heading 2.
 To create a heading:
- Highlight the text that you want to convert into a heading.
- Click Paragraph on the text editor bar to open the Headings drop-down list.
- Select your desired level of heading.
Paste as Plain Text
When you copy and paste from Microsoft World into WordPress, MS Word brings its internal formatting – fonts, sizes, alignment, hyperlinks and much more – with it. These styles tend to override the styles set up in WordPress, which makes your text appear inconsistent on the front end.
The Paste as Plain Text function allows you to paste only text into WordPress:
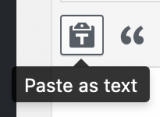 Click the Paste as text icon to turn it on.
- Place your cursor in the content area and paste.
- Click the Paste as text icon again to turn it off.
Video Tutorial
Transcript
Try It Out!
Now that you have learned basic text editing in CCMS, let’s try it out!
- Create a page and add some text to it.
- Try bolding, italicizing, underlining; increasing and decreasing indent; and changing text alignment.
- Add a heading to your page.
- Copy some text from another document and paste it as plain text.