Classroom Troubleshooting
Below you’ll find a list of common classroom audio, microphone, projector/display and HyFlex/web conferencing issues along with possible solutions. Click on any image to enlarge it.
If after the troubleshooting steps below, you can’t solve your issue, call us! We’re here to help.
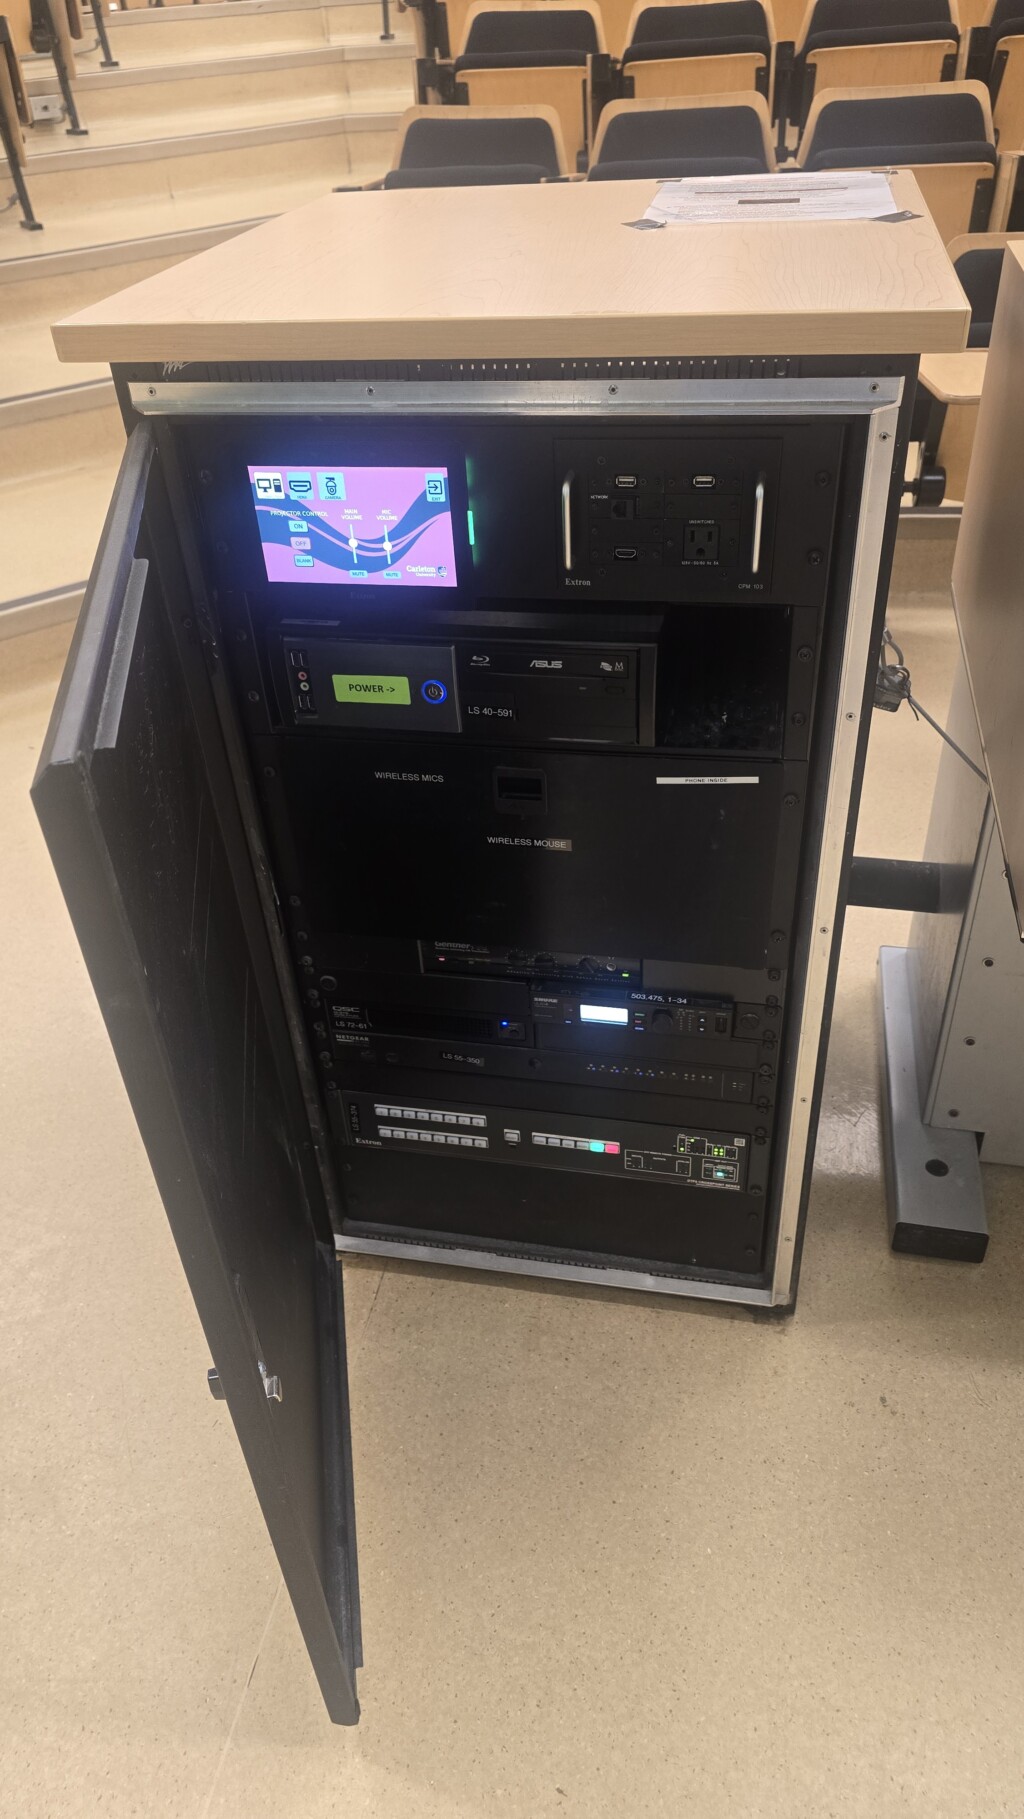
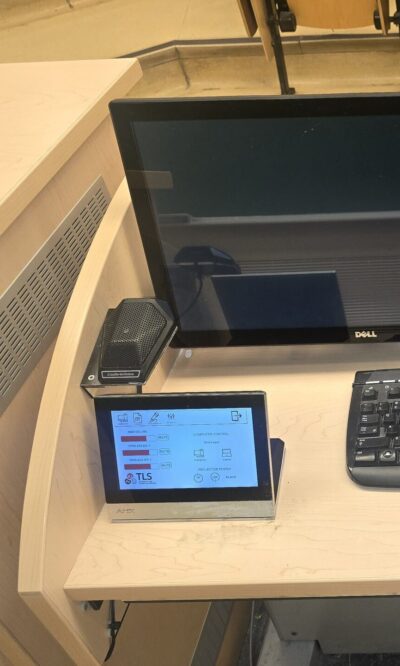
Important note before getting started: Not all layouts, equipment and screens are exactly the same. Some control panels are touch screen, others are physical buttons and others have dials:
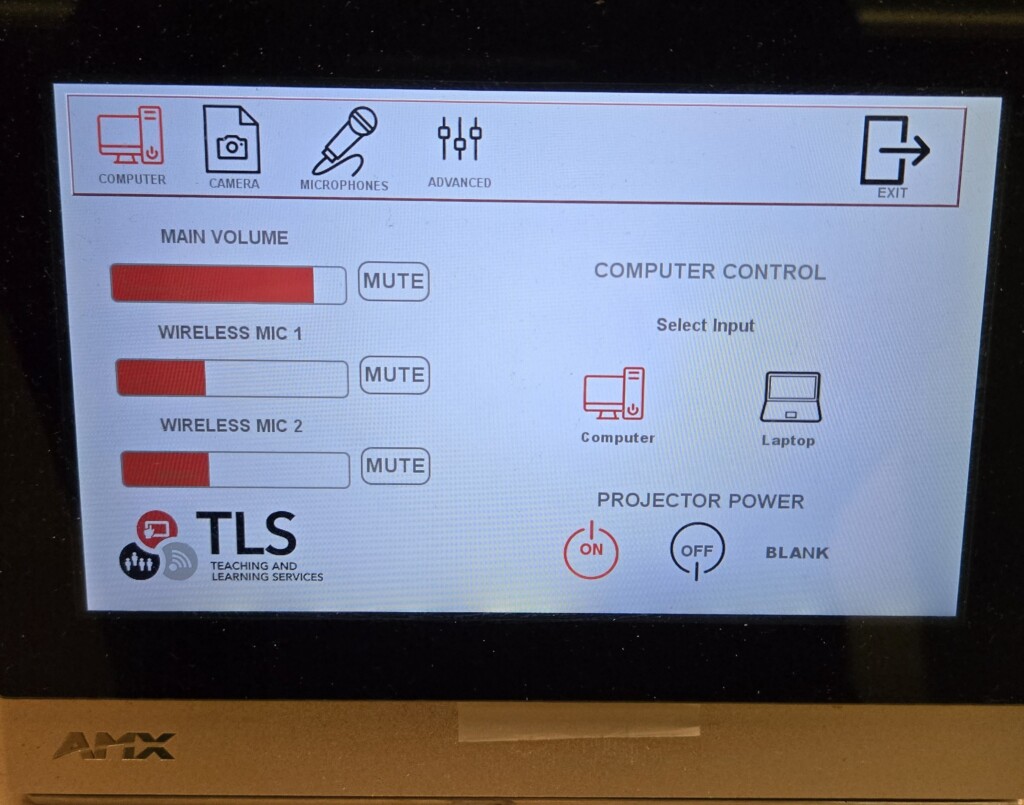
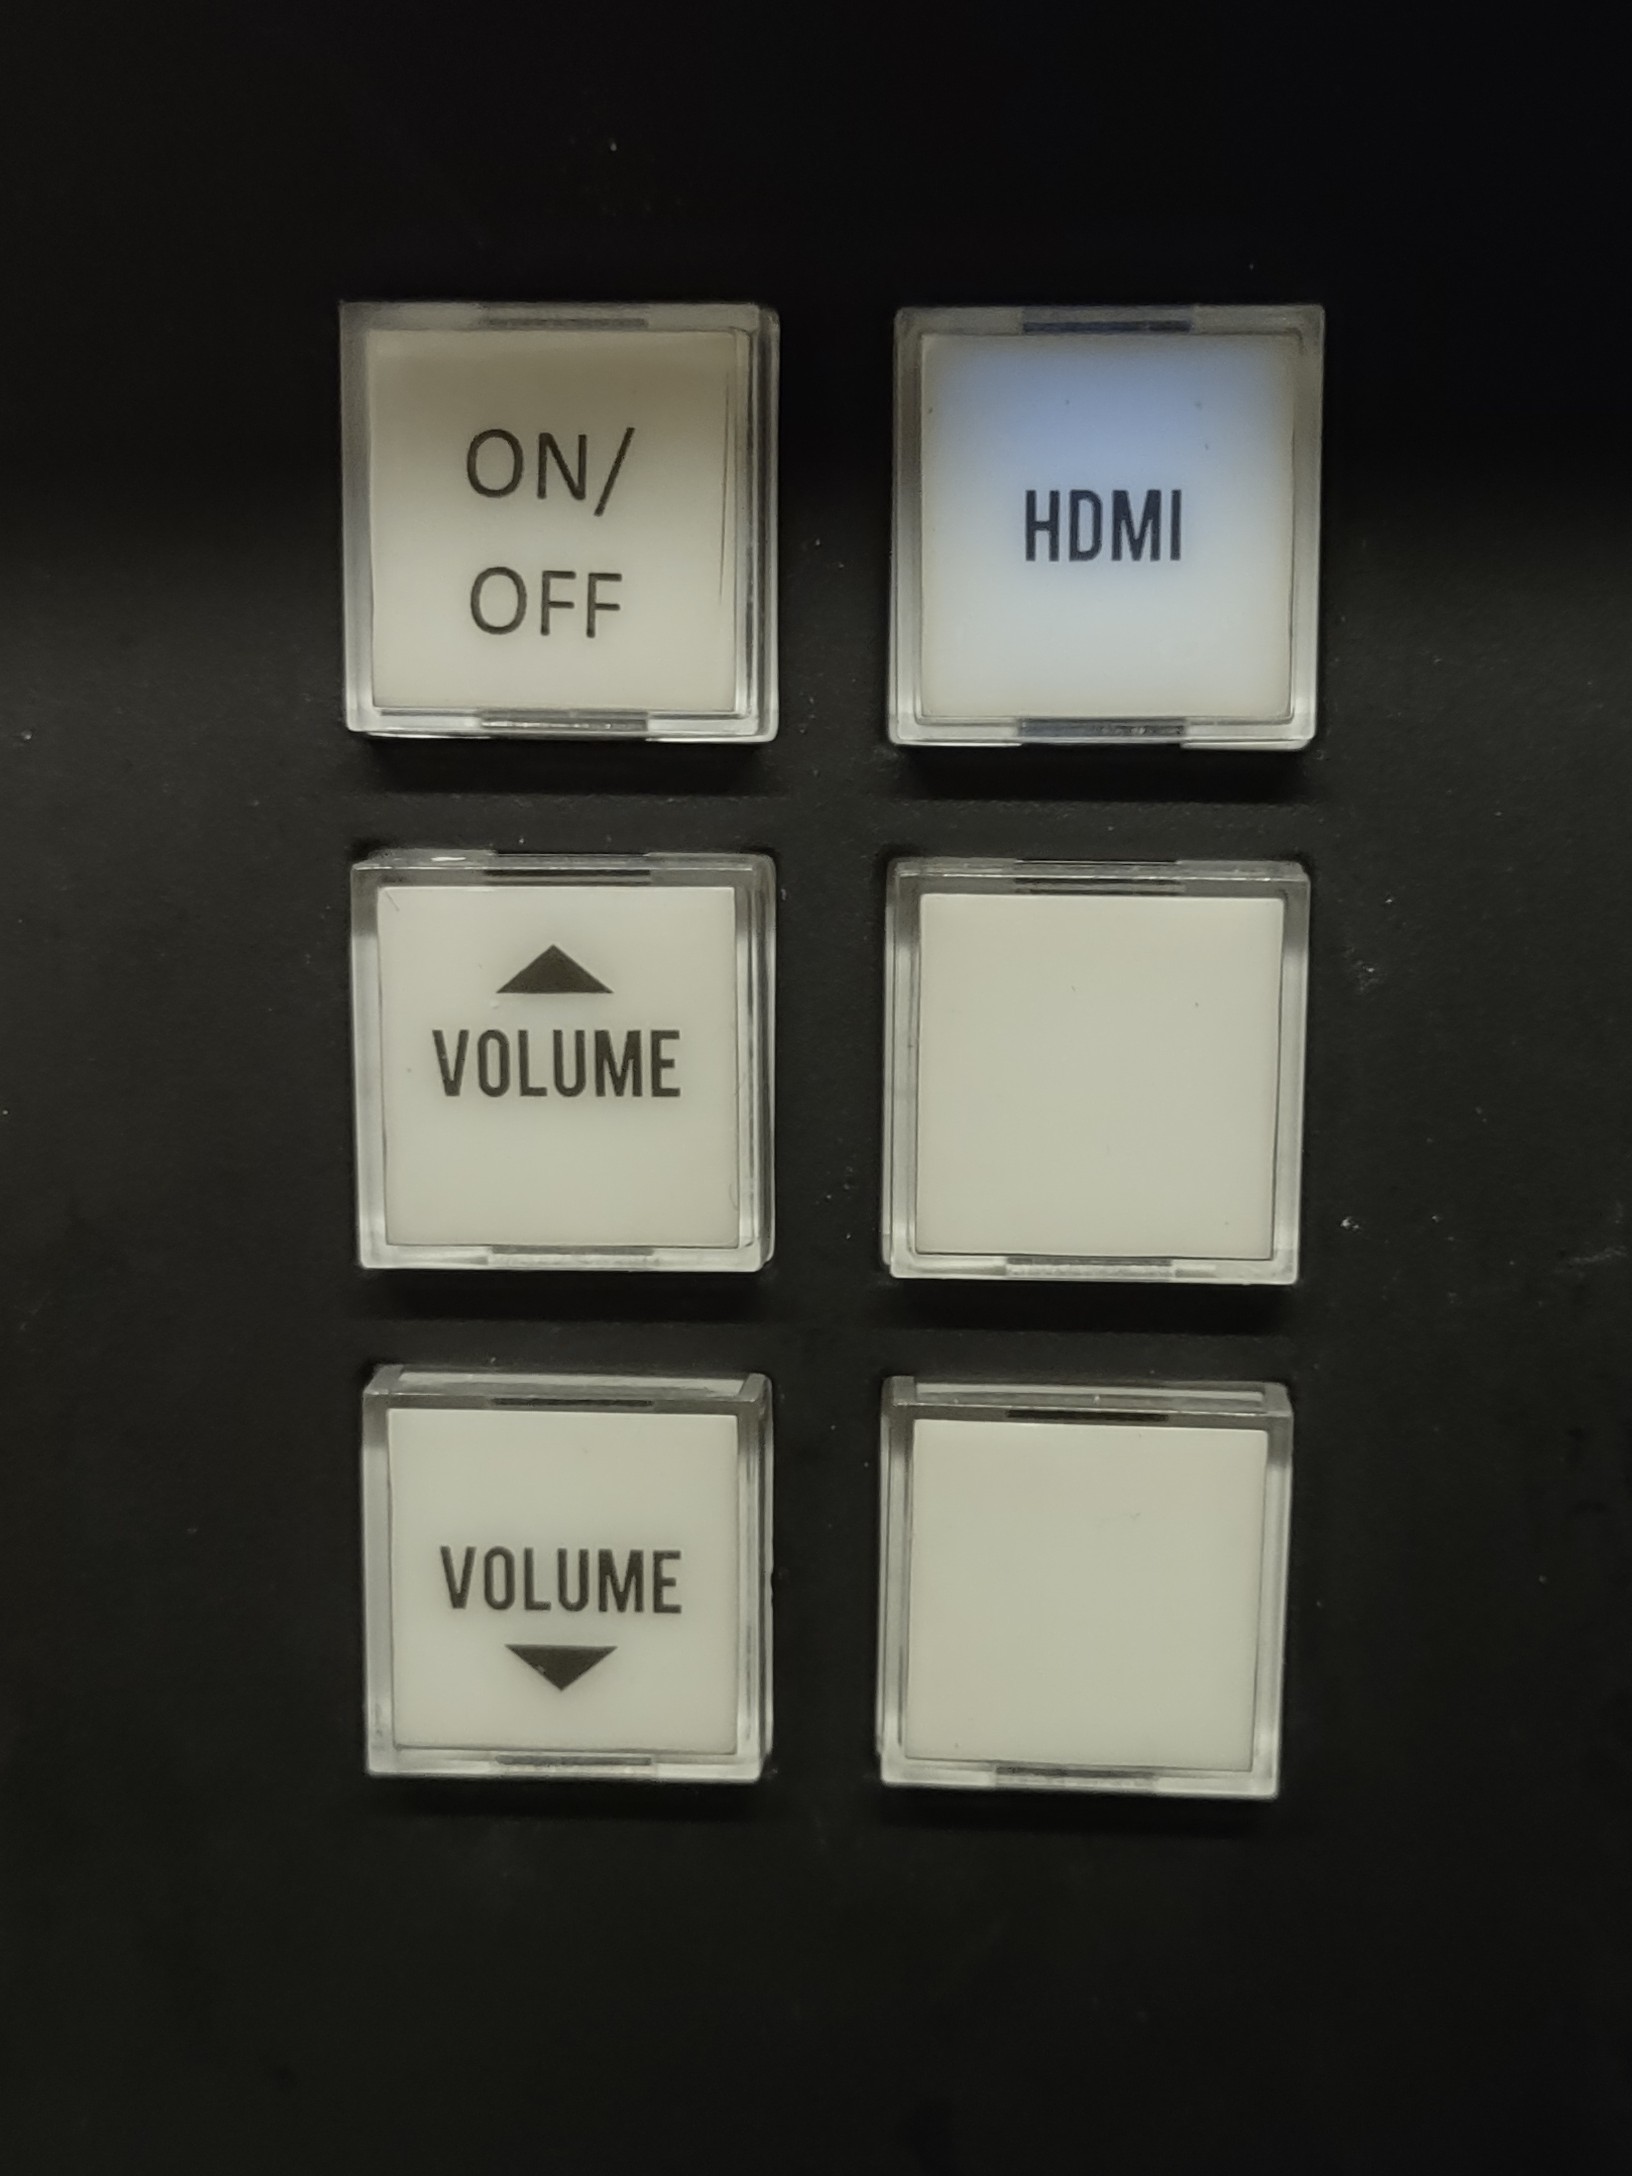
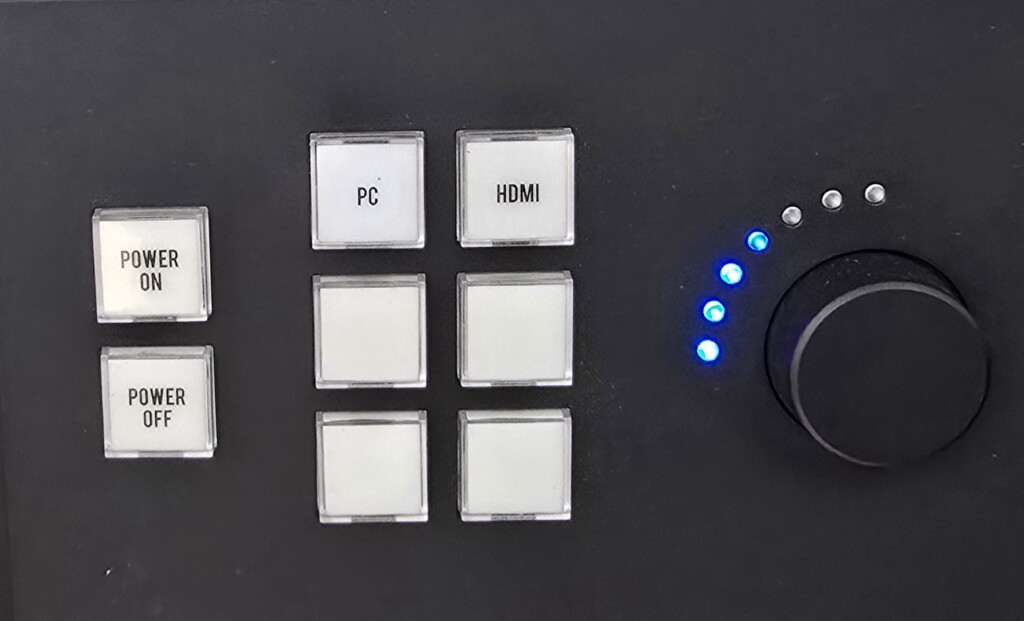
Some control panels are located on the teaching desk and others are in the equipment rack. Some equipment racks are open and some have doors.
Audio Issues
If you’re having audio issues, please confirm:
1. Audio volume is up on the touch panel AND not muted (if muted, it may flash red or go solid red). Try muting and unmuting a few times.
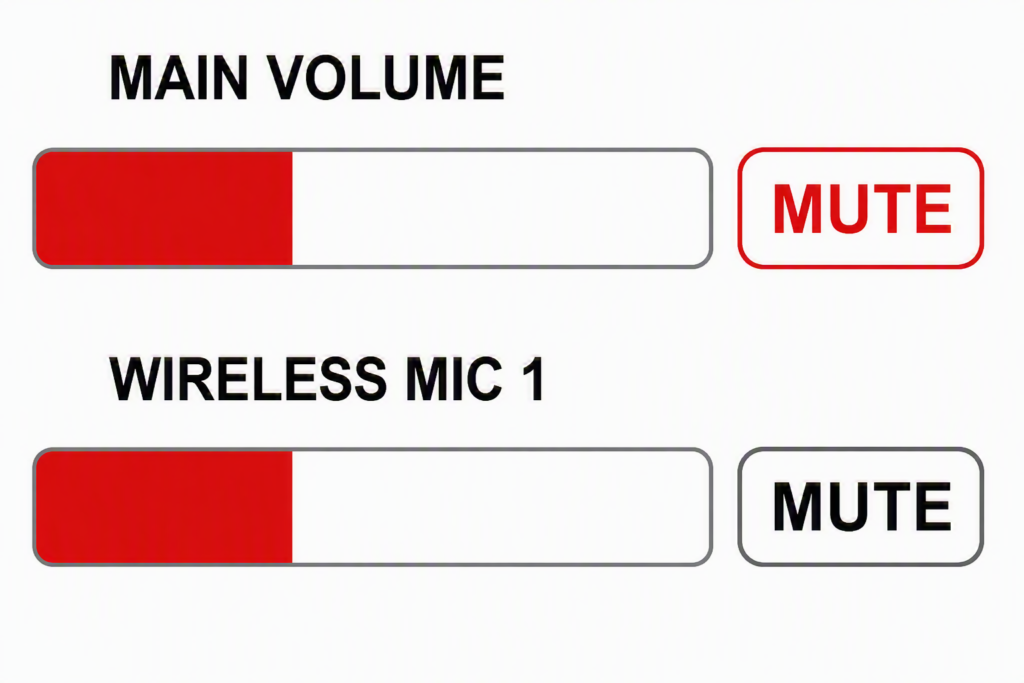
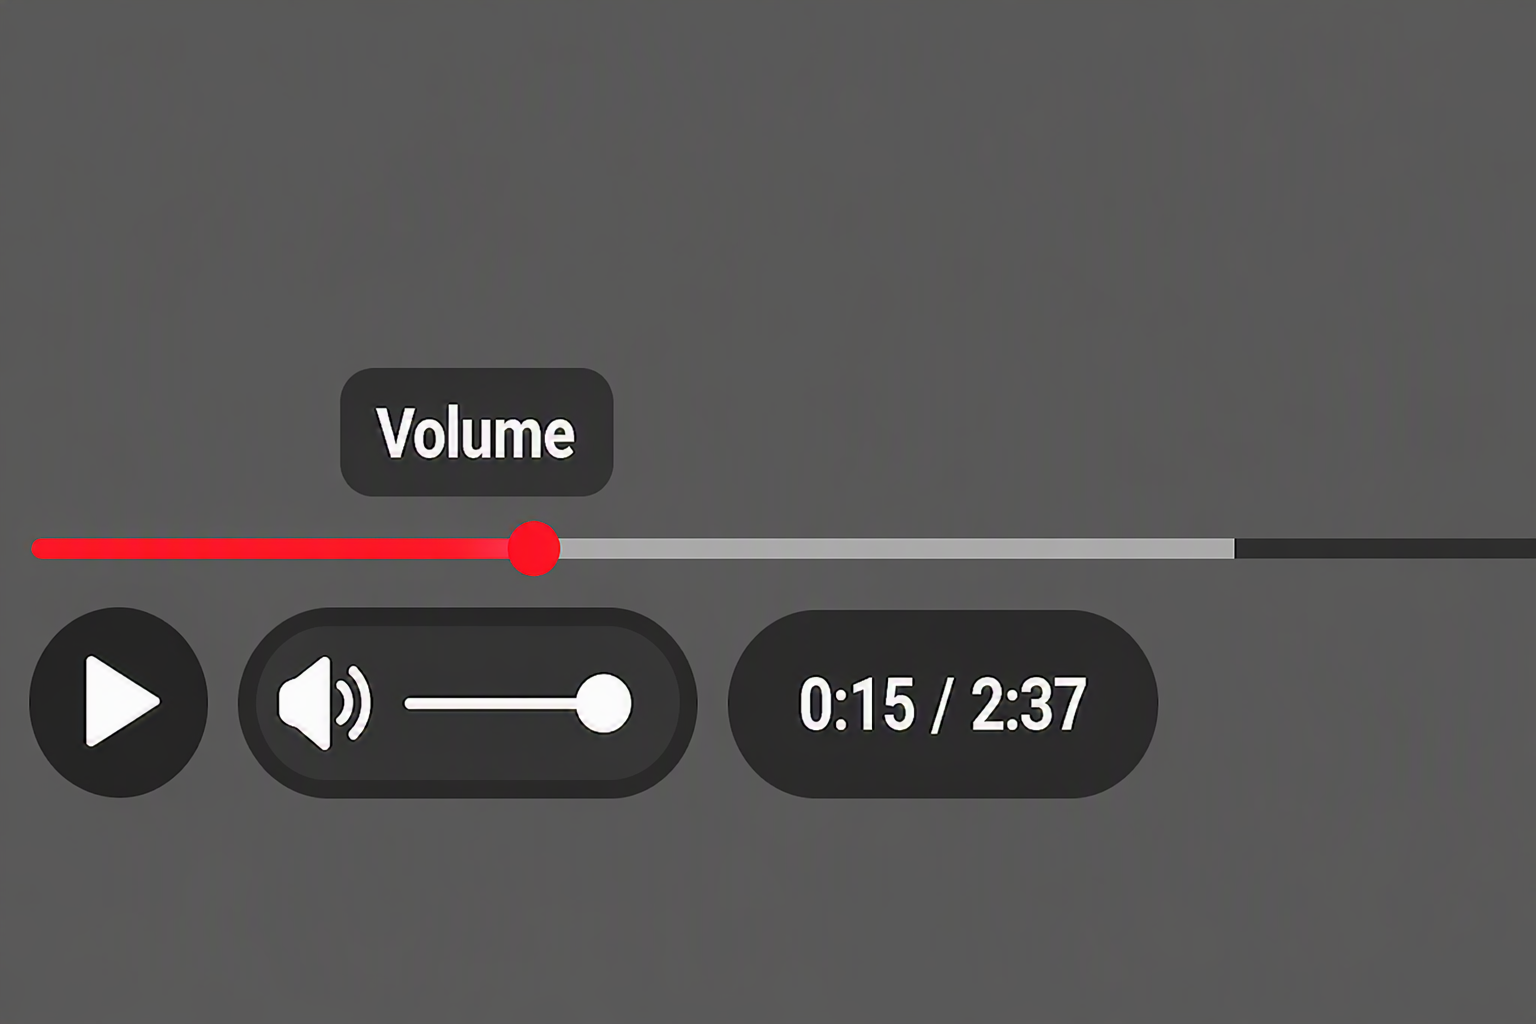
2. The volume is up AND not muted on YouTube (or another player).
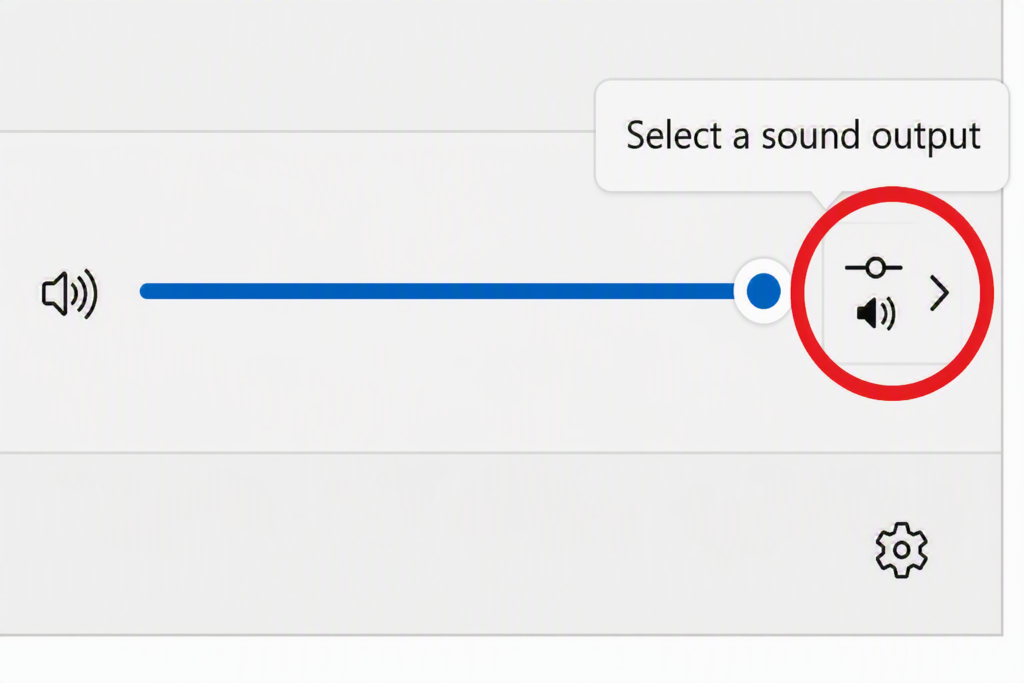
3. The sound is up on the computer. You can check this by clicking the sound icon on the bottom right of the task bar.
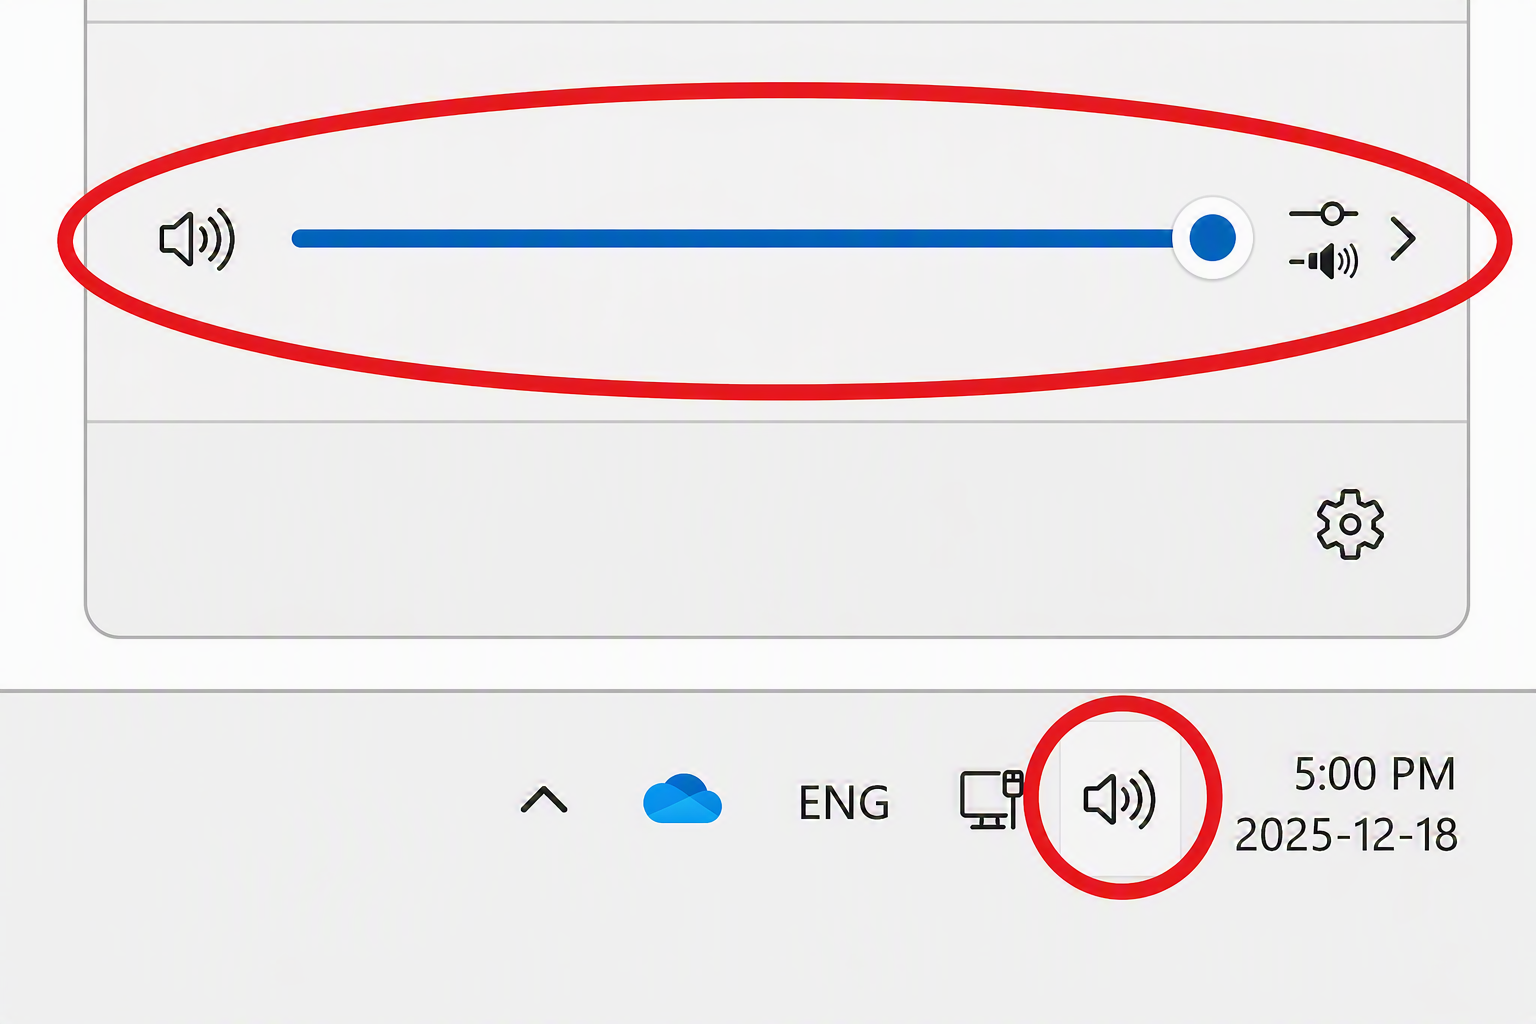
4. The right sound output is selected in sound settings (i.e., not headphones or local).
Microphone Issues
Follow the steps below to get started with a clip on microphone (find out if your room has a clip on mic).
1. Locate the mic in a marked drawer in the equipment rack.
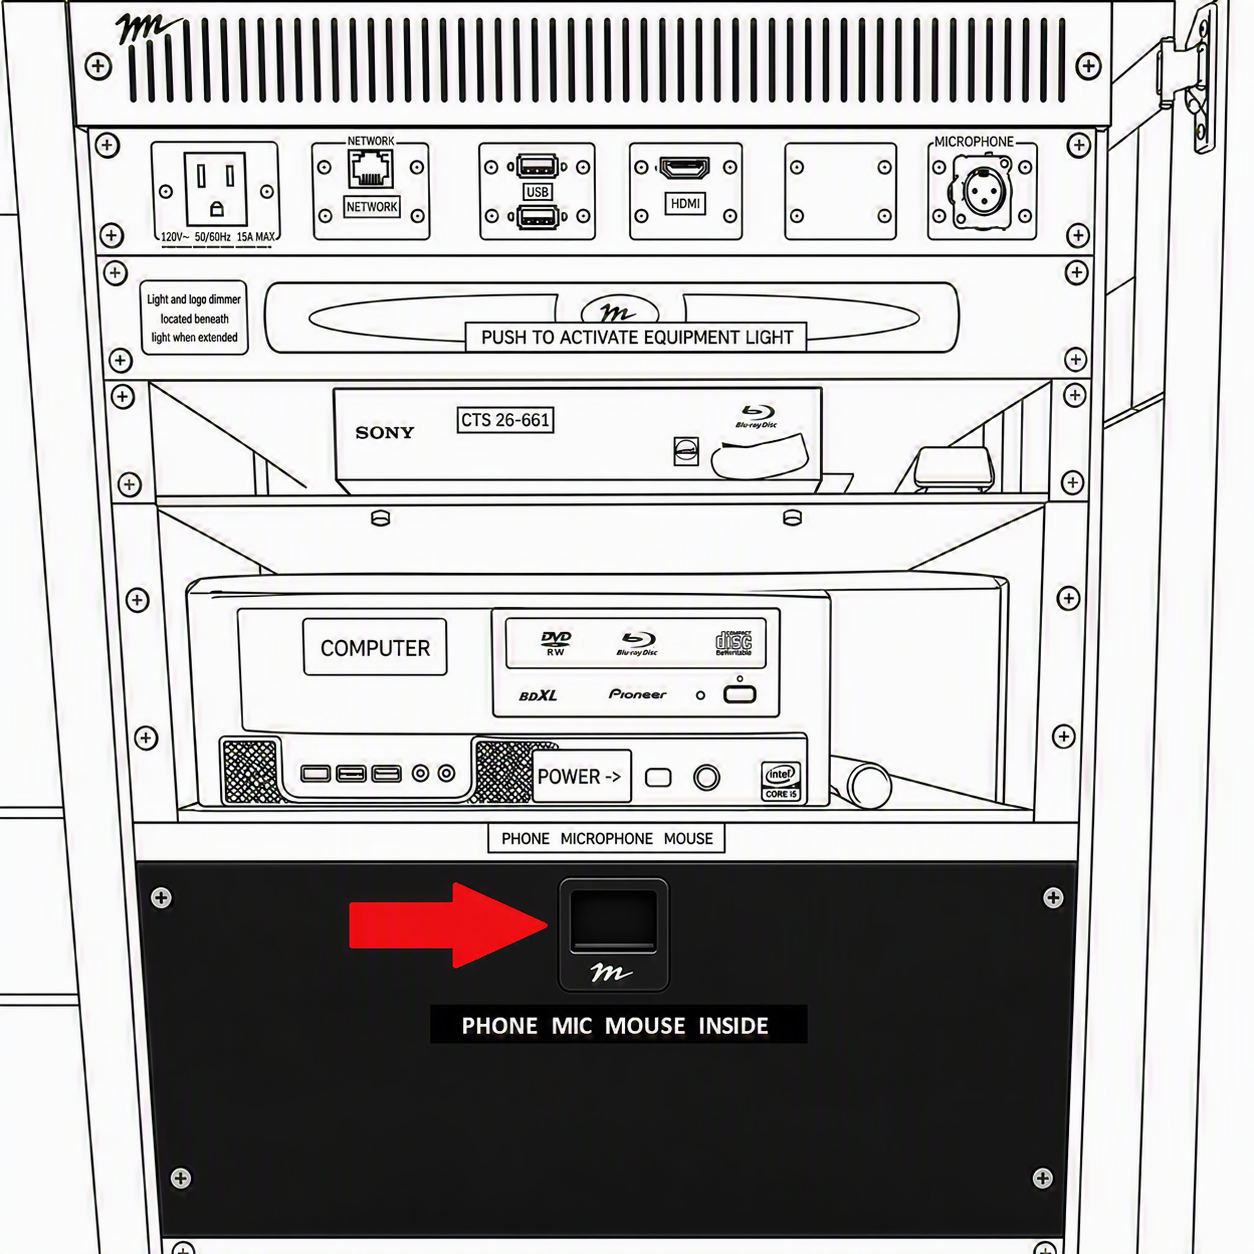
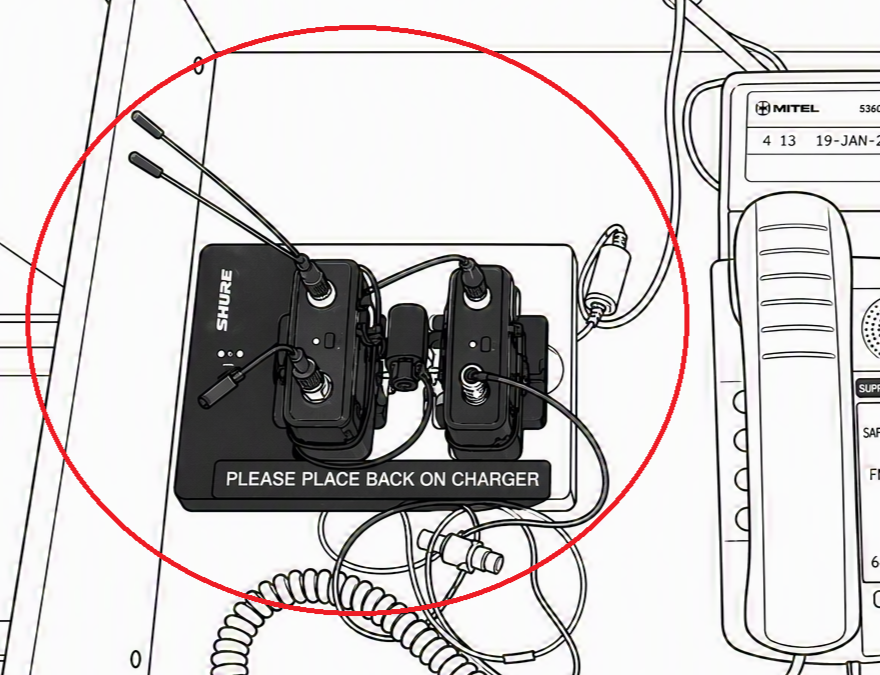
2. Take the mic off the charger.
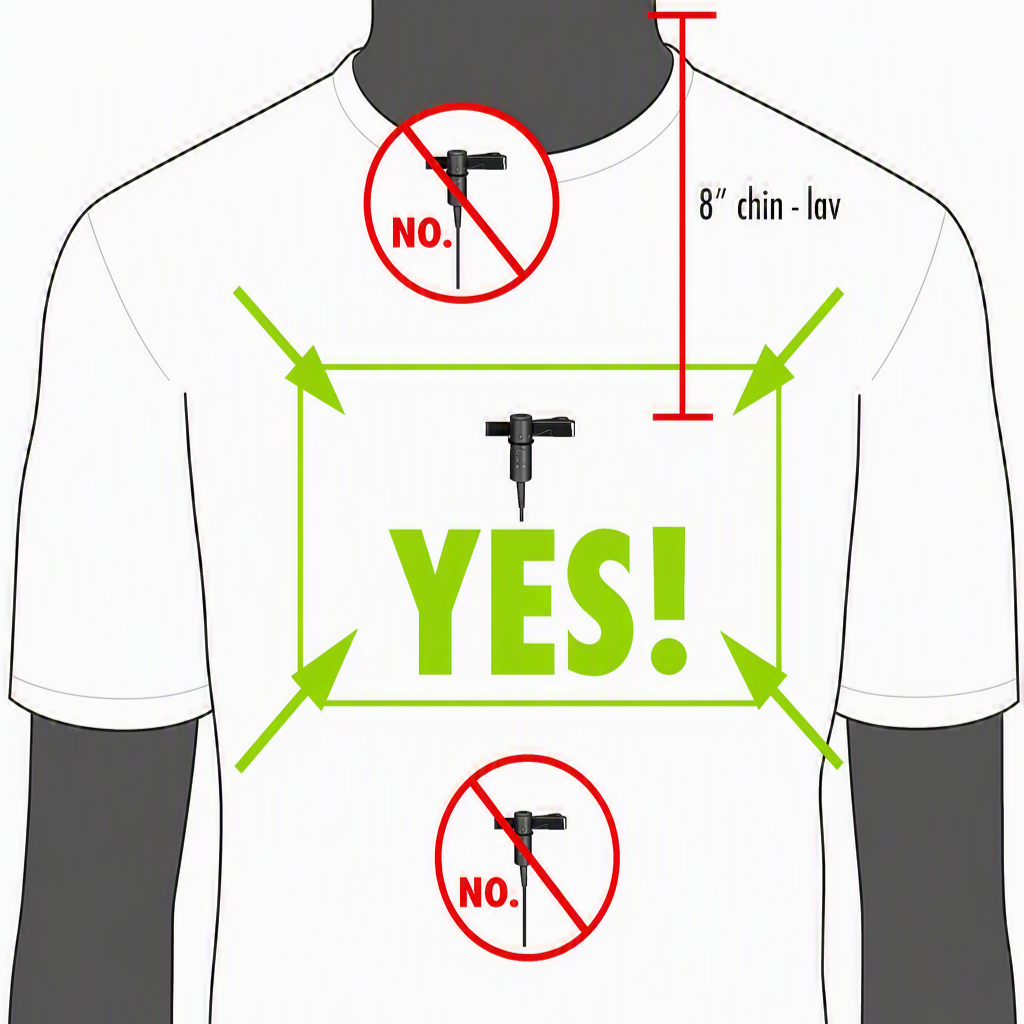
3. Clip the mic on your shirt about eight inches below your chin with the mic facing up.
4. Switch the mic on (the switch is at the top of the body pack. It should be switched to the left and showing a green light). If it does not turn on, try the backup mic were available.
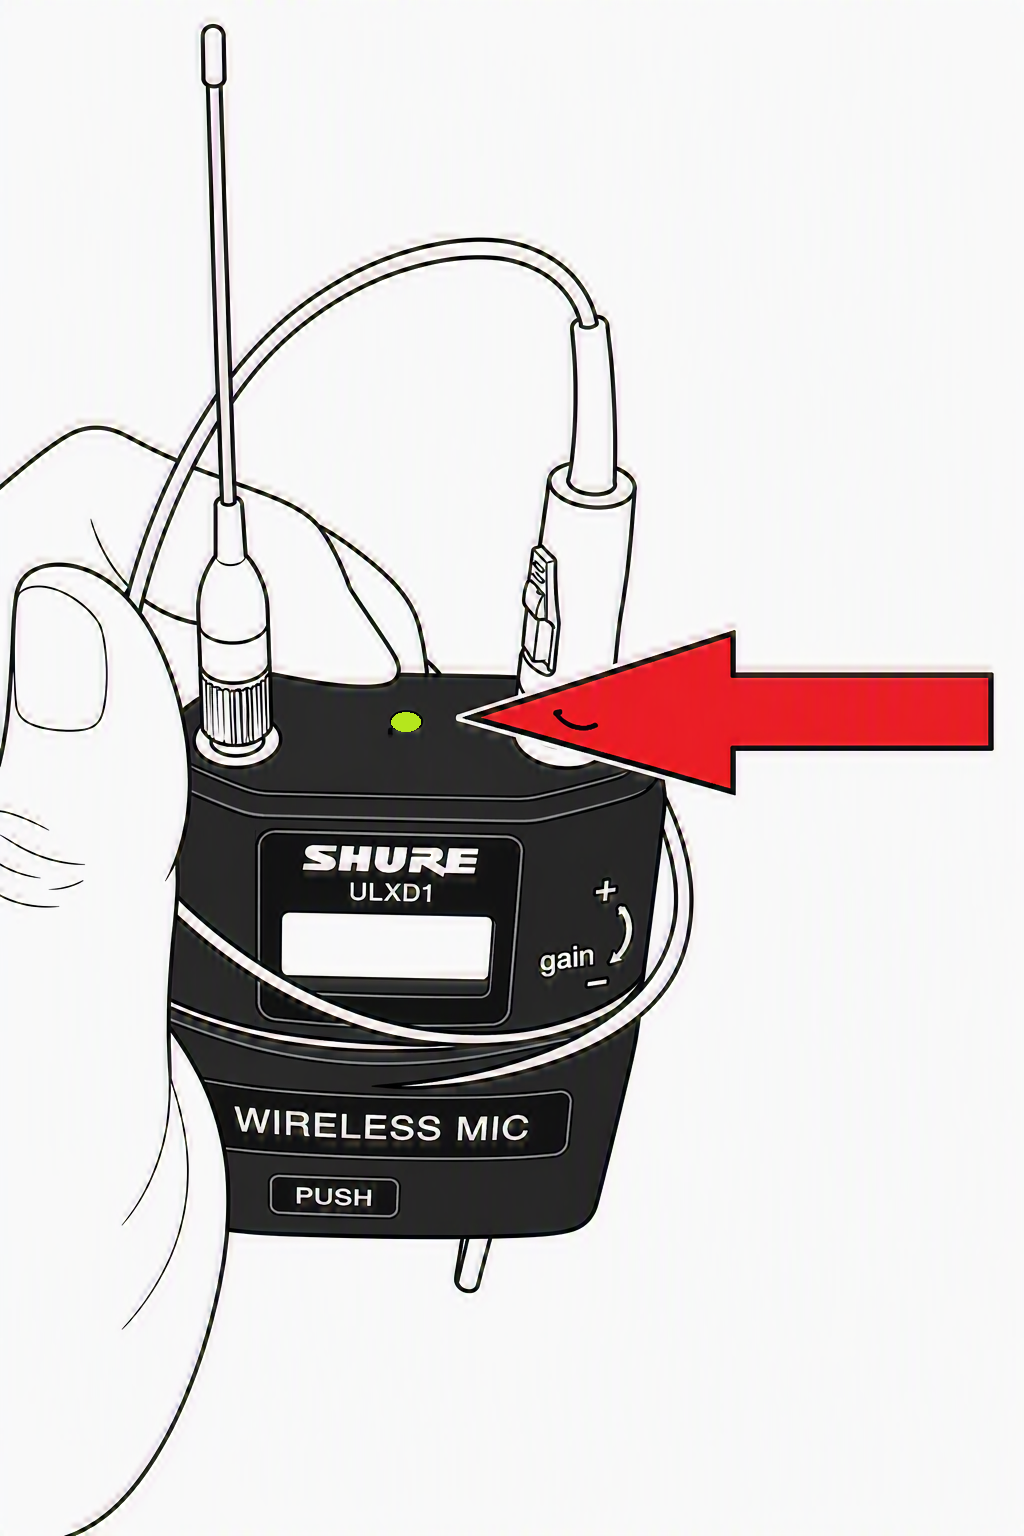
5. Turn up the volume on the touch panel (on the teaching desk or equipment rack) and make sure it is unmuted.
6. Unless you see two wireless mic level controls on the touch panel display (e.g. in one of these rooms with dual mics), be sure only one of the two mics is turned on (having both on at the same time will cause interference).
7. Place the mic body pack back on the charger when you are finished and look for the green charging light to come on.
Projector/Display Issues
If you are having issues with the projector, please confirm:
1. Projector/Display is turned on via the touch panel (select “Press for Projector Control” then “ON”). Projectors may take some time to turn on as they may still be in cool down mode from the last class. Be careful not to repeatedly press the “ON” button in rapid succession as this may cause the controls to get out of sync.
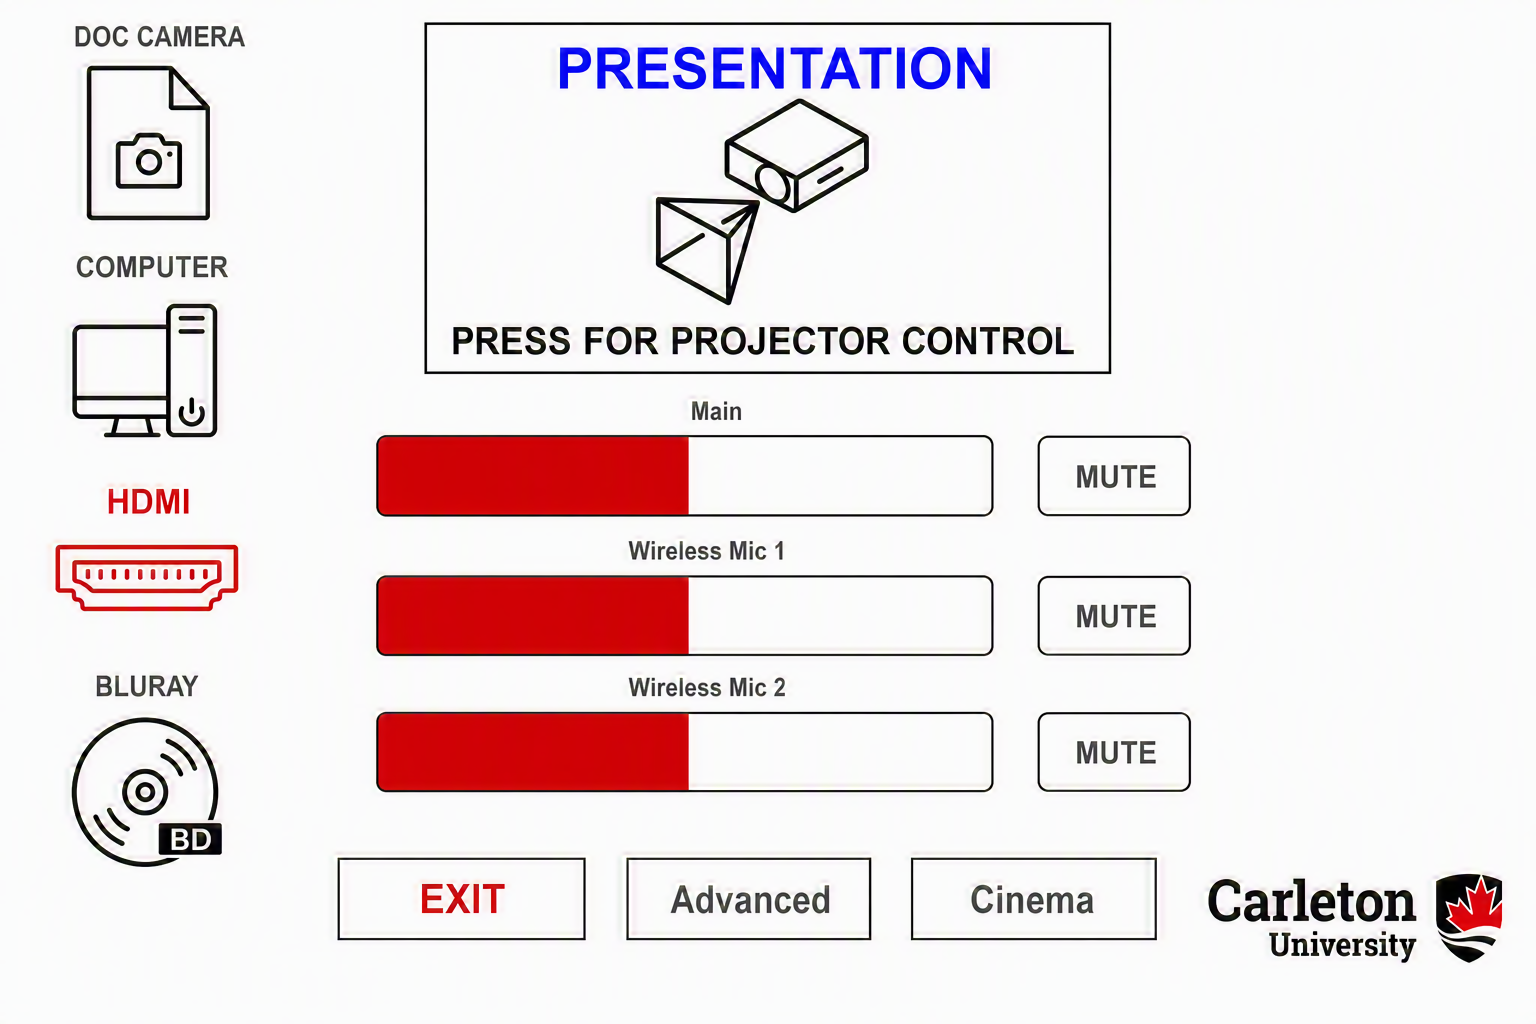
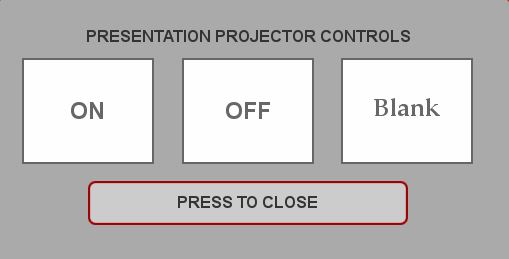
2. Blank is not selected on the control touch panel (if it is selected, it will be red).
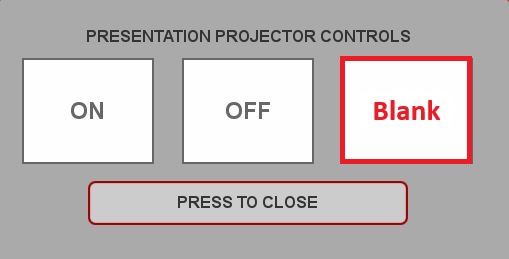
3. The correct device is selected (indicated by red on the touch panel). Try switching back and forth between your source and another.
4. If the item you want to project is on the wrong screen, try dragging it to the other monitor. You can also go into PowerPoint, select “Slide Show” then “Monitor” and set to auto or try other options. Ensure the HDMI cable is firmly connected – try swapping it if you have access to a spare.

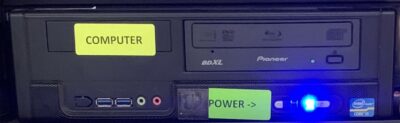
5. If the above steps don’t work, try restarting the computer (on the classroom computer find and hold down the power button – then restart). This might take a few minutes.
HyFlex and Web Conferencing Issues
HyFlex rooms are equipped with two screens:
- Projected Image: Anything on this screen can be displayed to students on Zoom AND classroom data projectors. This screen is identified by the presence of desktop icons.
- Private Image: This screen is not recorded and can be used for preparation (i.e., windows and applications to be used later), inputting passwords or notes. This screen is identified by the lack of desktop icons.
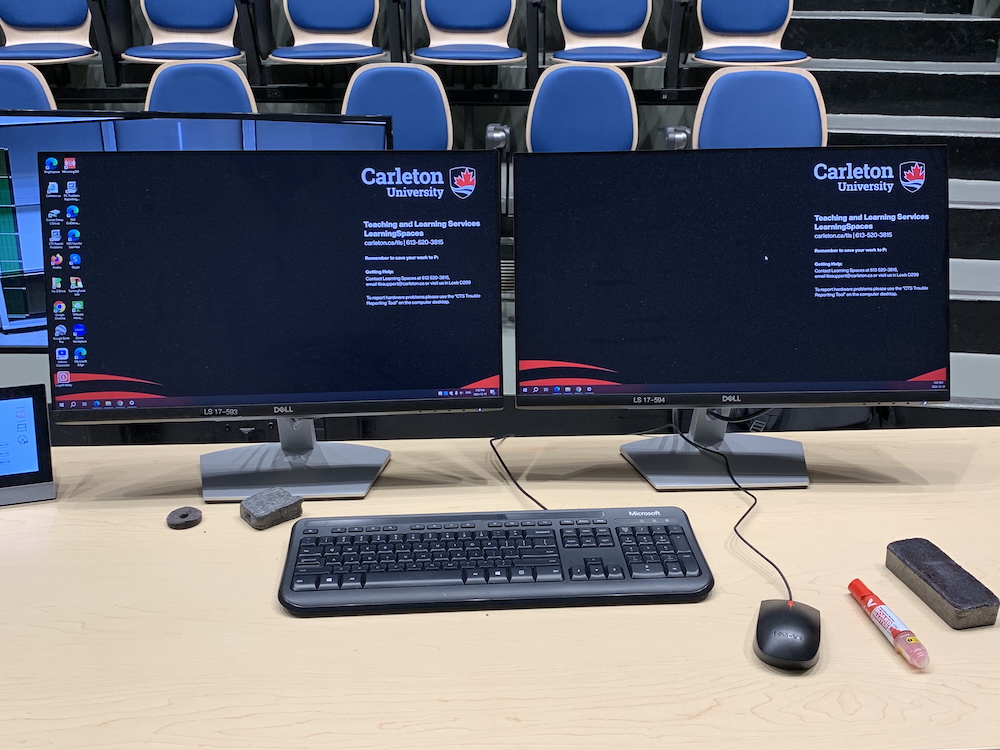
If an application opens on the private image monitor, it will NOT be projected. Click and drag it over to the projected image monitor via the top bar of the window if you would like it displayed.
You can also run PowerPoint in presenter mode and have the presenter view on the private screen and slides on the projected view. You may however need to adjust the settings following the steps below.
1. Log in to the classroom PC using your MC1 username and password. If you have issues with your login, please contact ITS .
2. Find the projector option(s) on the panel.
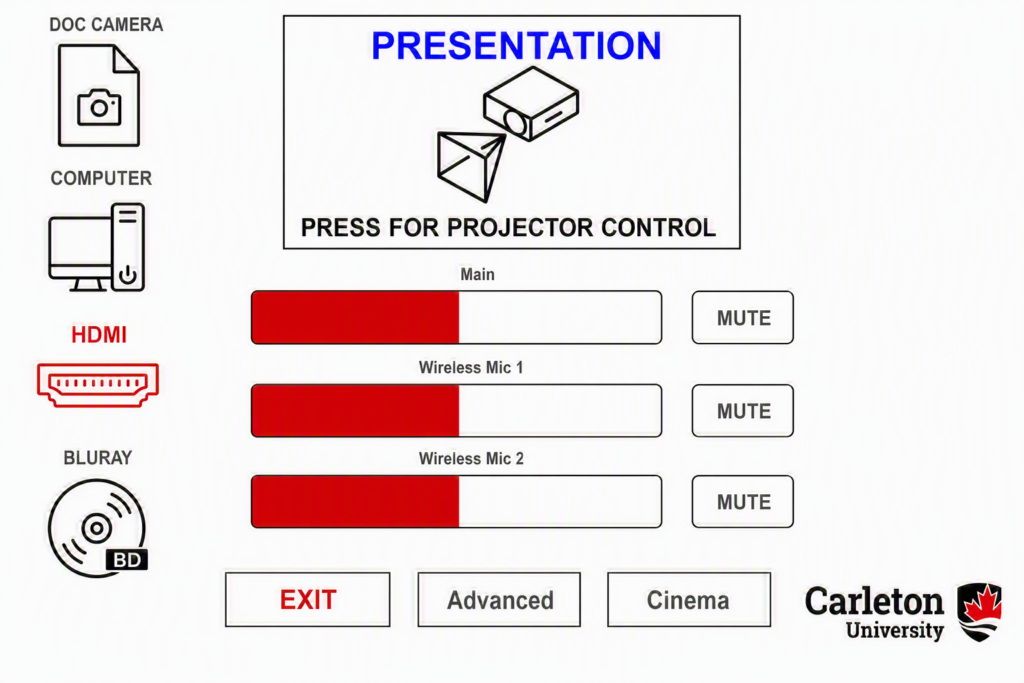
3. A sub-menu should appear with the options “ON,” “OFF” and “Blank.” Some rooms may have the option to lower the screen here as well.
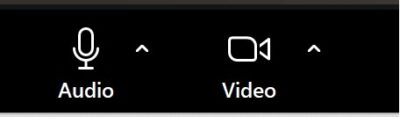
4. Log in to Zoom or Teams and begin the meeting. Ensure your video settings are properly adjusted. If Zoom is mirroring the video, go to the bottom left of the Zoom window and click on the ^ arrow beside the “Video” button and select “Video Settings.” From here, deselect “Mirror My Video.”
Note: If the video option is selected but the screen is black and you cannot see either the video of yourself OR the classroom PC view, call the Learning Spaces Front Desk at 613-520-3815 as a quick tech reset may be required.
In most cases camera settings can be adjusted from the panel to point the camera where you want it to be aimed by selecting “Capture” from the main menu.
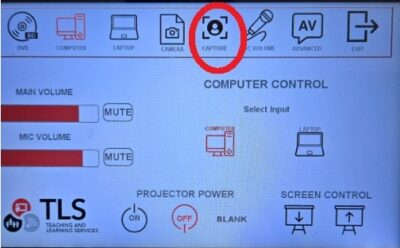
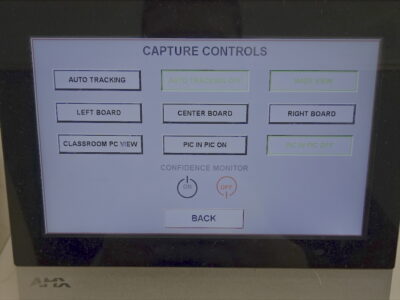
If there are no controls on the control touch panel, camera control may be via a desktop app – look for the Osbot app on the classroom computer desktop.

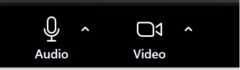
5. Ensure your Zoom sound settings are properly set by clicking the ^ arrow beside “Mute.” Most rooms are set up with a dedicated webcast mic (e.g. a Yeti or Room Tile mic). This should be set as the default and is the simplest option.
If you will have seminar/discussion sessions, you will likely use the Yeti or Tile microphone. Under “Select a Microphone” select “Yeti Stereo Microphone” if it is not already selected. However, if you are the sole or primary speaker, you may like to use the clip on microphone. Under “Select a Microphone” select “Digital Audio Interface” (you may need to switch it on before it will show as an option – see below). You can switch which one you are using during class by following the steps above to switch settings.
6. If you wish to use the clip on mic, open the drawer and get the mic pack. Turn the mic on and ensure the light is green. The main volume (classroom speakers) and wireless mic volume (lavalier/lapel mic, Yeti, Tile) can be adjusted on the touch panel.
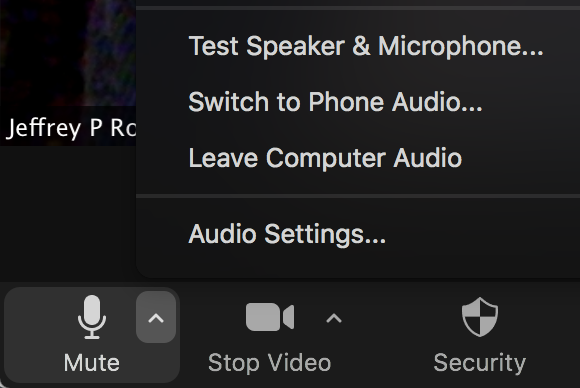
7. Perform a sound test by clicking “Test Speaker & Microphone.” Ensure your volume settings are turned up on the touch panel and adjust them as necessary. If you have volume turned up and none of the speakers are producing sound, try restarting the computer by pressing and holding the power button on the PC in the cabinet.
Still not working? Call us!
If after the troubleshooting steps above, you can’t solve your issue, call us! We are here to help Mondays to Thursdays from 8 a.m. to 8 p.m. and Fridays from 8 a.m. to 4 p.m. while classes and exams are in session.
If you encountered an issue but were able to continue with your class without assistance, please let us know what the issue was after your class has ended at cts@carleton.ca.
Need software installed on a classroom computer? Please email cts@carleton.ca. Need chalk or dry markers? Drop by Loeb D299.
Speed dial or call 3815 from the room phone
If there is no answer, please leave a message, your request will be addressed in queue.
Call 613-520-3815 from your cell phone
If there is no answer, please leave a message, your request will be addressed in queue.