- Benefits of Using the Announcements Tool Over Email
- Recommendations
- Creating an Announcement
- Editing an Announcement
- Copying an Announcement
- Deleting an Announcement
- Restoring Deleted Announcements
- Pinning Announcements
- Unpinning Announcements
- Video Tutorials
The Announcement tool is essential for direct communication with students. It is used for general course news and information. Announcements should be used to convey significant changes in specific weeks of the course, important messages, and major changes to course components, as well to interact with students, by sending a brief overview of past weeks and general feedback.
D2L Brightspace is setup to send emails to students at their cmail addresses when an announcement is posted from a course. However, students are also able to change their notification preferences and disable the email notification if desired.
WARNING: Course Announcements are not emailed out to students before the course start date, nor after the course end date. However, instructors can adjust the default start and end dates for their Brightspace courses in the Course Offering information page to allow for announcements outside of the set dates.
***All correspondence after the last day of classes should be made by Classlist email function. If you wish to make announcements after the last day of classes, you will need to update your classes end-of-date setting.***
For information about editing course start and end dates, visit the Changing Course Start and End Dates support page.
Benefits of Using the Announcements Tool Over Email
- Create your presence in the course with regular, consistent announcement scheduling
- Pre-write and pre-schedule announcements so that they release at specific times ahead of important course deliverables
- Copy announcements between courses and update them for continued use, ** Ensure that your announcements do not contain any identifying information for students.
- Add multi-media, such as videos, images, and links to news events/articles
Recommendations
Announcements Tool
- For weekly course messaging, use announcements since they will save a history and are available for students who enroll later. These messages should be at scheduled days of the week and times so that students know when to check.
- Explain the importance of announcements and what information students will get from them. Encourage students to have notifications on for announcements or to at least check the course announcements regularly (emailing at consistent times/days will help them know when to check).
- Do not send so many announcements and emails that students turn notifications off or ignore your messages.
- Use Email from the Classlist to communicate with students before the course start date. Emailing will ensure students see your message before the course is active (include in this email why they cannot see the course yet).
- Use email for urgent messaging (e.g., Zoom link is changed, office hours today are cancelled). Email ensure students get the information quickly even if they are not in Brightspace and have notifications off.
Are Students Notified About Course Announcements via Email?
By default, students will receive email notifications when a course announcement is made. It is important to note that students have the ability to unsubscribe to announcements, as well as subscribe to many other course-related notifications. The Send Email Copy checkbox at the bottom of the announcement editor allows you to override student notification settings.
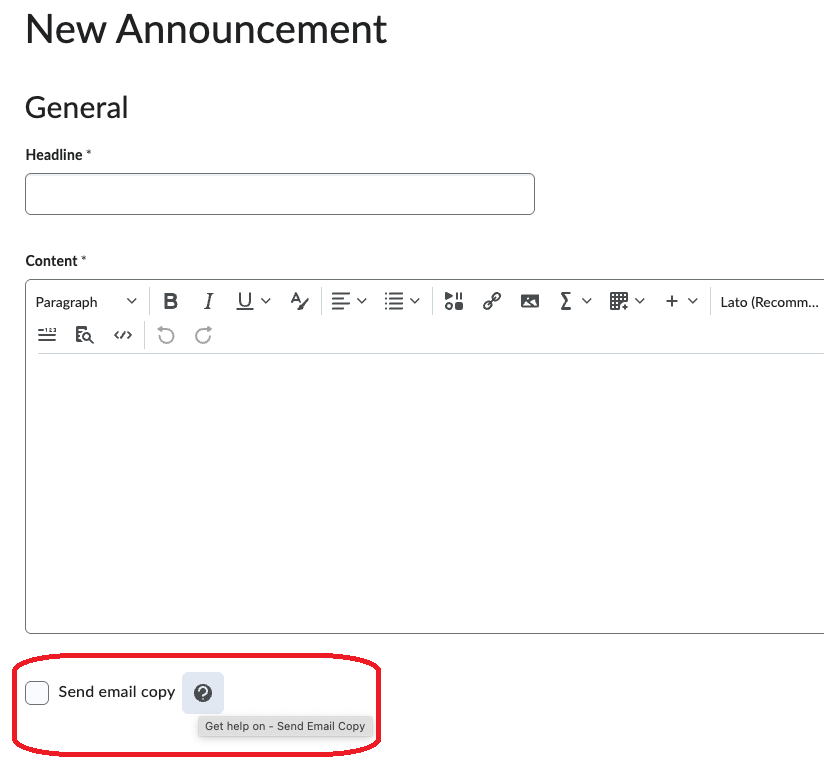
When selected, a copy of the announcement will be emailed to all users in the classlist including those who have opted out of announcement notifications upon publishing.
This option will be automatically deselected when an announcement is copied or edited, and must be selected again before republishing.
Creating an Announcement
- Sign into Brightspace with your MyCarletonOne credentials.
- On the Brightspace homepage, locate your course in one of the following ways:
- Select the course tile under the My Courses widget.
- Select the Course Selector Grid
 and select the course from the drop-down menu. If you are enrolled in more than 20 courses, you can search for the course name using the search bar.
- In the navbar, select Tools.

- In the drop-down menu, select Announcements.
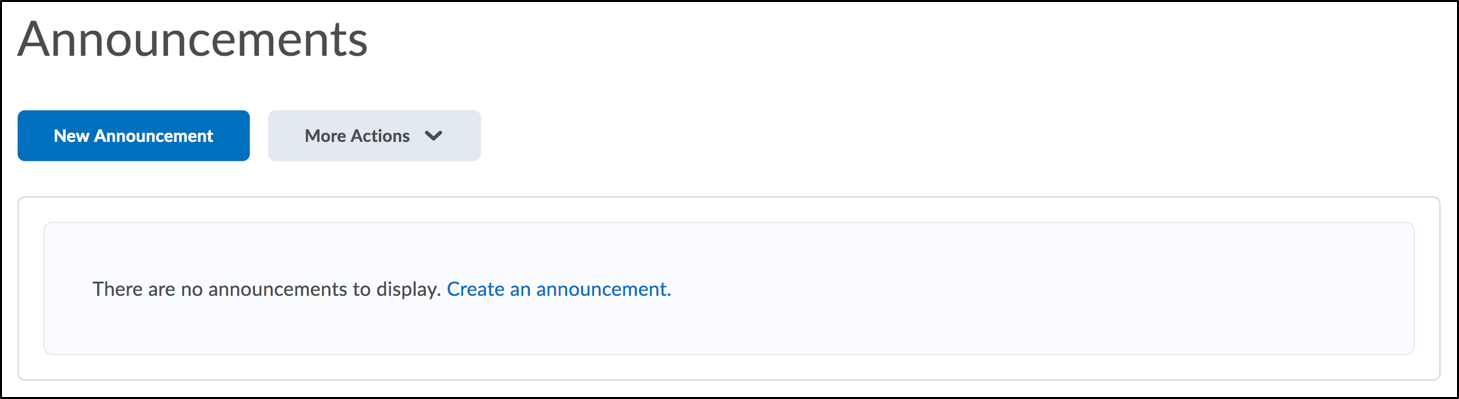
- On the Announcements page, select the New Announcement button, which will redirect you to the New Announcement page.
- In the Headline box, enter a title (subject line) for the announcement.
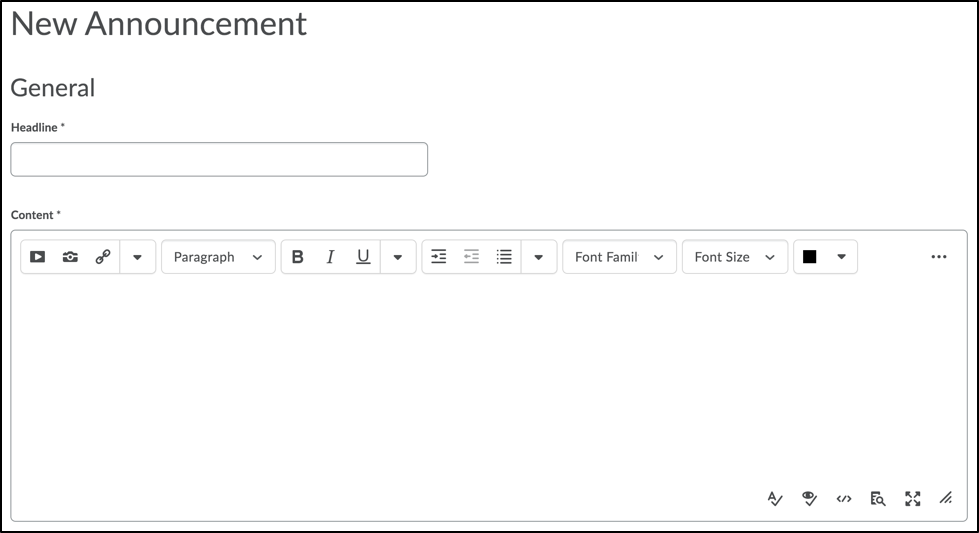
- In the Content area, enter a message.
NOTE: The content editor allows you to add images, videos, scientific notation, URLs or link to existing content within Brightspace. These are all features that can enhance your announcement beyond plain text.
- In the Availability section, select when the announcement should be published and seen by students. An end date can also be selected.
NOTE: If a start date is not selected, the announcement will be published immediately after selecting the Publish button.
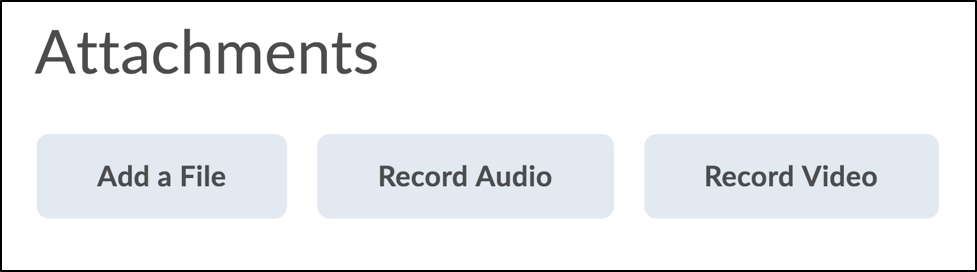
WARNING: If an end date is selected, the announcement will not be visible to students after the end date. You will still be able to access the announcement as it will remain in your announcements tool with the status as “expired”. - In the Attachments section you can add files, record audio and/or video files directly in the editor, or upload files from your computer.
NOTE: Audio and video files created within the editor have limits. Audio files can be a maximum of 60 seconds and video 30 minutes.
WARNING: Recorded audio and video files within the editor will only be available for 6 months and will not be saved to your course files.TIP: Only record within the editor for video and audio files that will not be used for multiple semesters.
- In the Additional Release Conditions section, you can choose (if applicable) to apply a condition a learner must complete before the announcement is visible. Find out more about best practices for creating release conditions.
- Select Save as Draft to continue editing it at another time, or select Publish if the announcement is ready to be published.
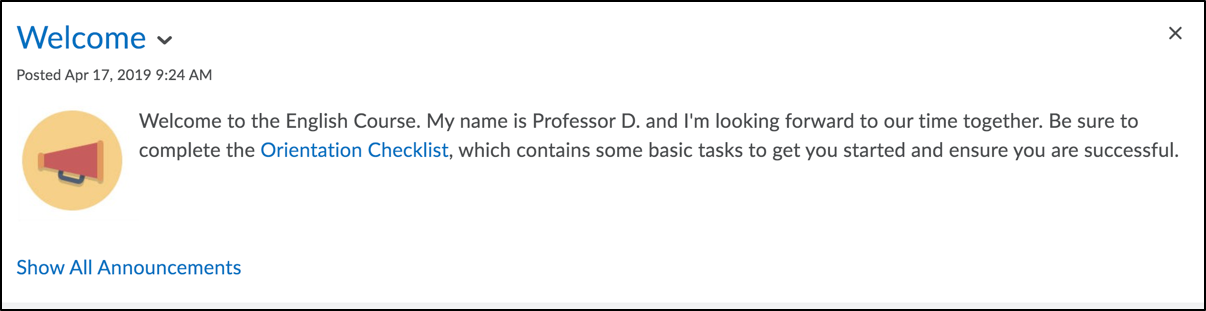
Your published announcement will appear on your course homepage (see example below).
Editing an Announcement
- Sign into Brightspace with your MyCarletonOne credentials.
- On the Brightspace homepage, locate your course in one of the following ways:
- Select the course tile under the My Courses widget.
- Select the Course Selector Grid and select the course from the drop-down menu. If you are enrolled in more than 20 courses, you can search for the course name using the search bar.
- In the navbar, select Tools.
- In the drop-down menu, select Announcements, which will show you the list of all announcements you have posted in your course.
- Select the arrow
 next to the announcement you want to edit.
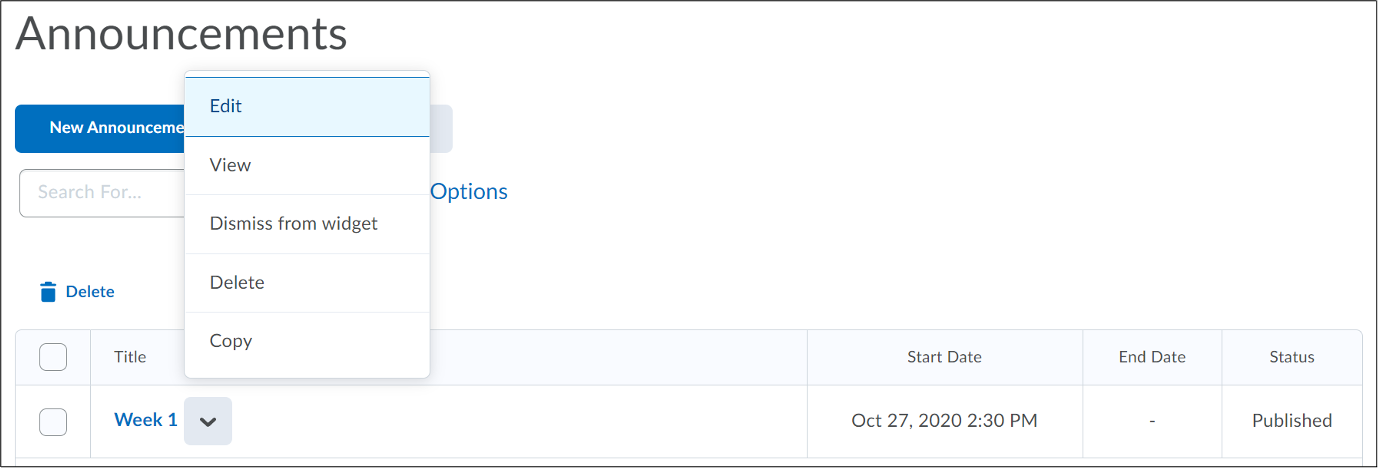
- In the drop-down menu, select Edit.
- Edit your announcement content, availability dates, attachments, or release conditions.
- When you have finished making your changes, select Update.
Copying an Announcement
- Sign into Brightspace with your MyCarletonOne credentials.
- On the Brightspace homepage, locate your course in one of the following ways:
- Select the course tile under the My Courses widget.
- Select the Course Selector Grid and select the course from the drop-down menu. If you are enrolled in more than 20 courses, you can search for the course name using the search bar.
- On your course’s landing page, go to your Announcements widget.
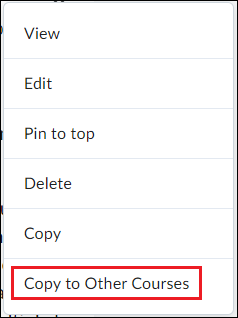
- Select the arrow next to the announcement you’d like to copy.
- From the pulldown menu, select the Copy to Other Courses option. This will cause a Copy Announcement module to appear.
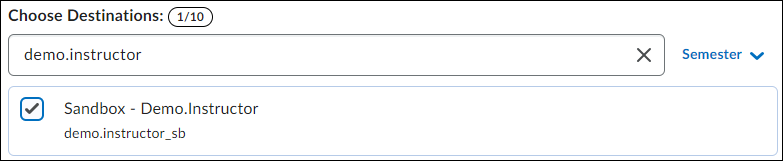
- Enter your course name in the Choose Destinations field.
- Select the checkbox next to your course.
- Select Next.
- Select Copy.
- Select Done. This will close the Copy Announcements module.
NOTE: The user who performed the Copy will be listed as the author/poster, regardless of who authored the original announcement or publishes the copy.
You have successfully copied your announcement.
Deleting an Announcement
- Sign into Brightspace with your MyCarletonOne credentials.
- On the Brightspace homepage, locate your course in one of the following ways:
- Select the course tile under the My Courses widget.
- Select the Course Selector Grid and select the course from the drop-down menu. If you are enrolled in more than 20 courses, you can search for the course name using the search bar.
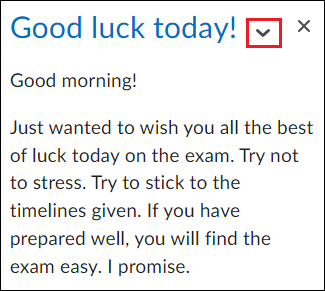
- On your course homepage, select the arrow icon next to your announcement to expand the actions menu.
- In the drop-down menu, select Delete. After you select Delete, Brightspace will prompt you to confirm that you want to delete the announcement.

- Select Yes.
Restoring Deleted Announcements
- Log in to Brightspace with your MyCarletonOne credentials.
- On the Brightspace homepage, locate your course in one of the following ways:
- Click on the course tile under the My Courses widget.
- Click the Course Selector Grid and select the course from the drop-down menu. If you are enrolled in more than 20 courses, you can search for the course name using the search bar.
- In the Announcements widget, select the downward-facing arrow next to Announcements.
- Select Go to Announcements Tool from the pulldown menu.
- Select the More Actions button.
- Select Restore from the pulldown menu.
- Select the checkbox next to the announcement you want to restore.
- Select the Restore button.
Pinning Announcements
- Log in to Brightspace with your MyCarletonOne credentials.
- On the Brightspace homepage, locate your course in one of the following ways:
- Click on the course tile under the My Courses widget.
- Click the Course Selector Grid and select the course from the drop-down menu. If you are enrolled in more than 20 courses, you can search for the course name using the search bar.
- In the Announcements widget, select the downward-facing arrow next to the announcement you would like to pin.
- Select Pin to top from the pulldown menu.
Unpinning Announcements
- Log in to Brightspace with your MyCarletonOne credentials.
- On the Brightspace homepage, locate your course in one of the following ways:
- Click on the course tile under the My Courses widget.
- Click the Course Selector Grid and select the course from the drop-down menu. If you are enrolled in more than 20 courses, you can search for the course name using the search bar.
- In the Announcements widget, select the downward-facing arrow next to the announcement you would like to pin.
- Select Unpin from the pulldown menu.
Video Tutorials


Was this page helpful?
5 people found this useful
Still need help? Contact us