- Changing the Visual Table of Contents Images
- Finding Images for D2L Brightspace Courses
- Add a Module Image
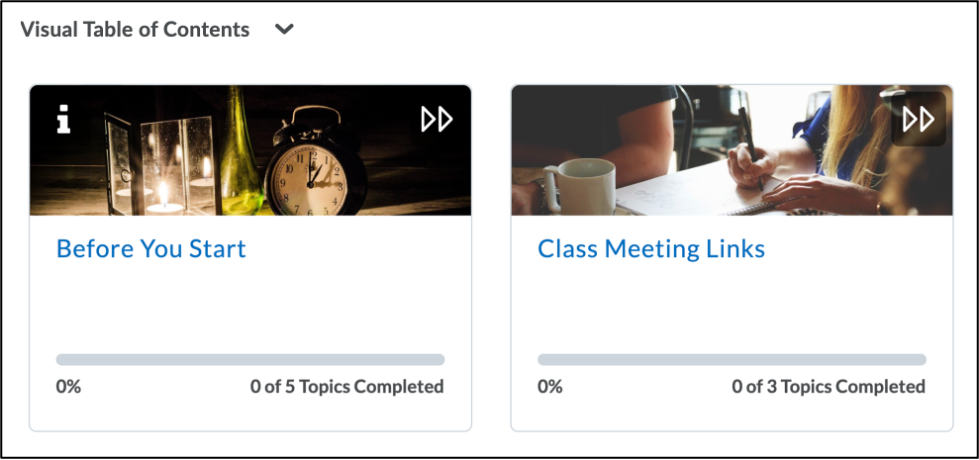
The Visual Table of Contents is a course homepage widget that displays interactive tiles based on the content in the course. If the course is empty and contains no modules, the Visual Table of Contents will be empty as well. To add tiles/content to your Visual Table of Contents, add Modules to your course. The Visual Table of Contents automatically creates one tile for each module in your course, displaying the module title, image and progress according to the completion tracking settings you’ve assigned to any content. Once modules have been added to the course, users can select the tiles in the Visual Table of Contents to navigate to the course content.
| NOTE: The Visual Table of Contents is part of the default course homepage layout. If you wish to change or remove this widget, follow the instructions under Homepage Layout. |
Visual Table of Contents Example:
Changing the Visual Table of Contents Images
Each module tile in the Visual Table of Contents will display the banner image by default. The module image is an image added to a module description. If a module description has more than one image, the Visual Table of Contents will display the topmost image. If there is no module image, the tile will display the course banner. Instructors and course designers can change the module images in the Visual Table of Contents.
| TIP: The recommended size for module images is 1200 pixels x 360 pixels. If your image has different dimensions it will display fully in the module, but be cropped in the visual table of contents. |
Finding Images for D2L Brightspace Courses
There are a number of royalty-free and/or creative commons licensed images you can use for your Brightspace course site. Images will need light editing to change their dimensions to match the 1200 x 360 pixel size recommended.
Check out some of the websites below:
- Creative Commons (CC) Search
- Google Image Search (images, tools, and usage rights)
- Carleton Library Site
Public Domain and CC0 License Photo Sites
A number of free, stock images are available for use in your teaching and learning. Use a search engine to find royalty-free images, or visit the links below and search for images to use in your content. Be sure to follow the relevant use guidelines and specifications. If you have any questions about image copyright, please email copyright@carleton.ca.
- pixabay.com
- pexels.com
- unsplash.com
- burst.shopify.com
- gratisography.com
- stocksnap.io
- publicdomainpictures.net
- metmuseum.org/art/collection
Add a Module Image
-
- Log into Brightspace with your MyCarletonOne credentials.
- On the Brightspace homepage, locate your course in one of the following ways:
-
- Select the course tile under the My Courses widget.
- Select the Course Selector Grid
 and select the course from the drop-down menu. If you are enrolled in more than 20 courses, you can search for the course name using the search bar.
-
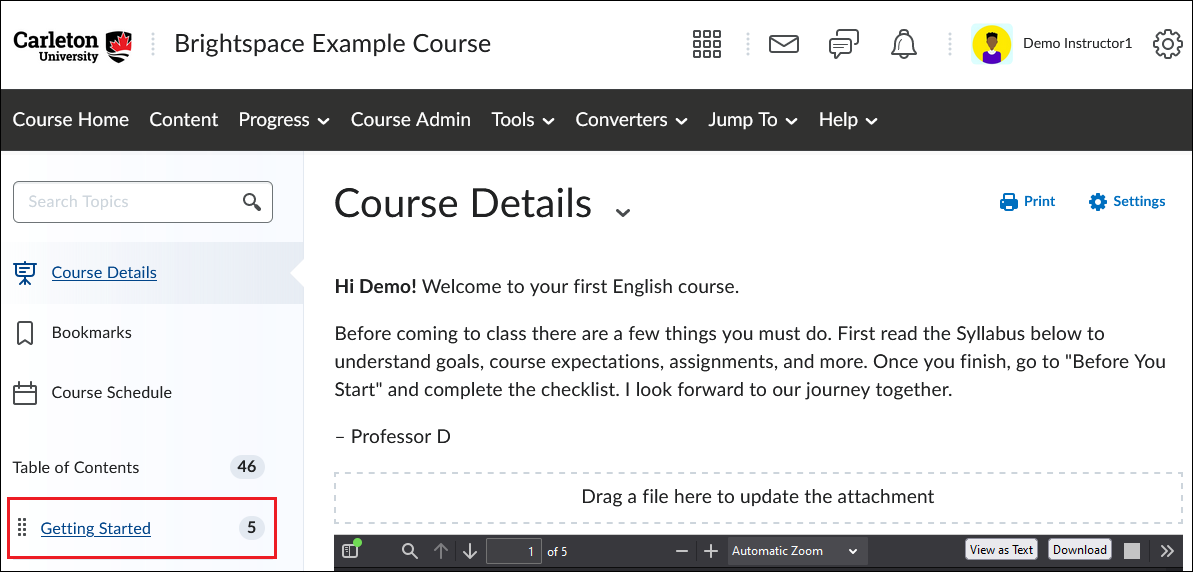
- In the navbar, select Content.

- Under Table of Contents in the left sidebar, select the module you want to edit

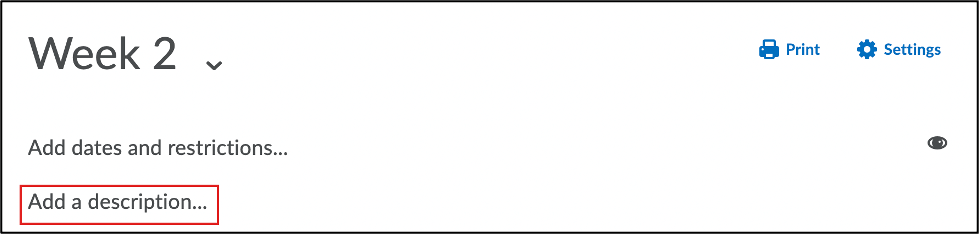
- Under the module title, select Add a description… or select on the existing module description.
- Use the HTML editor to add an image. Select the Insert Image button in the Editor toolbar and choose the image location:
- If the image is on the computer, select the My Computer. Choose the file from your computer and drag and drop it on the designated area, or select Upload to choose the image from your computer, select the chosen image and then select Add.
- If the image is located on the web, select URL. Enter or paste the web address for the image, then select Add.
- If the image is located within the course, select Course Offering Files. Choose the file from your course files, then select Add.
- Once you select Add, the system will prompt you to add an alternative text for the image selected. To ensure that the image is accessible to all users, enter a short description of it on the field Alternative Text or check the ‘This image is decorative’ box if it is a decorative image.
| TIP: The alternative text should convey the message you want students to get when they look at the image. If the image refers to an intricate infographic that needs further explanation, enter a short description in the provided Alternative text field and add a more detailed description under or next to the image in the HTML textbox so all learners benefit from the explanation. |
| WARNING: Only select ‘This image is decorative’ if the image contains no information valuable to the student. You can always edit the image later and edit the alternative text. |
-
- Select Update. The image is now saved in your module description and will be displayed in the Visual Table of Contents.
Was this page helpful?
13 people found this useful
Still need help? Contact us